Six methods put a logo on an injection-molded EVA tote: an in-tool debossed or embossed mark formed during moulding, screen printing, pad printing, heat transfer, UV digital printing and an applied label. The choice is governed by three numbers — the quantity, the number of colours in the artwork and whether the mark has to survive salt water and daily hosing. In-tool marking wins above roughly 5,000 pieces per artwork and lasts the life of the bag; heat transfer and UV digital win below 500 and for full-colour artwork. QUANZHOU JUNYUAN BAGS proofs all six from 500 pieces per design and colour.
Why EVA Is Harder to Print Than Fabric
Moulded ethylene-vinyl acetate is a low surface energy polymer, typically measuring between 30 and 34 dynes per centimetre, and most inks and adhesives need a substrate above about 38 to bond properly. That gap is the reason a logo that looks perfect on a sample fails after a month of use on the same bag: the ink sits on the surface instead of keying into it. The fix is a surface treatment applied immediately before printing, and the three in common use are flame treatment, corona treatment and a chemical primer.
The second difficulty is geometry. A tote wall is curved, the surface is perforated, and the natural place for a logo is the one area that is interrupted by holes. Printing across a perforation produces a broken edge, and printing next to one leaves an inconsistent margin, so artwork has to be planned against the hole layout rather than dropped onto a flat panel. This is a design constraint rather than a limitation: the cleanest marks on this category are placed on a deliberately solid panel, or formed in the tool where no ink is involved at all.
| Substrate challenge | Measured value | Consequence for the logo | Standard response |
|---|---|---|---|
| Low surface energy | 30 to 34 dynes per centimetre | Ink sits on the surface and lifts | Flame or corona treatment to above 38 dynes |
| Perforated wall | 8 to 14 millimetre holes | Broken edges across artwork | Place artwork on a solid panel |
| Curved surface | Radius varies by body size | Screen cannot hold registration | Pad printing or in-tool marking |
| Flexible body | Wall flexes under load | Brittle ink films crack | Flexible ink system, elongation above 150 percent |
| Heat exposure | Surface above 60 degrees in sun | Adhesives soften and creep | Heat-cured ink or no ink at all |
Six Logo Methods at a Glance
Every method below is in regular production on this category, and none of them is universally best. What separates them is where the cost sits: in-tool marking carries a tooling charge and almost no unit cost, screen printing carries a screen charge and a low unit cost, and UV digital carries no set-up at all and the highest unit cost. Read the table by quantity first, then by colour count.
| Method | Set-up cost | Unit cost band | Colours | Durability | Economic from |
|---|---|---|---|---|---|
| In-tool deboss or emboss | High, tooling | Near zero | One, formed in the material | Life of the bag | About 5,000 pieces |
| Screen printing | Low, screens | Low | 1 to 4 spot colours | Two to four seasons | About 500 pieces |
| Pad printing | Low, plates | Low to mid | 1 to 4 spot colours | Two to four seasons | About 300 pieces |
| Heat transfer | Low, film | Mid | Full colour | One to three seasons | About 100 pieces |
| UV digital printing | None | High | Full colour, gradients | One to three seasons | 1 piece |
| Applied woven label | Low, label run | Mid | Full colour woven | One to two seasons | About 500 pieces |
Two readings of that table are worth stating plainly. Below about 500 pieces per artwork, UV digital and heat transfer are the only sensible options, because everything else carries a set-up charge that dominates the unit price. Above about 5,000 pieces of the same artwork, in-tool marking becomes cheaper than any alternative and produces a mark that cannot rub off, fade or peel, because there is nothing applied to rub off.
In-Tool Debossing and Embossing
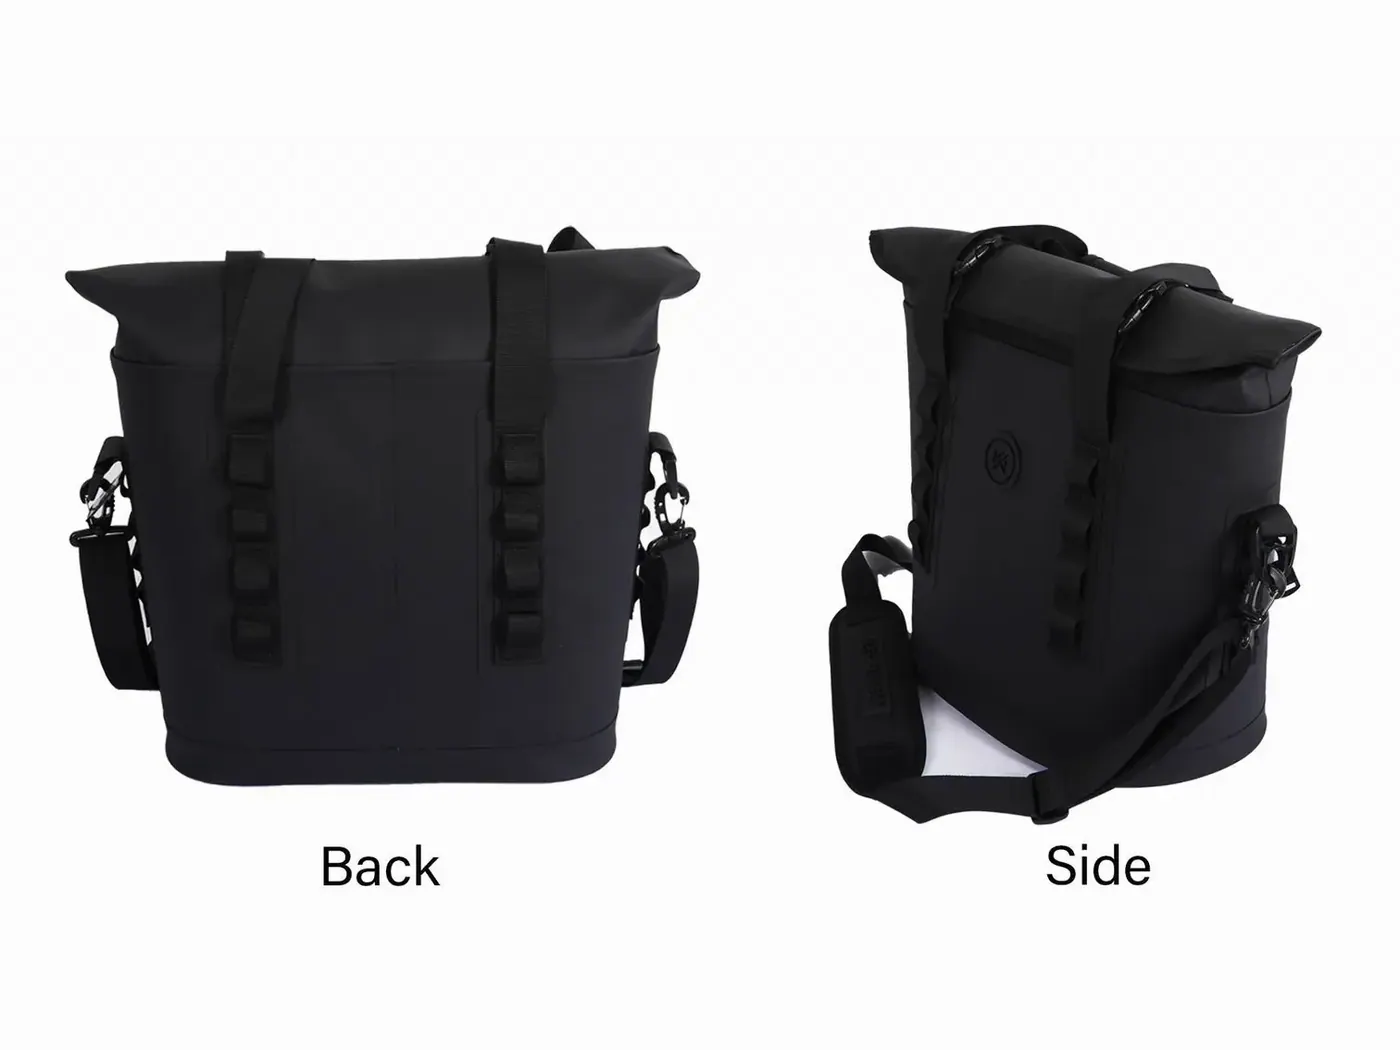
In-tool marking is the most durable option and the one most buyers under-use. The logo is machined into the mould cavity, so every piece leaves the tool with the mark already formed: a debossed mark is pressed into the wall, an embossed mark stands proud of it. Depth is the only real specification, and 0.6 to 1.2 millimetres is the working range, with shallower marks hard to read on a textured surface and deeper marks creating a thin section that can show as a shadow on the opposite face.
Three limits apply. The artwork has to be final before the tool is cut, because a change means re-machining the cavity and that costs more than the first machining. The mark is single-tone, so gradients and photographs are out. And a debossed mark collects sand and salt in its recesses, which is worth knowing for a beach programme: a shallow deboss on a vertical panel drains fine, while the same mark on a horizontal base panel holds grit and needs a rinse. Buyers who accept those three limits get the cheapest mark at volume and the only one that outlives the bag.
Screen and Pad Printing
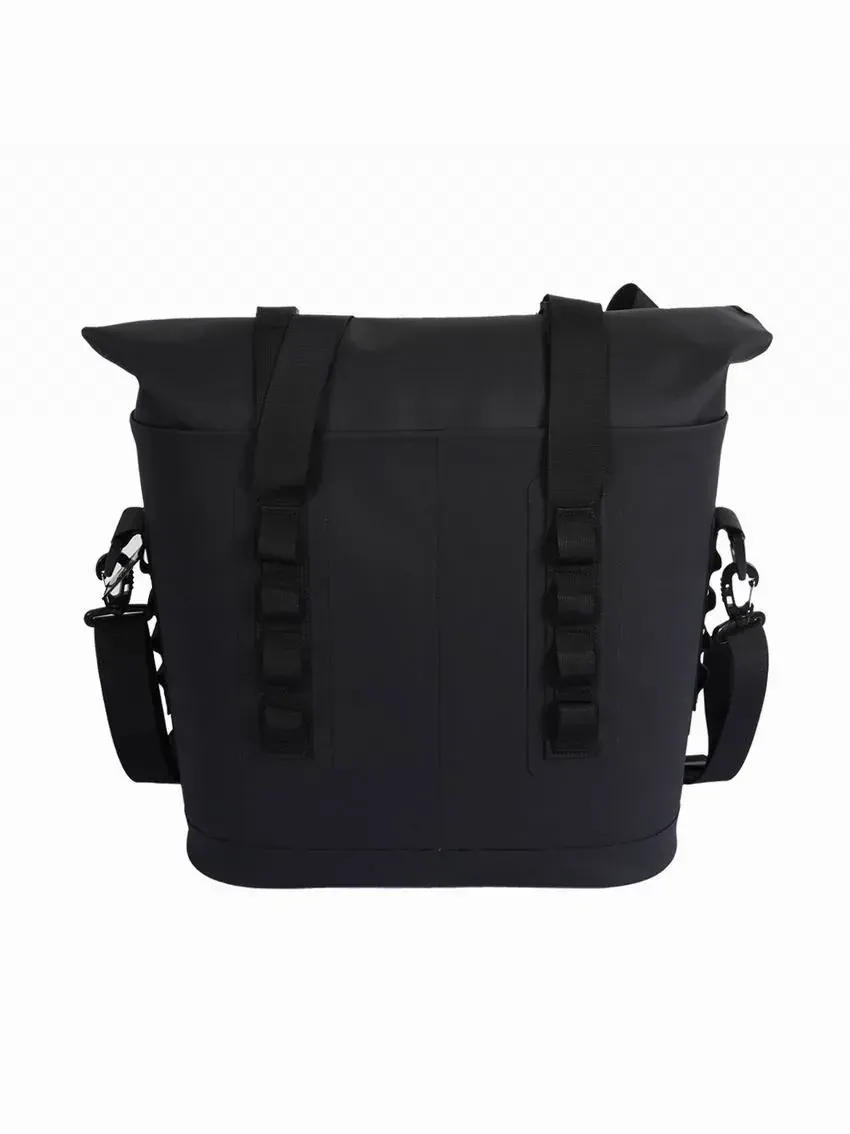
Screen printing is the standard method for spot-colour artwork on a flat or gently curved panel. Ink is pushed through a mesh screen onto the treated surface and then heat cured, producing a film of roughly 15 to 30 microns that flexes with the wall. It is fast, cheap per unit and holds registration well as long as the panel is not strongly curved. Pad printing solves the geometry problem screen printing cannot: a silicone pad picks the image off an etched plate and transfers it onto a curved or recessed surface, which makes it the right method for a logo on a handle, a rim or the inside face of a wall.
Both methods need the ink system matched to the substrate, and that is the specification most often skipped. A standard plastisol or a rigid ink will crack on a wall that flexes under a 10 kilogram load; the ink needs an elongation figure above about 150 percent and should be cured at the temperature the material can take, typically 60 to 80 degrees for a moulded EVA body rather than the 150 used on textiles. Adhesion is then verified with a cross-cut and tape test, and the standard worth naming in a specification is the ASTM cross-cut adhesion method published by ASTM International.
| Check | Screen printing | Pad printing | Pass criterion |
|---|---|---|---|
| Panel geometry | Flat to gently curved | Curved, recessed, handles | No broken edges at the logo margin |
| Ink film thickness | 15 to 30 microns | 8 to 15 microns | No cracking at 150 percent elongation |
| Cure temperature | 60 to 80 degrees | 60 to 80 degrees | No distortion of the body |
| Registration | Plus or minus 0.5 millimetres | Plus or minus 0.3 millimetres | Legible at 3 metres |
| Colour count | 1 to 4 spot colours | 1 to 4 spot colours | Each colour needs its own screen or plate |
Heat Transfer and UV Digital Printing
Heat transfer and UV digital cover the short-run and full-colour end of the category, and they are the two methods that need no screens or plates. A heat transfer prints the artwork onto a carrier film, which is then pressed onto the treated surface at 130 to 160 degrees under pressure for 8 to 15 seconds. UV digital prints directly onto the body with ink cured by ultraviolet light in the print head's path, which allows gradients, photographs and variable data such as a per-piece name or number.
Both have the same weakness and it is the one buyers discover late: the mark is a film sitting on a flexible, low-energy surface, and it fails at the edges first. Transfer films lift at corners after a season of hosing; UV digital prints abrade where the bag rubs against a hip or a car boot. Two specification changes reduce the problem substantially: a primer or flame treatment before printing, which lifts the surface energy above 38 dynes, and a soft-touch over-laminate, which adds roughly 8 microns and absorbs the abrasion. Neither makes the mark permanent, and both should be described to the buyer as a seasonal finish rather than a lifetime one.
Where these methods genuinely win is variable data and testing. A resort that wants a different name on every bag, a club that wants squad numbers, or a brand that wants to trial six artworks before committing to tooling all need a method with no set-up. UV digital is the only one that prints one piece economically, which makes it the right way to run a market test before paying for a tool.
Placement: Where a Logo Can Go on a Perforated Body
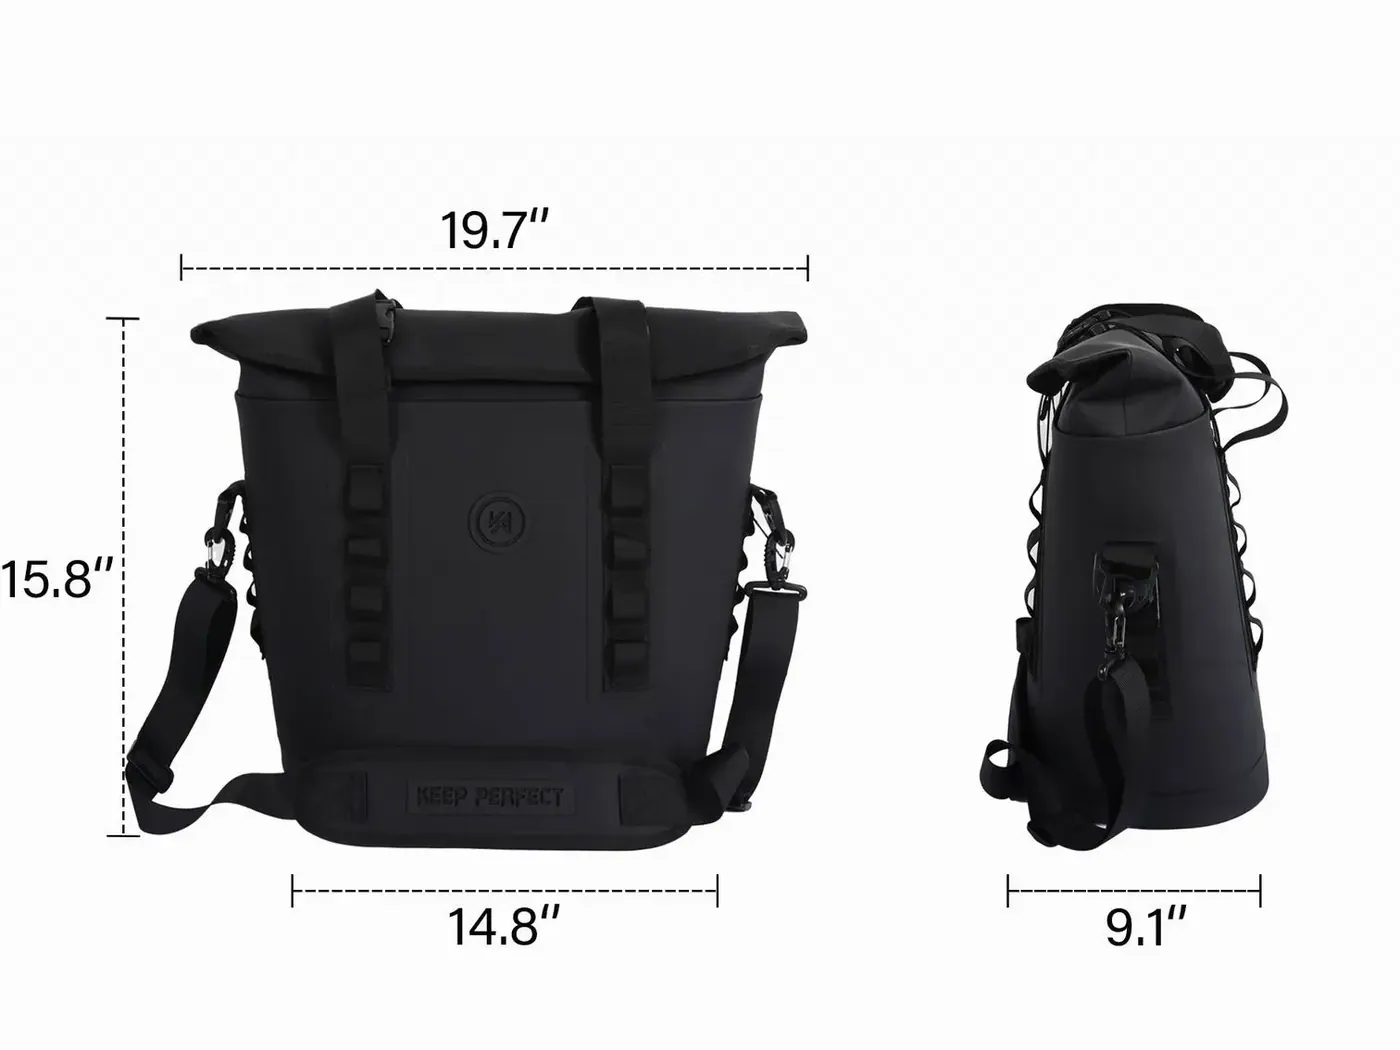
Placement is a design problem before it is a printing problem. On a fully perforated body the only usable area is the solid band above the top row of holes, which runs 15 to 30 millimetres tall depending on the body size, plus the solid rim and the two handle faces. On a semi-perforated body the whole upper wall is available, which is why branded resort programmes overwhelmingly specify semi-perforation: it converts a 30 millimetre band into a 120 millimetre panel and changes what artwork is possible.
| Placement | Usable area | Methods that work | Visibility | Note |
|---|---|---|---|---|
| Solid band above the holes | 15 to 30 millimetres tall | Screen, pad, transfer, UV | High when the bag is set down | The default on a full perforation body |
| Upper wall on a semi-perforated body | 80 to 140 millimetres tall | All six | Highest | The choice for artwork-led ranges |
| Rim or lip | 10 to 18 millimetres | Pad, in-tool | Medium | Good for a repeat pattern |
| Handle outer face | 20 by 60 millimetres | Pad, in-tool | Low | Wears fastest, abrades on carry |
| Base exterior | Full footprint | In-tool only | Lowest | Collects grit and scuffs immediately |
| Interior floor | Full footprint | In-tool only | None when loaded | Cheap to add, rarely worth it |
One rule covers most placement disputes: put the mark where the bag is looked at and not where it is handled. The upper wall is read when the bag stands on sand; the handle is read by nobody and abrades against a hand on every carry; the base is seen once and then scuffed. A brand that insists on a handle logo should be told the mark will be half gone in a season, and offered the rim instead.
Colour Matching and Proofing
Colour is where most disputes originate, because a printed colour on a flexible polymer never reads exactly like the same colour on paper or on a screen. The practical process is short. Specify the brand colour as a Pantone reference, approve a physical drawdown printed on the actual body material rather than on a card, and approve it under the lighting the product will be sold under, because a fluorescent retail light shifts a printed film by several degrees of hue against daylight.
| Proof stage | What is produced | Typical time | What it locks |
|---|---|---|---|
| Digital artwork proof | A flat artwork file with placement marks | 1 working day | Position, size and proportion only |
| Physical drawdown | The colour printed on the real body material | 2 to 3 working days | Colour, opacity and edge quality |
| Pre-production sample | One finished body with the finished logo | 6 to 10 working days | Everything, and it gates bulk release |
| Colour tolerance record | A delta E figure against the master | With the sample | The acceptable range for bulk |
Tolerance deserves a number in the specification rather than an adjective. A delta E of 2.0 or less against the approved master is achievable and invisible to the eye; above about 3.0 most buyers notice, and above 5.0 they reject. Recording the figure prevents the argument that always follows a bulk delivery, because a written tolerance is enforceable and a description in words is not. Colour measurement and fastness methods for coloured articles are published by AATCC, and documented quality management around colour approval aligns with the International Organization for Standardization.
Durability Testing: What a Logo Should Survive
A logo on a beach bag is exposed to salt water, sunscreen, sun and abrasion, and it should be tested against all four rather than against one. The set of checks below is cheap, takes two days and catches every common failure mode before tooling or bulk release. Buyers who run it on the pre-production sample rarely see a print complaint afterwards.
- Cross-cut adhesion: score a 1 millimetre grid through the ink film, apply tape and pull. Less than 5 percent removal passes.
- Salt spray exposure: 48 hours at 35 degrees in a 5 percent salt fog, then rinse and inspect for lift at the edges.
- Sunscreen and oil resistance: apply a standard sunscreen, leave for 24 hours at 40 degrees, wipe and check for softening.
- Abrasion: 500 cycles with a standard abradant at a defined load, then check legibility at one metre.
- Ultraviolet exposure: 100 hours of accelerated exposure, then measure the colour shift against the unexposed master.
- Flex: bend the printed panel through 90 degrees fifty times and inspect for cracking at the film.
Interpreting the results is easier than it looks. Failure at the edges means the surface energy was wrong and the treatment step was skipped or done too long before printing. Failure across the whole film means the ink was not cured or the wrong ink system was used. Cracking on flex means the film was too rigid for a body that moves under load. All three are preventable at sampling and none of them is fixable after bulk.
Artwork Files and the Approval Sequence
Most delays in a decoration programme are artwork delays rather than production delays, and they are avoidable. A vector file with outlined text and no embedded raster images is the only format that scales cleanly to a screen, a pad plate or a machined cavity; a JPEG supplied at 300 dots per inch looks adequate on screen and produces a visibly stepped edge once it is enlarged to 140 millimetres. Supplying the file in the right form at the start removes two rounds of revision and usually three or four working days.
- Supply vector artwork with all text converted to outlines and no linked images.
- Name each Pantone reference explicitly rather than describing the colour in words.
- State the placement as a measurement from a fixed point on the body, not as a description such as lower left.
- Give the maximum and minimum logo size, since artwork that works at 140 millimetres can fail at 40.
- Confirm whether the artwork is one-sided or two-sided, because a second side adds a print pass and a registration step.
- Approve a physical drawdown on the real body material before any tool is cut or any screen is made.
The approval sequence that protects a delivery date is short and should be stated in the order confirmation. Artwork file first, physical drawdown second, pre-production sample third, and bulk release only after the sample is signed. Each stage has a defined output and a defined sign-off, and the only stage that should ever be skipped is the digital artwork proof, which locks position and proportion and nothing else. Rushing the drawdown is the mistake that costs the most, because it is the stage that catches the colour problem while it is still a colour problem rather than a rejected container.
Mistakes That Show Up After Delivery
The failures that reach a warehouse have a short list of causes, and all of them are visible at sampling if someone looks. Naming them in the specification is the cheapest insurance available, and each one below has a single-line fix that costs nothing at the time it matters.
| Symptom after delivery | Cause | Where it was visible | One-line fix |
|---|---|---|---|
| Ink peels in sheets | No surface treatment before printing | Drawdown, tape test | Flame or corona to above 38 dynes |
| Logo cracks under load | Rigid ink on a flexing wall | Flex test on the sample | Ink elongation above 150 percent |
| Colour reads wrong in store | Approved on a card, not the body | Drawdown on real material | Approve on the body, in store lighting |
| Edges look broken | Artwork printed across perforations | Placement drawing | Move to a solid panel |
| Mark half gone after a season | Logo placed on a handle or base | Abrasion test | Place on the upper wall |
| Bulk differs from the sample | No tolerance recorded | Colour tolerance record | Write delta E into the specification |
None of those six is a production defect in the usual sense. Each is a decision made or not made before production started, which is why the sampling stage is worth its six to ten working days and why a buyer who compresses it to three usually spends the saved time three times over on the dispute afterwards.
Programme Notes
Full decoration options sit on the custom EVA tote page and the volume end of the range on the wholesale EVA tote page. Buyers weighing an in-tool mark against a printed one should read the EVA tote sourcing playbook for the approval sequence, and the injection-molded EVA tote guide for the body options the artwork has to fit. QUANZHOU JUNYUAN BAGS has run waterproof bag programmes since 2014 with a founding team in this trade since 2004, at monthly output of 200,000 units verified by SGS, under BSCI and ISO 9001, with materials screened for REACH and California Prop 65 and every bulk shipment inspected at AQL 2.5 before release.
Send the artwork file, the Pantone references, the placement, the target quantity and the destination market to service@junyuanbags.com, and ask for a physical drawdown on the real body material rather than on a card, because a colour approved on paper is the most common cause of a rejected bulk delivery.
People Also Ask
What is the most durable way to put a logo on an EVA tote?
In-tool debossing or embossing. The mark is formed in the material during moulding, so there is no ink to lift, fade or peel.
Can you screen print on EVA?
Yes, after flame or corona treatment lifts the surface energy above about 38 dynes, and with a flexible ink cured at 60 to 80 degrees.
How many colours can be printed on an EVA tote?
One to four spot colours by screen or pad printing, or full colour including gradients by heat transfer or UV digital printing.
Where should a logo go on a perforated tote?
On the solid band above the top row of holes, or on the full upper wall of a semi-perforated body where 80 to 140 millimetres is available.
How much does a custom EVA tote logo cost?
In-tool marking carries a tooling charge from about 5,000 pieces; screen or pad printing from about 500; UV digital has no set-up and the highest unit cost.
Will a printed logo survive salt water?
A properly treated and cured print passes 48 hours of salt fog. Transfer films and UV prints without a primer or laminate lift at the edges first.
Frequently Asked Questions
Q1. Why does ink peel off an EVA tote?
The material has a surface energy of 30 to 34 dynes and most inks need above 38. Flame, corona or primer treatment before printing fixes it.
Q2. What depth should a debossed logo be?
Between 0.6 and 1.2 millimetres. Shallower is hard to read on a textured surface and deeper can show as a shadow on the opposite face.
Q3. What is the difference between screen and pad printing?
Screen suits a flat or gently curved panel; pad printing uses a silicone pad and reaches curved, recessed and handle surfaces.
Q4. Can I print a photograph on an EVA tote?
Yes, by UV digital or heat transfer. Screen and pad printing handle spot colours only, up to four.
Q5. At what quantity does in-tool marking pay?
From roughly 5,000 pieces of the same artwork. The tooling charge is high and the unit cost is near zero thereafter.
Q6. Can the artwork change after the tool is cut?
Only at the cost of re-machining the cavity, which is more expensive than the original machining. Artwork must be final first.
Q7. What cure temperature should be used?
60 to 80 degrees for a moulded EVA body, not the 150 degrees used on textiles, which distorts the body.
Q8. How is print adhesion tested?
Cross-cut and tape: score a 1 millimetre grid, apply tape, pull. Under 5 percent removal passes.
Q9. What colour tolerance should I specify?
A delta E of 2.0 or less against the approved master. Above 3.0 most buyers notice and above 5.0 most reject.
Q10. Does a semi-perforated body help with branding?
Yes. It converts a 30 millimetre band above the holes into an 80 to 140 millimetre upper panel, which changes what artwork fits.
Q11. Should a logo be placed on the base of the bag?
No. The base is seen once and then scuffed, and a debossed mark there collects grit that needs rinsing out.