An EVA tote works best with one drop-in liner and two pouches rather than with a full divider system, because the liner separates wet from dry while the pouches handle the small items that actually go missing. Size the liner to leave a 10 to 15 millimetre gap at the base so the body still drains through its perforations, and keep the total insert weight under 300 grams so the bag stays stable when set down empty. Most people lose keys, lip balm and sunglasses to a single open volume rather than to the holes, and a pouch costing a few dollars solves it.
Why an Open Body Needs Help
The single open volume is the reason this bag drains in four to ten seconds and it is also the reason small items vanish. Anything placed inside slides to the lowest point, ends up under a towel, and is found only when the whole bag is emptied. The perforations are almost never the escape route: a hole at 10 millimetres retains anything larger than a coin, and items reported as lost through the holes are usually recovered inside the bag later.
The fix is not to close the bag up. Adding a sealed liner to a perforated body defeats the property that makes it worth owning, and it traps water against the walls. The fix is to subdivide the volume vertically with things that do not block drainage: pouches for small items, one wet compartment for damp kit, and nothing that covers the base.
| Reported problem | Real cause | What fixes it | Cost |
|---|---|---|---|
| Keys cannot be found | Single volume, item slides to a corner | A clipped pouch on the handle root | 4 to 9 dollars |
| Sunglasses scratched | Loose against bottles and sunscreen | A hard or semi-rigid pouch | 6 to 12 dollars |
| Phone damp from a wet towel | Wet and dry kit sharing one space | A wet compartment or dry pouch | 8 to 16 dollars |
| Lip balm disappeared | Under a towel, not through a hole | A small mesh pouch, loaded last | 3 to 6 dollars |
| Bag tips when set down | Bottle load concentrated low | A base tray that spreads the load | 9 to 18 dollars |
| Sand inside everything | Sand carried in on towels and toys | Shake out before packing, mesh pouch for sandy items | No cost |
Four Insert Formats Compared
There are four formats on the market and they solve different problems. A drop-in liner is a soft open-top bag that sits inside and lifts out, which is the right first purchase. A divider insert splits the volume into fixed slots, which is tidy and heavier. A pouch set is two or three small bags that hang or sit loose, which is the cheapest and the most flexible. A base tray is a rigid panel that sits on the floor of the bag and spreads load, which matters if you carry bottles upright.
| Format | Weight | What it does well | Where it fails | Best for |
|---|---|---|---|---|
| Drop-in liner | 120 to 260 g | Wet and dry separation, lifts out to rinse | Adds bulk, reduces usable volume by 8 to 12 percent | Beach and pool, first purchase |
| Divider insert | 260 to 480 g | Fixed slots, nothing migrates | Blocks drainage at the base, slower to dry | Boat and market use |
| Pouch set | 60 to 180 g | Cheap, flexible, modular | Pouches themselves go missing | Kids, swim kit, small items |
| Base tray | 180 to 320 g | Stops bottles tipping, spreads load | Only helps at the base | Market, picnic, bottle-heavy loads |
| Insert with a lid | 340 to 560 g | Full enclosure, most organised | Defeats the drainage the body is built for | Rarely the right choice here |
The last row deserves a word. A lidded insert that fully encloses the interior turns a draining bag into a sealed one, and if water gets in it stays in. It also adds more than half a kilogram before anything is packed. If full enclosure is what you need, a different bag is the better answer than an insert that fights the design.
Sizing an Insert to Your Body
An insert that fits tightly looks neat and stops the body draining. The rule is to size the insert to the internal footprint minus 10 to 15 millimetres on each dimension, so water can move around it and out through the perforations. Measure the internal base of the bag rather than the external base, because wall thickness of 2.0 to 2.6 millimetres and a slight inward taper change the usable figure by 15 to 25 millimetres.
| Body size | Internal base, typical | Insert footprint to buy | Insert height | Volume lost |
|---|---|---|---|---|
| Small, 7 to 10 litres | 270 by 170 mm | 255 by 155 mm | 140 to 170 mm | 8 to 10 percent |
| Medium, 18 litres | 330 by 200 mm | 315 by 185 mm | 180 to 210 mm | 9 to 11 percent |
| Large, 32 litres | 430 by 250 mm | 415 by 235 mm | 210 to 250 mm | 10 to 12 percent |
| Extra large, 40 litres plus | 480 by 280 mm | 465 by 265 mm | 240 to 280 mm | 11 to 13 percent |
| Kids body, 5 to 7 litres | 230 by 140 mm | 215 by 125 mm | 120 to 150 mm | 7 to 9 percent |
Height matters as much as footprint. An insert taller than the body folds over at the rim, and a folded insert lip catches on the handles every time the bag is lifted. Leave 20 to 30 millimetres between the top of the insert and the rim, which also gives you a visual check that the bag is not overloaded: if contents rise above the insert line, something is being crushed.
Fitting Inserts Without Blocking Drainage
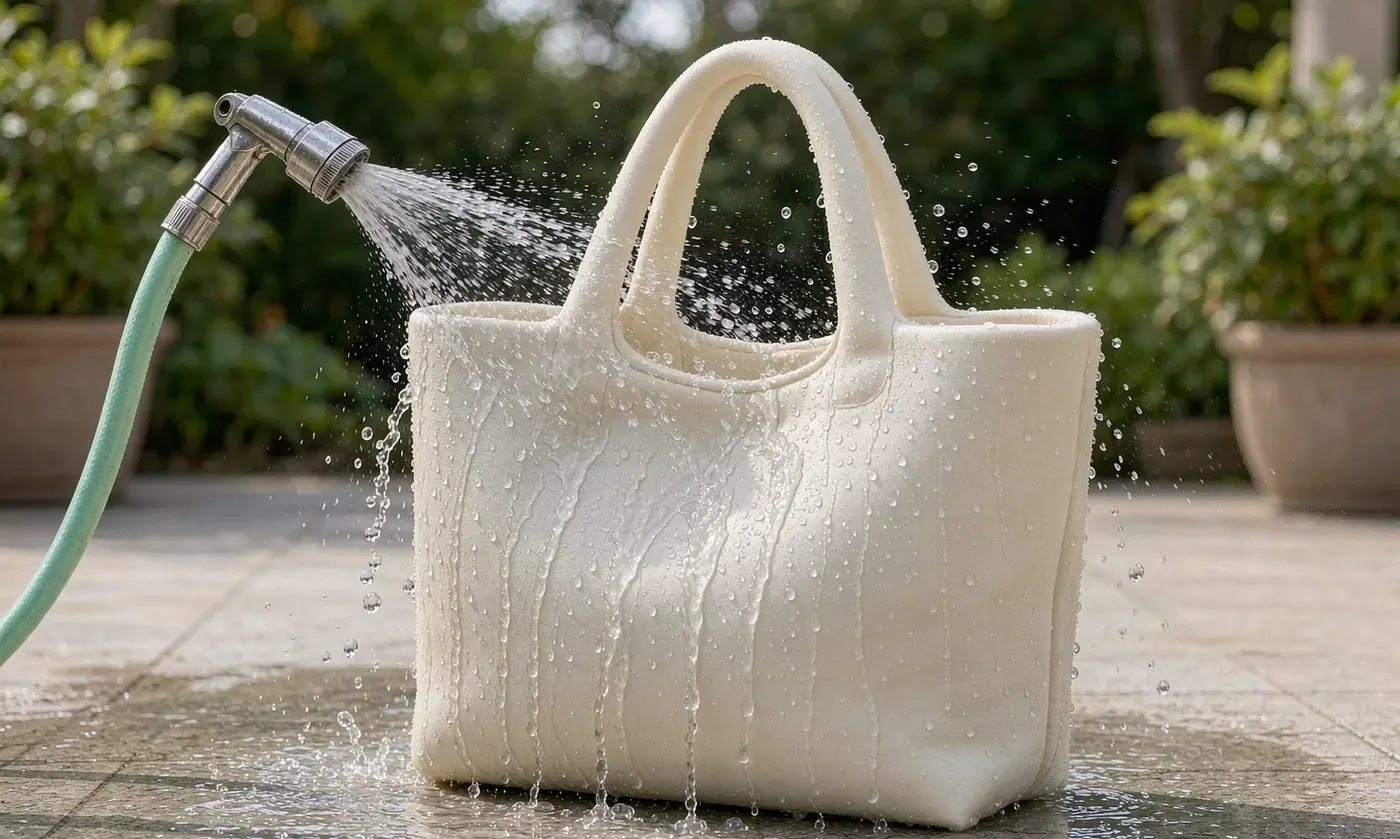
Drainage is the property worth protecting, and three fitting rules keep it intact. Keep the insert off the base by choosing one with feet or by leaving a gap at the bottom. Keep the perforation field on the walls clear, which means no insert with side panels that sit flush. And remove the insert when the bag is stored, because a damp liner left against the walls overnight is the one thing that will produce an odour in a bag that cannot otherwise smell.
- Choose an insert with raised feet or a mesh base, so water reaches the perforations rather than pooling under the liner.
- Never fit an insert with solid side panels that sit flush against the walls. It blocks the side perforations.
- Hang pouches from the handle roots rather than laying them on the base, which keeps the floor of the bag clear.
- Lift the liner out and shake it after any wet use. A liner left inside a drained bag slows drying to several hours.
- Store the bag with the insert removed and both open, upside down if there is a hook available.
A useful test takes thirty seconds and settles any doubt about a particular insert. Fill the bag with the insert fitted, tip it out, and time how long water keeps running from the base. A well-fitted insert still empties the body in under fifteen seconds. If it takes a minute, the insert is blocking the base and will eventually leave standing water in the bag.
A Kit for Each Scenario
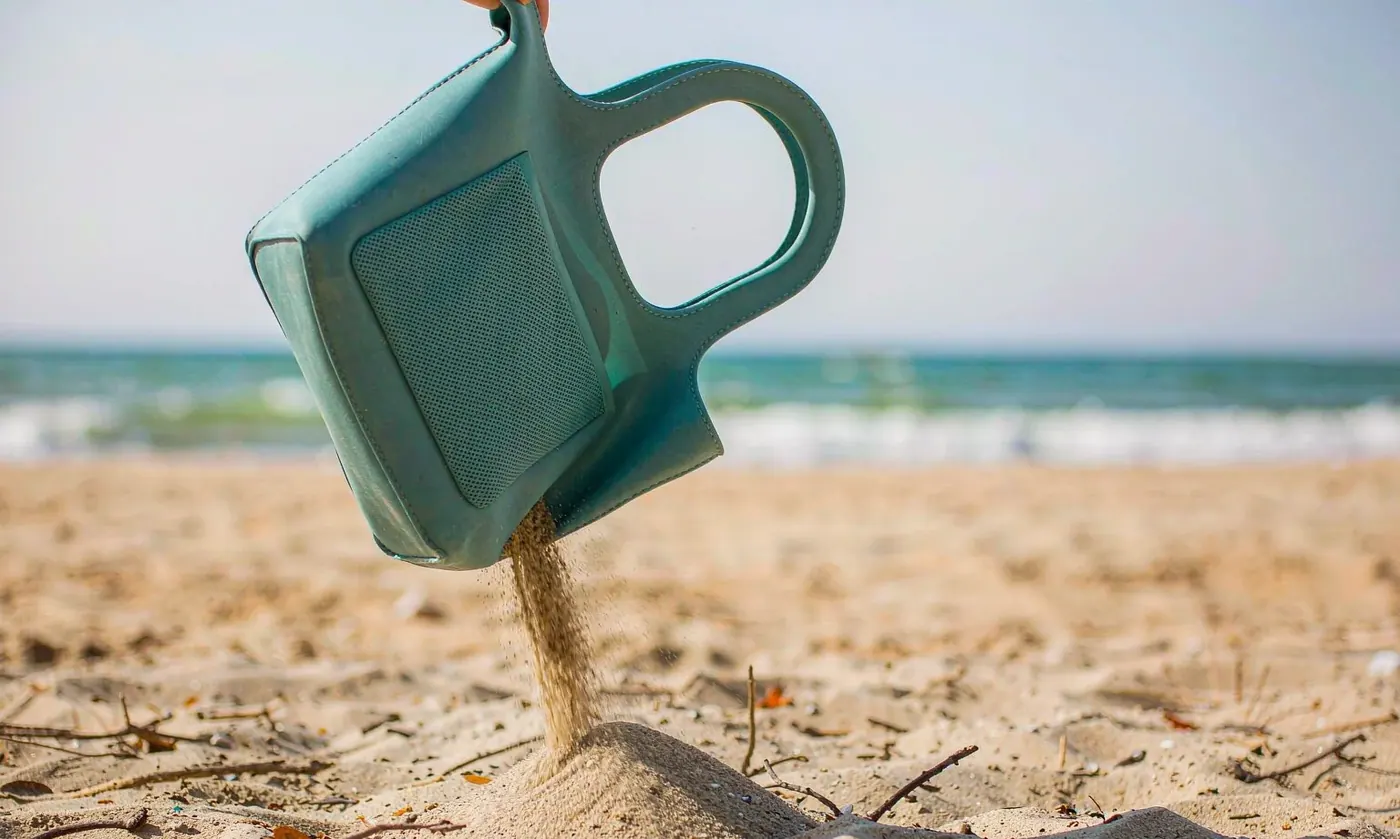
The right kit depends on what the bag is carrying, and four scenarios cover almost all of it. The principle across all four is the same: one wet space, one dry space, and small items hung rather than dropped.
| Scenario | Wet space | Dry space | Small items | Total insert weight |
|---|---|---|---|---|
| Family beach day | Liner for swimsuits and towels | Open body for snacks and books | One clipped pouch for keys and phones | 180 to 260 g |
| Pool and swim club | Mesh pouch for goggles and cap | Liner for a dry towel and drink | Charm tag plus one small pouch | 120 to 200 g |
| Boat or marina | Base tray for bottles, divider for kit | Dry pouch for electronics | Two pouches clipped to the handle roots | 300 to 460 g |
| Market or picnic | Base tray to keep bottles upright | Open body for produce | One pouch for purse and keys | 200 to 320 g |
| Dog walk and grooming | Liner for wet towels and a wet lead | Open body for treats and a drink | One pouch for waste bags and keys | 160 to 240 g |
The boat row is the only one where a divider insert is genuinely justified, because a boat load is heavy, bottle-heavy and does not need to drain in seconds on a wet deck. Everywhere else the drop-in liner plus pouches is lighter, cheaper and dries faster, and it is the combination to buy first.
Cleaning the Insert and the Body Together
Inserts are the part that needs cleaning, not the body, and the routine is shorter than most people expect. Do it at the end of the day rather than at the start of the next one, because a liner left damp overnight is the single cause of odour in an otherwise odourless bag.
- Lift the liner out and shake it. Sand and grit come off dry far more easily than wet.
- Rinse the body with fresh water for thirty seconds, inside and out, and let it drain for ten seconds.
- Wash the liner with mild detergent in a sink or a bucket, then rinse until no residue remains.
- Hang the liner open and stand the body upside down. Both should be dry inside 60 to 90 minutes in shade.
- Wipe pouches with a damp cloth rather than washing them, unless they have held sunscreen or food.
- Once a month, wash the liner on a gentle cycle if the label permits it, and inspect the handle roots on the body.
Guidance on drying shared wet items between uses published by the United States Centers for Disease Control and Prevention makes the same point for swim kit that it makes for the bag: drying matters more than the cleaning agent. A perforated body plus a mesh-based liner dries inside ninety minutes, which removes the damp-storage step from a daily pool or beach routine entirely.
Long-term care is mostly about not storing things damp. At the end of a season, wash the liner, dry it completely, and store it flat rather than folded inside the body, because a liner folded into a drained bag for four months will crease and will hold whatever moisture was in the fold. Store the body upside down or hung by both handles, out of direct sun, with pouches removed and emptied, and both will come back in the shape they went into storage.
Material Choices for Liners and Pouches
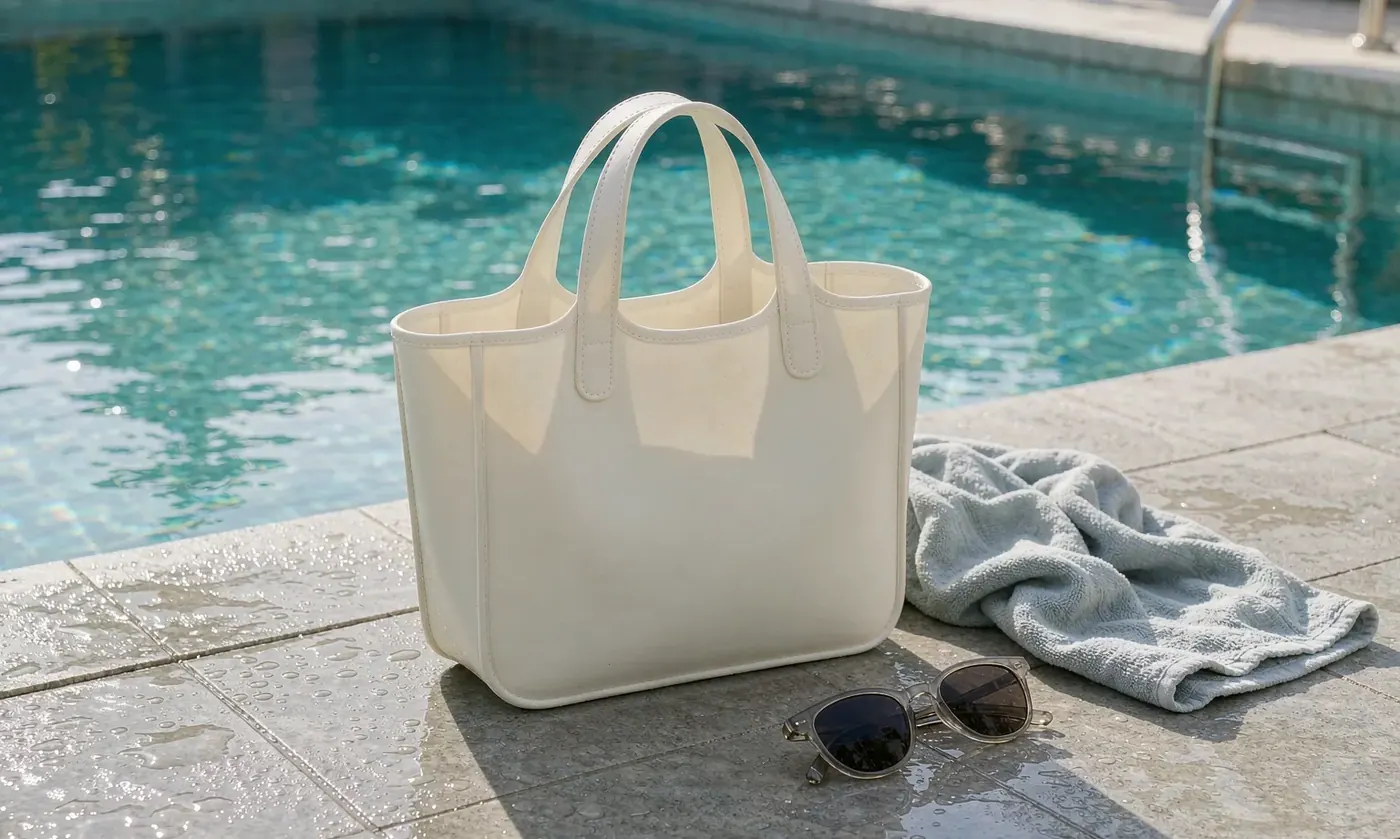
Insert material decides how fast it dries and how long it lasts, and three options cover the market. Polyester mesh drains and dries fastest and is the best choice for anything wet. Coated polyester is wipe-clean and holds its shape but dries slowly. Neoprene cushions and insulates, which suits bottle carriers and electronics, and is the slowest of the three to dry.
| Material | Dry time | Durability | Best use | Watch out for |
|---|---|---|---|---|
| Polyester mesh | 20 to 40 minutes | Two to four seasons | Wet kit, goggles, sandy items | Small items can snag on the weave |
| Coated polyester | 60 to 120 minutes | Three to six seasons | Dry kit, books, snacks | Holds water at the seams if not hung |
| Neoprene | 90 to 180 minutes | Four to seven seasons | Bottle sleeves, electronics | Slowest to dry, heaviest per litre |
| Nylon ripstop | 30 to 60 minutes | Four to six seasons | General pouches | Can fade if left in sun |
| TPU film | 10 to 20 minutes, wipe dry | Three to five seasons | Wet compartments, fully sealed | Traps water if closed with damp kit inside |
Colour fastness and rub fastness on fabric inserts are assessed by grey scale methods published by AATCC, which is worth knowing when a liner sits inside a light-coloured body in strong sun: a dark liner that bleeds will mark a shell-coloured bag permanently, and a grade 4 rating or better is the safe ask.
Family Loads: One Big Bag or One Each
Families face a choice that looks like a sizing question and is actually an organisation question. One 32 litre body shared between four people needs a divider or two liners to stay usable, because four sets of small items in a single volume is exactly the situation that produces lost goggles and a scratched phone. Two 18 litre bodies, one per adult or one per pair of children, need nothing more than a pouch each and are easier to carry across sand.
| Family setup | Bodies | Insert kit | Why it works | Trade-off |
|---|---|---|---|---|
| Two adults, one large body | 32 litres | One liner plus two pouches | One thing to carry and rinse | Shared volume needs discipline |
| Two adults, two medium bodies | 18 litres each | One liner each, no pouches needed | Nothing migrates between loads | Two things to rinse |
| Two adults and two children | 18 litres plus two kids bodies | Pouches for each child | Children carry their own kit | Four items to keep track of |
| One adult and three children | 32 litres with a divider | Divider plus three pouches | Everything in one place | Heaviest single carry |
| Teenagers, shared use | Two 18 litre bodies | One pouch each | No shared volume arguments | Two bodies to store |
The pattern that works with children is to give each child a pouch and a fixed place for it, clipped to a handle root rather than dropped inside. Children lose things in an open volume for the same reason adults do, and the pouch does not need to be expensive to work. Labelling the pouch with a name or a colour turns it into a rule rather than a suggestion, which is the difference between a system that survives August and one that survives a weekend.
One further point applies to any shared body: load it in the reverse order of use. Sunscreen and snacks go in last and come out first; spare towels and books go in first. In a single open volume, loading order is the cheapest organisational tool available and it costs nothing to teach.
What to Buy First, and What to Skip
Buy in this order and stop when the bag works. Most people need two items, not five, and the temptation to buy a complete organiser system is worth resisting because each additional piece adds weight and reduces usable volume.
- First: one drop-in liner sized to leave a 10 to 15 millimetre gap. It solves wet and dry separation, which is the real problem.
- Second: one clipped pouch for keys, phone and sunglasses. Hang it from a handle root so the base stays clear.
- Third, only if needed: a small mesh pouch for lip balm, hair ties and coins.
- Skip: a full divider system unless the load is bottle-heavy. It blocks drainage and adds 260 to 480 grams.
- Skip: a lidded insert. It turns a draining bag into a sealed one and defeats the point of the perforations.
- Skip: anything that covers the base. Stability trays are fine; solid floors are not.
The total spend for the two items that matter is roughly 12 to 25 dollars, which is a small fraction of the bag and the highest-value accessory purchase in the category. It is also the purchase that converts a first-time user who finds the open volume frustrating into a repeat buyer.
Programme Notes
The category background sits in the injection-molded EVA tote guide, and personalisation that complements an organised body is covered in the EVA tote charms range and the EVA tote charms guide. QUANZHOU JUNYUAN BAGS has run waterproof bag programmes since 2014 with a founding team in this trade since 2004, and develops liner and pouch sets alongside moulded bodies for retail and resort accounts.
Monthly output runs at 200,000 units verified by SGS, operations follow BSCI and ISO 9001, materials are screened for REACH and California Prop 65, and every bulk shipment is inspected at AQL 2.5 before release. Programme minimums begin at 500 pieces per design and colour, with sampling at 6 to 10 working days and bulk at 35 to 50 days from approved sample and deposit, shipped FOB Xiamen or DDP to more than 100 countries. Send your target body size, insert format and quantity to service@junyuanbags.com.
People Also Ask
Do EVA totes come with pockets?
Most bodies are a single open volume by design. Pockets are added with drop-in liners and clipped pouches rather than built in.
What is the best insert for an EVA tote?
A drop-in liner with a mesh base, sized 10 to 15 millimetres smaller than the internal footprint so the body still drains.
Do inserts stop the bag draining?
A well-fitted one does not. Time it: water should stop running from the base within fifteen seconds of tipping the bag out.
How do I stop losing keys in a tote?
Clip a pouch to a handle root rather than dropping it inside. Keys slide to the base and end up under a towel.
Can I use a divider insert?
Yes for bottle-heavy or boat loads. It blocks some drainage and adds 260 to 480 grams, so it is not the first choice for beach use.
How do I keep a phone dry in a perforated bag?
Use a dry pouch or a sealed wet compartment. The perforations drain water in both directions and will not protect electronics.
Frequently Asked Questions
Q1. What is the best first insert to buy?
A drop-in liner with a mesh or raised base, sized 10 to 15 millimetres below the internal footprint. It handles wet and dry separation, which is the real problem.
Q2. Will an insert stop my tote draining?
Not if it is fitted correctly. Leave a gap at the base and avoid solid side panels, and the body still empties in under fifteen seconds.
Q3. How do I measure for an insert?
Measure the internal base of the bag, not the external. Wall thickness and taper change the usable figure by 15 to 25 millimetres.
Q4. What height should the insert be?
Leave 20 to 30 millimetres between the top of the insert and the rim. A taller insert folds over and catches on the handles.
Q5. How do I stop keys and sunglasses going missing?
Clip a pouch to a handle root. Items slide to the base of an open body and are found only when the whole bag is emptied.
Q6. Are the perforations letting small items fall out?
Rarely. A 10 millimetre hole retains anything larger than a coin, and reported losses are almost always found inside the bag.
Q7. Should I buy a divider insert or a liner?
A liner for beach and pool use, because it drains faster and weighs less. A divider only for bottle-heavy or boat loads.
Q8. Can a lidded insert be used in this bag?
It can, but it defeats the design. It encloses the interior, traps water and adds over half a kilogram before anything is packed.
Q9. Which insert material dries fastest?
Polyester mesh, in 20 to 40 minutes. Neoprene is the slowest at 90 to 180 minutes and is best kept for bottle sleeves.
Q10. How do I clean the insert and the bag?
Shake the liner dry, rinse the body for thirty seconds, wash the liner with mild detergent, and dry both open in shade within 90 minutes.
Q11. Can a dark liner mark a light-coloured bag?
It can, if the fabric bleeds. Ask for colour fastness of grade 4 or better on any liner that sits in a shell or sand-coloured body.