A roll-top waterproof backpack seals correctly when it is filled to 70 to 80 percent of usable volume, closed with at least three full turns and clipped across the body rather than upward. Each turn consumes 60 to 90 millimetres of height and lays two contact faces together, so three turns produce roughly 200 millimetres of folded water path while four turns produce about 260 millimetres. Use three turns for rain and spray, four for kayaking and paddleboarding spray decks, and add a compression strap over the roll whenever the pack will be thrown into a boat or a vehicle. Keep 10 to 15 percent of the volume as trapped air for buoyancy, place 60 percent of the carried mass in the middle zone against the back panel, and never let a sharp edge sit against a fold. Allow 60 to 90 seconds to close properly; rushed rolling accounts for most supposed leaks.
Why Roll Geometry Decides Whether the Pack Stays Dry
A roll-top closure is not a lid. It works by folding the coated faces back on themselves so that any water reaching the closure has to travel along a long, pressed, self-sealing path before it can reach the interior, and every additional turn lengthens that path. Nothing about it depends on hardware, which is precisely why it survives sand, salt and freezing far better than any zipper.
The practical consequence is that closure quality is a packing decision rather than a product attribute. A 25 litre body rolled three times on a half empty pack, with a stiff strap end lying across the fold, will admit water that the same body rolled five times on a properly packed load will not. Field data from guided trips puts avoidable closure errors above 50 percent of reported wetting incidents, which is why closing technique deserves more attention than seam patrol.
Two details compound errors. Trapped folds of fabric inside the roll leave a channel straight into the interior, and closing under a full load with the pack lying on its back lets air escape unevenly so one side of the roll ends tighter than the other. Both are fixed by technique, and both cost nothing.
| Roll turns | Folded water path | Suits | Typical exposure |
|---|---|---|---|
| One to two turns | 60 to 120 millimetres | Nothing beyond light mist | Condensation and drips only |
| Three turns | About 200 millimetres | Rain, road spray, hiking | IPX4 to IPX5 conditions |
| Four turns | About 260 millimetres | Kayaking, paddleboarding, open boats | Spray and brief submersion |
| Five turns plus strap | Over 300 millimetres | Rafting, sustained spray, swamping | IPX7 enclosure approach |
| Four turns with air valve inflated | Plus internal pressure | Sensitive loads needing verification | Adjustable test state |
Step by Step: Closing Sequence That Holds
- Pack to 70 to 80 percent of usable volume, leaving at least two hand widths of unrolled collar above the contents.
- Press the collar flat and expel excess air by squeezing gently from the sides, leaving roughly 10 to 15 percent still trapped inside for buoyancy.
- Fold the top edge down once crisply along a straight line, squeezing out any wrinkle in the fold with your thumb as you go.
- Roll down rather than up, three to five turns, keeping each turn tight and parallel, so no channel opens across the roll.
- Clip the buckle across the body rather than upward, then pull the webbing until the roll is compressed against itself but not distorted.
- Tug the finished roll outward and inspect it; any gap wide enough to admit a fingertip should be rerolled before leaving.
Direction is not cosmetic. Rolling down means gravity and any water running along the body push the fold closed; rolling up leaves the open edge facing upward, where spray collects and capillary action works against you. Clipping across the body compresses the roll and raises the fold line above the water path, whereas clipping upward leaves the softest part of the closure lowest and most exposed.
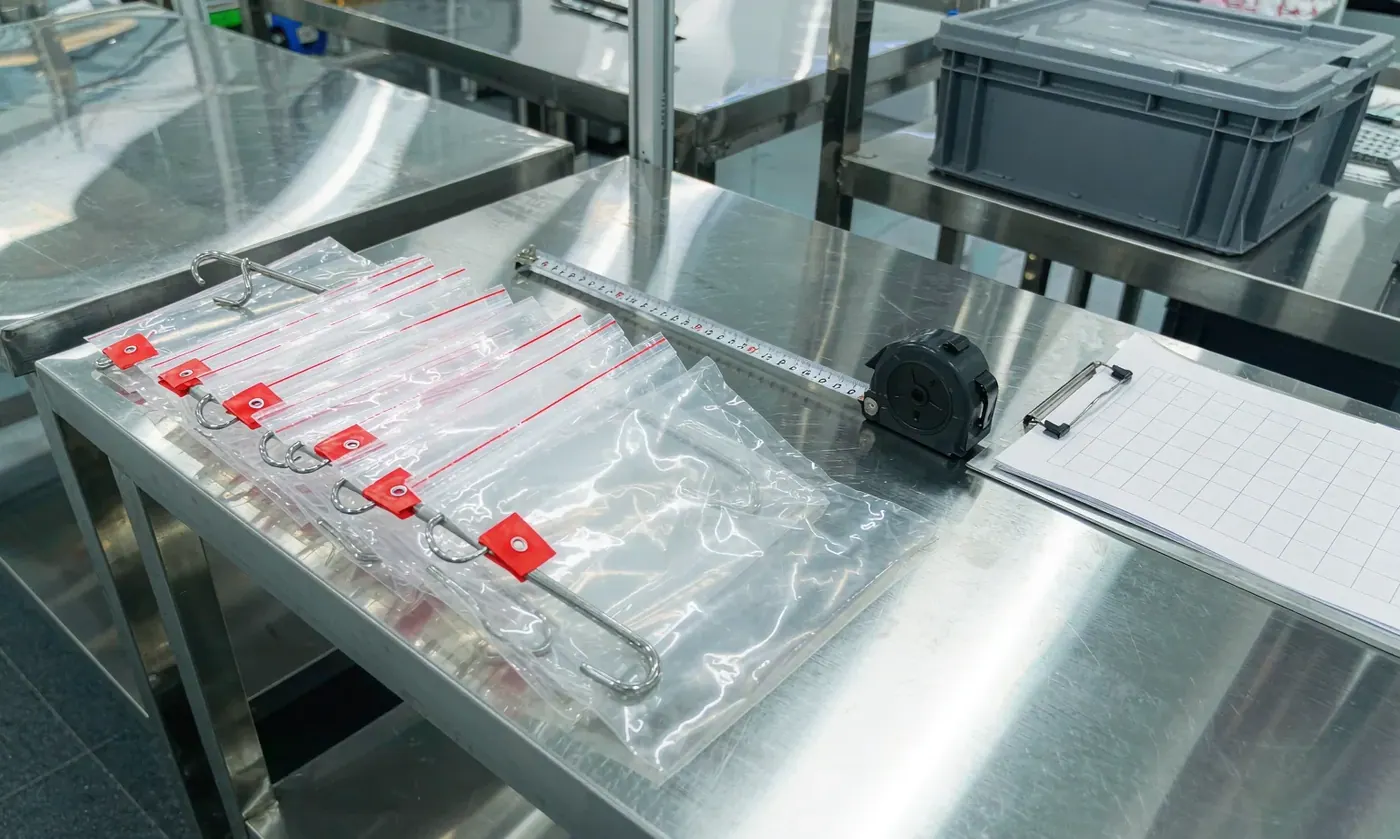
On the bench, a correct roll is checked by two observable things: the number of visible turns, which should never fall below three on a pack filled to specification, and the symmetry of the roll across the body, which reveals the uneven tension that lets water in at one corner. Both checks take five seconds and both predict field performance better than any laboratory rating read in isolation.
Fill Level: The Number Most People Get Wrong
Overfilling is the single most destructive packing habit. A pack filled to 100 percent has almost no collar left to roll, so users compensate with one or two turns and pull the buckle hard to compensate, which produces exactly the weak closure described above. Under-filling is less harmful but wastes structural integrity: contents slide, the body creases at the middle, and repeated creasing abrades the coating along the same line every trip.
Aim for 70 to 80 percent of usable volume, where usable means after any internal pouches and organisers are fitted. On a 30 litre body that means loading 21 to 24 litres and leaving the top 150 to 200 millimetres empty. That headspace serves three purposes at once: it gives you collar to roll, it leaves air for buoyancy, and it stops the contents acting as a rigid block that forces the seams from inside.
| Nominal volume | Load target at 70 to 80 percent | Suggested carried mass | Unrolled collar left | Typical trip length |
|---|---|---|---|---|
| 20 litres | 14 to 16 litres | 5 to 8 kilograms | 120 to 160 millimetres | Day hike or commute |
| 30 litres | 21 to 24 litres | 8 to 12 kilograms | 150 to 200 millimetres | Long day or overnight |
| 40 litres | 28 to 32 litres | 10 to 15 kilograms | 180 to 240 millimetres | Two to three days |
| 55 litres | 38 to 44 litres | 13 to 18 kilograms | 200 to 260 millimetres | Four to six days |
| 70 litres | 49 to 56 litres | 16 to 22 kilograms | 240 to 300 millimetres | Week or expedition stage |
Volume selection interacts with this: choosing a body that matches the load, rather than buying larger and under-filling, keeps the geometry correct without effort. The decision framework is set out in the guide to choosing the right volume, and dimensional detail by size class is in the size and capacity guide. Construction variants and their collar lengths are compared in the roll-top range overview.
Load Zones: Where Each Kilogram Belongs
Distribution affects both comfort and integrity. Roughly 60 percent of carried mass should sit in the middle zone against the back panel, 25 percent in the lower zone, and 15 percent in the top zone. Keeping dense items high and against the back keeps the centre of mass close to the body, which reduces the pendulum effect on rough ground and reduces the peeling moment applied to the base corners where closures and seams fail.
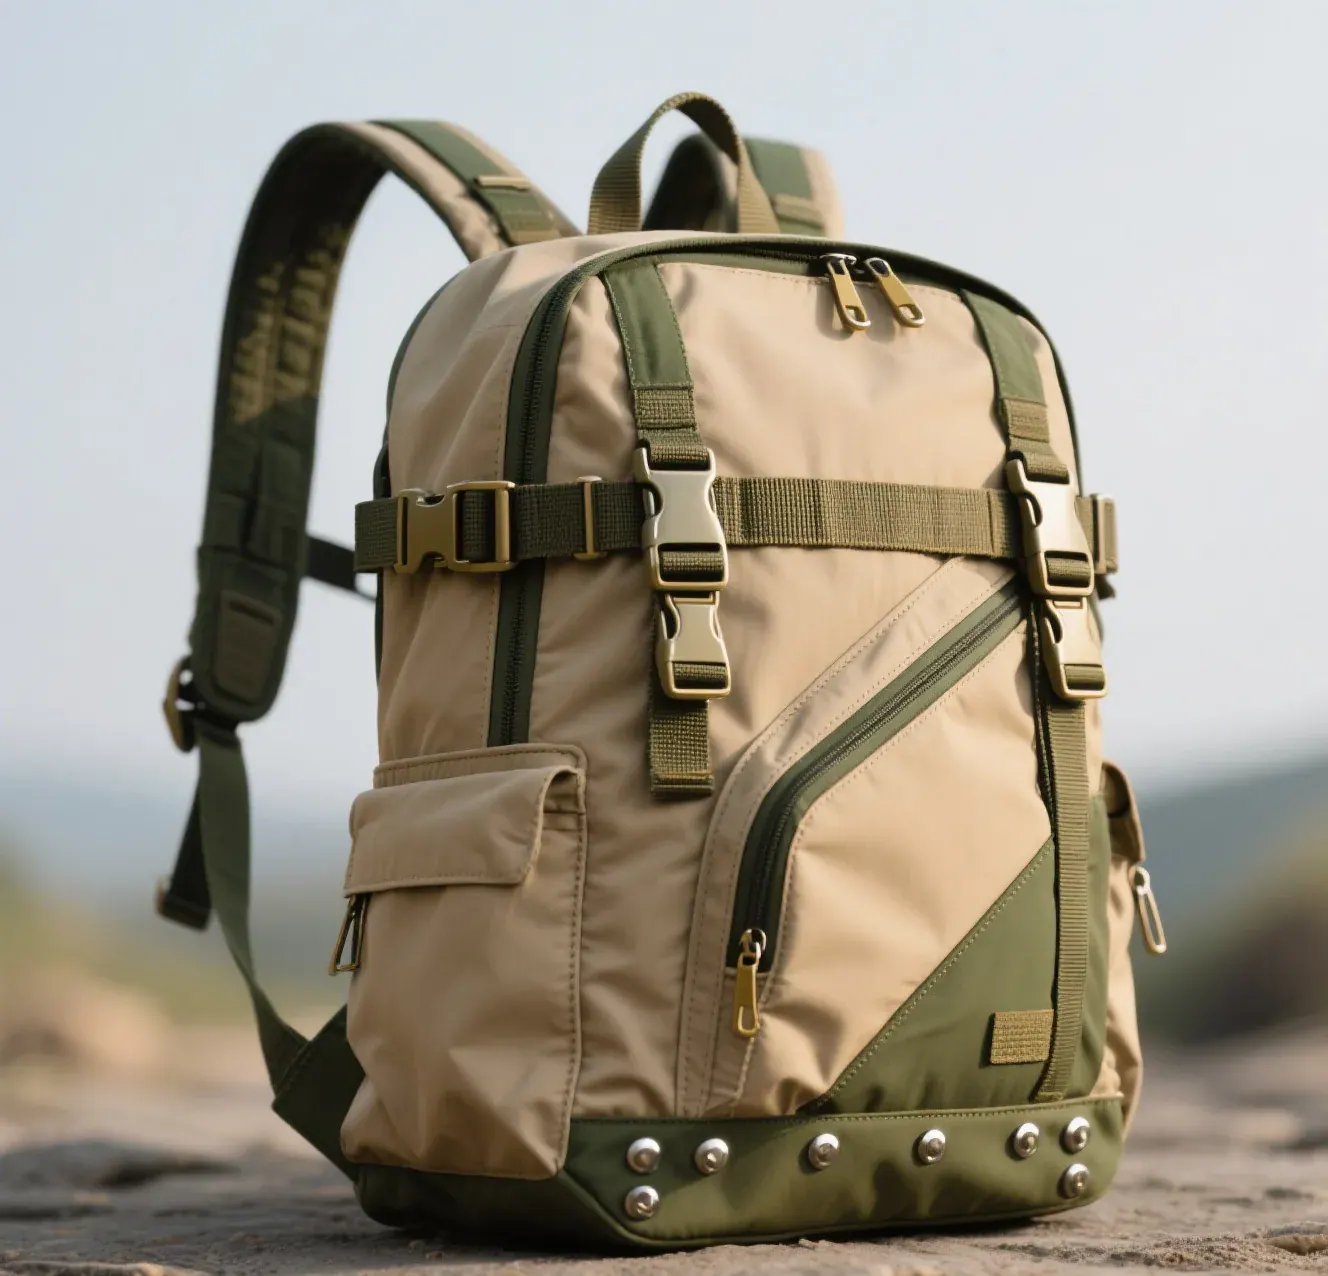
Sharp objects deserve specific handling. Any item with a corner, a tripod leg, a tool head, a stove canister thread, should be padded or placed in the centre of the middle zone where it cannot press against a weld or a fold line during carrying. A hard point pressed against a coated face for 8 hours of walking is how punctures start, and they always appear as if from nowhere.
| Zone | Share of mass | What belongs there | Why it goes there |
|---|---|---|---|
| Lower zone | About 25 percent | Sleeping bag, soft clothing, spare layers | Soft buffer that absorbs impact at the base |
| Middle against back panel | About 60 percent | Water, food, camera bodies, dense gear | Keeps centre of mass close to the body |
| Outer middle | Part of the above | Wet items in a separate pouch | Isolated and easy to reach without unpacking |
| Top zone | About 15 percent | Rain shell, snacks, first aid | Immediate access without breaking the closure |
| Lid or strap pockets | Access only | Map, phone, sunscreen | Nothing that compresses against the roll |
Wet and Dry Separation, Electronics and Food
Everything wet goes in one pouch, everything that must stay dry goes in another, and electronics go in a third with their own closure. This is not tidiness; it is how you avoid opening the main closure in bad weather, which is the moment leaks happen. Three 8 to 15 litre pouches inside a 40 litre body cost about 250 grams and lose perhaps 5 percent of usable space, and they turn every stop into a ten second reach rather than a full unpack.
- Use a bright pouch for wet items so nobody has to think about which is which in poor light or cold hands.
- Double bag electronics: a dry pouch inside the main body plus the device's own case, giving two independent barriers.
- Keep food sealed against odour and grease, because cooking oils degrade coatings where they contact them for hours.
- Carry a small towel dedicated to wiping the collar before rolling; a wet fold seals badly and traps grit.
- Pack fuel canisters away from food and with their caps up, in the middle zone, never against the base seam.
Liquid volume is worth counting. Carry water bladders inside the main body rather than in external sleeves where they receive direct spray and sunlight, and remember that a three litre bladder adds three kilograms in the densest possible form, which belongs against the back panel and low.
Closing in bad conditions is a skill in itself. When hands are cold or gloves are wet, closing quality falls sharply, so build a routine that works without fine dexterity: sit the pack on the ground and press the fold against your thigh, using body weight rather than pinch grip, and pull the buckle webbing with a closed fist. Practising the sequence once at home with gloves on takes 10 minutes and removes most of the variation people blame on the product.
Dryness of the collar matters more than most people expect. Water on the inside faces of the collar does not stop the seal, but it carries grit into the fold, and grit is what abrades coatings along precisely the line where every subsequent roll presses hardest. Wipe the collar with the back of a hand or a dedicated cloth before the first fold, particularly after beach use or any contact with sand.
Buoyancy: Keeping Air Where It Counts
Trapped air does double duty. It provides the freeboard that keeps a pack afloat if it goes overboard, and it provides internal pressure that resists water entry at the folds. Ten to fifteen percent of volume is sufficient for both, and it is destroyed by two habits: compressing the roll with everything you have, and packing soft items so densely that nothing can hold air.
Where packs go overboard regularly, buoyancy stops being a comfort and becomes equipment. Recovery of a floating bag in open water is a fundamentally different problem from recovering one that sank, and published sea state figures from NOAA put that difference in context: even a marginal sea state doubles the difficulty of spotting and retrieving anything in the water. Small craft guidance from the United States Coast Guard reinforces the practical decision, which is to tether anything that must not be lost rather than relying on buoyancy alone.
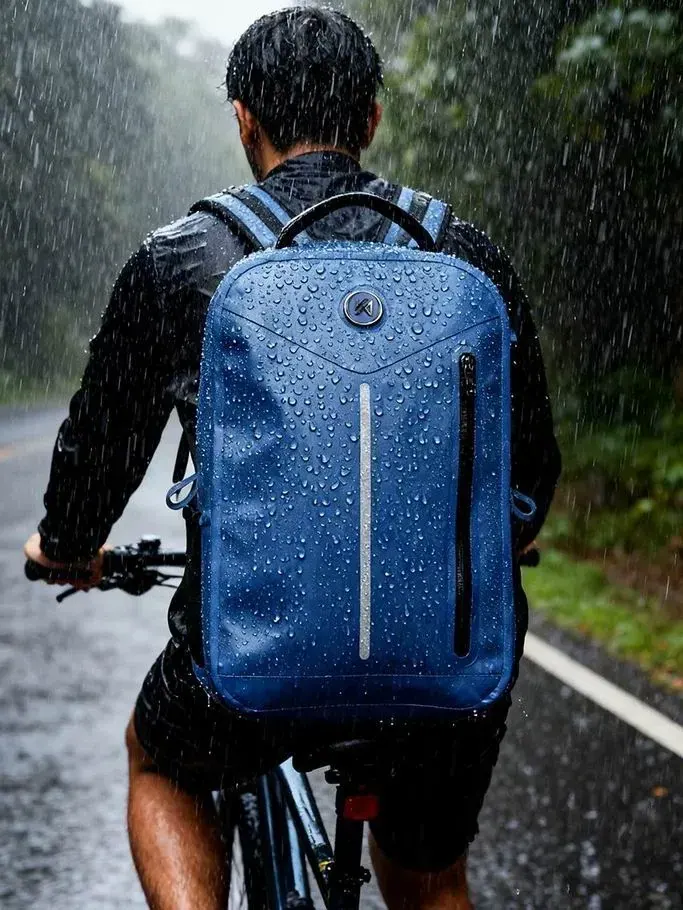
Test float behaviour before trusting it. With the intended load aboard and the closure done exactly as you would do it on the water, place the pack in calm water and note the visible freeboard, then again after 30 minutes. Anything less than about 30 percent of body height above the waterline, or any steady loss of freeboard within 30 minutes, means air is escaping and water can follow the same path. Buoyant designs intended for this duty are gathered in the floating waterproof backpack range.
Field Check Before Every Departure
- Count the visible turns out loud. Anything under three on a loaded pack is rerolled before the first step.
- Look at both ends of the roll for the small triangular gap that forms when one side is pulled tighter than the other.
- Tug the closed roll outward horizontally and confirm the buckle does not slip under a 5 kilogram pull.
- Check that nothing hard is pressed against a seam or a fold by running a hand over the loaded body.
- Lift the pack by its shoulder straps and shake it once; movement inside means redistribution, not closure, is the next job.
The five checks take 60 to 90 seconds and they should be repeated after every extended stop, because a pack that was correctly closed at the trailhead often gets reopened and carelessly rerolled at lunch. Most people who report a leaking roll top remember a specific instance of closing it in a hurry.
Two further situations warrant a full reroll rather than a visual check. After any fall or drop, however minor, reroll from the first fold, because impact along the roll can open one end without showing any outward sign. And after exposure to freezing temperatures overnight, reroll before moving off, since a frozen coating briefly resists reforming and produces loose turns that stay loose once warmed.
| Mistake | What it looks like | Result | Fix |
|---|---|---|---|
| Rolling up instead of down | Open edge faces upward | Spray collects at the fold | Always roll downward |
| Only two turns | Roll barely covers the load line | Water enters in moderate rain | Minimum three, four on water |
| Clipping upward | Buckle pulls the roll open slightly | Persistent slow seep | Clip across the body |
| Overfilling | No collar left to roll | Weak closure despite hard pulls | Load to 70 to 80 percent |
| Compressing all air out | Body looks vacuum packed | No buoyancy, no internal pressure | Keep 10 to 15 percent air |
| Sharp item against a fold | Visible point pressing the fabric | Abrasion then pinhole leak | Pad it or move it centrally |
Matching Roll Top Closures to Conditions and Programmes
Closure choice should follow the worst realistic exposure rather than the average one. A commuting pack sees vertical rain and road spray, which three turns handles comfortably. A kayak pack sees continuous spray plus occasional swamping, which argues for four turns and a compression strap. Anything carried on open water where immersion is plausible needs a genuinely immersion-rated enclosure, and published ingress codes for that are maintained by IEC, whose definitions describe test conditions rather than everyday performance, which is worth remembering when reading a hangtag.
For trips where a dry change of clothing is genuinely critical, the version of this technique used with a mountain body is described further in the waterproof hiking backpack range, and the trade off between carrying capacity and closure integrity comes back to the same volume decision outlined above.
QUANZHOU JUNYUAN BAGS builds roll-top bodies with collar lengths from 180 to 320 millimetres, giving three to five usable turns at the recommended fill level, with closure hardware tested across 3,000 cycles. Programme entry is 500 pcs per design and colour, prototype samples in 6 to 10 working days, bulk production in 35 to 50 days, FOB Xiamen or DDP into more than 100 countries. Shipments are released at AQL 2.5, materials are screened for REACH and California Prop 65, and the quality system holds ISO 9001. Collar geometry, closure options and their tested cycle counts are documented. Enquiries go to service@junyuanbags.com.
People Also Ask
How many times should you roll a roll-top backpack?
Three times minimum for rain and spray, four for kayaking or paddleboarding, and five plus a compression strap when swamping is plausible. Each turn adds 60 to 90 millimetres of folded contact, so three turns give roughly 200 millimetres of water path and five give more than 300.
Should you roll a roll top up or down?
Roll downward. It puts the open edge below the fold so gravity and running water press it closed, whereas rolling upward leaves the open edge facing up where spray collects and capillary action pulls moisture in.
How full should a roll-top waterproof backpack be?
Fill to 70 to 80 percent of usable volume. That leaves enough collar for three to five turns, keeps 10 to 15 percent trapped air for buoyancy, and stops contents acting as a rigid block that forces seams from the inside.
Does leaving air in a waterproof backpack help it float?
Yes. Keeping 10 to 15 percent of volume trapped gives freeboard if the pack goes overboard and internal pressure at the folds. Compressing every last bit of air out removes both benefits and increases the load on the closure.
Where should heavy items sit in a roll-top backpack?
Put about 60 percent of carried mass in the middle zone against the back panel, 25 percent low and 15 percent high. This keeps the centre of mass close to the body and reduces the peeling force on the base corners, where both seams and closures fail first.
Why does my roll-top backpack still leak?
Most likely the closure. Count the turns, check that nothing is trapped in the fold, roll downward rather than up, and clip across the body rather than upward. Rushed re-closing after a lunch stop is the most common single cause of water inside.
Frequently Asked Questions
Q1. How do you close a roll-top backpack correctly?
Fill to 70 to 80 percent, expel excess air while leaving 10 to 15 percent, fold the top edge down crisply, then roll downward three to five tight parallel turns. Clip the buckle across the body, pull the webbing firm, and check both ends of the roll for gaps before setting off.
Q2. Does rolling more times make a backpack more waterproof?
Yes, because each turn lengthens the folded path water would have to travel and adds another pressed contact face. Going from two turns to four roughly doubles the effective path from about 120 to 260 millimetres, which is the difference between shedding mist and surviving spray.
Q3. Can a roll-top backpack be fully submerged?
Only a genuinely immersion-rated body with a proper number of turns, and only briefly. Roll-top geometry approaches immersion enclosure when closed with five turns plus compression, but sustained submersion needs designs built and tested for it rather than a general purpose pack.
Q4. Should the buckle clip across or upward?
Across the body. Clipping upward pulls the roll slightly open at the fold and puts the softest part of the closure at its lowest point, where spray collects. Clipping sideways compresses the roll against itself and lifts the fold line above the water path.
Q5. How much weight can a roll-top closure handle?
The closure itself is rarely the limit; the webbing and its anchor points are. Loaded roll tops commonly carry 10 to 18 kilograms without difficulty, but any single item should be checked so no hard point presses against a fold or weld during carrying.
Q6. What do I do with wet gear inside a roll-top pack?
Keep it in one clearly identified pouch, bright coloured if possible, so you never have to guess in poor light. Wet items stay isolated from anything that must stay dry, and you avoid opening the main closure in bad weather just to reach a damp jacket.
Q7. Are compression straps good or bad for a roll top?
Good, used gently. A single strap over the closed roll keeps it from unrolling during transport and adds fold pressure. Overtightening drives out all trapped air, removing buoyancy and internal pressure, so tighten until firm rather than maximum.
Q8. How do I stop my roll top leaking at the corners?
Corners are where tension differs between the two sides of the roll. Before closing, make the first fold dead straight and keep each subsequent turn parallel; then look specifically at both ends of the finished roll for the small triangular gap that forms when one side is tighter.
Q9. Can I use a roll-top backpack as a dry bag?
Many roll-top bodies are effectively dry bags with straps fitted, and they perform the same way. Check whether the claimed rating covers the body alone or the assembled pack with straps, since strap anchor points are usually the first place water enters under sustained immersion.
Q10. How often should I check the closure during a day out?
Every time you reopen it, and once at each extended stop even if you do not. A pack correctly closed at the trailhead gets rerolled carelessly at lunch more often than any other single reason accounts for water inside.