A modular kayak fishing crate is built around one idea: the base frame stays bolted to the kayak forever and the payload modules lift out in under thirty seconds. Start with a crate no larger than 355 by 355 by 280 millimetres, cut vertical tray slots at 48 millimetres of clear spacing, fit two or four rod tubes at 40 to 48 millimetres internal diameter angled twenty-five degrees off vertical, and keep the loaded centre of gravity below 250 millimetres above the well floor. Total build cost lands between fifty and eighty dollars and about three hours. Everything above deck gets leashed to the hull at two points, because anything not leashed is gone the first time the boat rolls.
Why Modular Beats Permanent
A permanent rig solves one configuration perfectly and every other one badly. The angler who fishes lures on a lake on Saturday and bait from a jetty on Sunday ends up carrying a crate that is wrong half the time, and nothing about a fixed build can be changed at six in the morning in the dark. Building modules instead means the frame is permanent while the payload is chosen in thirty seconds on the driveway, and each module can be developed separately over a season.
The second argument is maintenance and drying. Everything that goes in a kayak gets wet with salt or silt, and a fixed rig has to be hosed in place, which guarantees that the base stays damp and the smallest fittings corrode first. Modules come out, get rinsed individually, dry overnight, and go back clean. Over two seasons that difference decides whether hardware survives at all.
| Approach | Reconfigure time | Drying quality | Failure mode |
|---|---|---|---|
| Fully permanent build | Not practical | Poor, base stays damp | Corroded fittings, no flexibility |
| Loose gear in the well | Fast but chaotic | Good | Everything shifts and rattles in a swell |
| Modular crate, this build | Under 30 seconds per module | Excellent, each module dries alone | Requires discipline about leashing |
| Purpose-built tackle crate bag | Ten seconds | Good | Higher cost, fewer layout choices |
Measure the Tank Well Before Cutting Anything
Every kayak well is different and the differences are bigger than the online photographs suggest. Measure length, width, and depth to the floor, then measure again at the height the crate top will actually sit, because most wells taper. Leave twenty millimetres of clearance all round so the crate can be lifted straight up without binding, and check the clearance to the seat when the seat is fully reclined, which is where a lot of builds silently fail.
Also measure what happens when the kayak is loaded. Wells flex, and a well that accepts a crate beautifully on a lawn can pinch it once the hull is in the water and loaded with an eighty kilogram angler. If the hull is thin, fit a closed-cell foam pad of ten millimetres under the crate so that flex is absorbed by the pad rather than by the crate wall.
| Measurement | Typical range, sit-on-top | Build rule |
|---|---|---|
| Well floor length | 380 to 520 mm | Crate no more than twenty millimetres shorter |
| Well floor width | 360 to 460 mm | Same twenty millimetre rule each side |
| Well depth to rim | 180 to 300 mm | Crate top below seat back by sixty millimetres |
| Reclined seat clearance | Often overlooked | Check with the seat fully reclined |
| Deck hardware spacing | 200 to 400 mm between pad eyes | Anchor to existing pad eyes where possible |
The Base Frame in Six Steps
- Source the crate. A heavy-duty utility crate around 355 by 355 by 280 millimetres, roughly twenty litres to the rim, is the standard. Avoid thin-walled storage crates; they deform under strap tension within a season.
- Cut a twelve millimetre PVC or HDPE sheet as a false floor, sized to drop inside the crate with a three millimetre gap, and drill it with ten millimetre drainage holes every eighty millimetres.
- Fit four stainless pad eyes through the crate lower rails, positioned forty millimetres up from the floor, using backing washers on the inside to spread load.
- Attach the crate to the boat with two six millimetre bungee hooks crossing diagonally to existing pad eyes, tensioned to roughly thirty percent stretch at rest.
- Add a drain path: the false floor plus open-bottom holes means any water in the crate leaves in under ten seconds when lifted slightly.
- Label each module position on the crate with solvent-free marker so assembly order is repeatable at five in the morning.
Two material rules dominate the rest of the build. Use stainless rather than plated fasteners anywhere the fitting passes through the crate wall, because salt, spray, and shade combine to destroy plated steel in about eighty hours of use. Use drainage always, since a crate with no drain path fills to twenty litres in one rain shower and then carries eleven to eighteen kilograms of water with the load riding higher than intended.
Module One: Vertical Tray Slots
Tackle trays lie flat in most crates and that is the worst possible orientation at sea: three flat trays stacked make every tray below the top one inaccessible and every tray an unstable shelf when the boat rolls. Standing trays on edge in vertical slots solves both problems at once, and it also lets each tray drain rather than pooling water in its base channels.
Build the slots from twelve millimetre PVC board with clear internal spacing of forty-eight millimetres, enough for a loaded 3600 size tray plus about four millimetres of tolerance. Three slots occupy roughly two hundred millimetres of crate width, leaving a useful channel down one side for a water bottle or a stake. Seal the board edges so they do not fray, and radius the slot mouths slightly so trays guide in without being aimed.
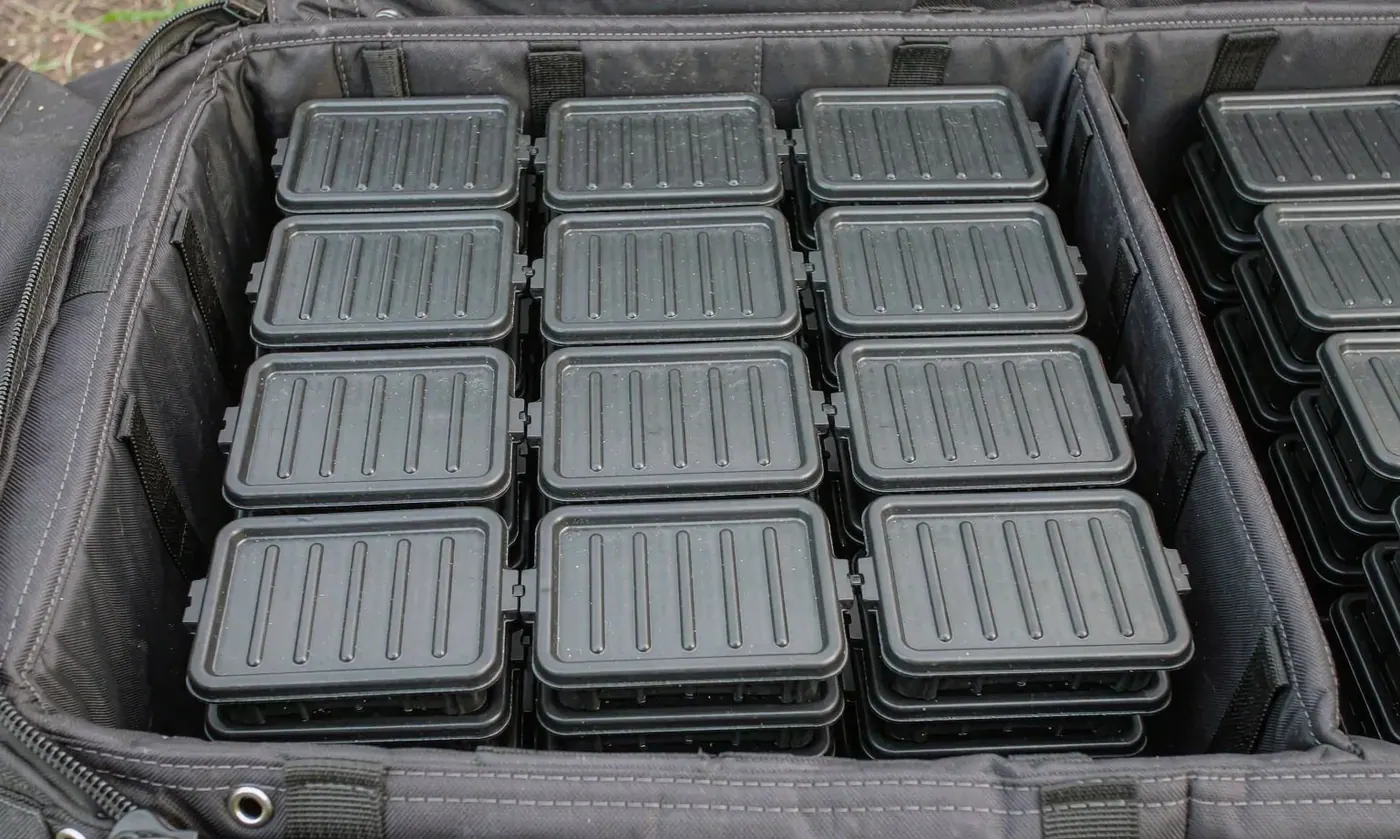
Capacity is worth stating plainly: three vertical slots take three standard trays, which is twenty to twenty-nine items of tackle per slot and far more than most single-method sessions need. Keeping the crate to three trays rather than five also keeps the centre of gravity lower, and that is worth more than the extra tackle ever is.
Module Two: Rod Holders and Angle
Rod tubes are the feature most builds overcomplicate. Two rear-facing tubes are enough for most fishing, three if two methods are carried pre-rigged, and four only if space allows them to be staggered so the reels do not foul. Internal diameter is the number that decides usability: forty millimetres takes a bare rod butt but not a rod with a reel fitted, and forty-eight millimetres takes a reel up to about a three thousand size comfortably.
Angle is the second decision. A tube mounted vertically keeps the rod high and easy to grab but puts the tip directly above the paddler line; angled twenty-five degrees off vertical with the mouth trailing behind the seat, it clears the paddle stroke and keeps the rod out of the wind. Whichever angle is chosen, the tube length below the rim should be at least three hundred and twenty millimetres or a long rod will walk itself out in a following sea.
| Rod holder parameter | Recommended value | Consequence if wrong |
|---|---|---|
| Internal diameter | 40 mm bare, 48 mm with reel | Reel will not enter, or rod rattles loose |
| Tilt off vertical | Twenty to thirty degrees, mouth trailing | Tip fouls the paddle stroke |
| Tube depth below rim | Minimum 320 mm | Long rods walk out in a following sea |
| Bottom closure | Closed with a six millimetre drain | Open bottom loses rods; undrained fills with water |
| Retention | Bungee across the mouth plus leash point | One roll and the rod is overboard |
Retention deserves emphasis because it is the difference between an inconvenience and losing a rod. A six millimetre bungee loop across the tube mouth plus a small cord leash clipped to the reel foot keeps everything attached through a capsize, which is not a theoretical event on a sit-on-top loaded with gear.
Moving the Rig Between Car and Water
A rigged crate with three trays, two rods, and safety gear weighs between seven and eleven kilograms, which is awkward to carry in one hand across a car park and impossible across soft sand. The usual answer is two trips: crate in both hands close to the body, then rods. Anyone walking more than about four hundred metres to launch benefits from transferring tackle into a backpack for the walk and then into the crate at the water.
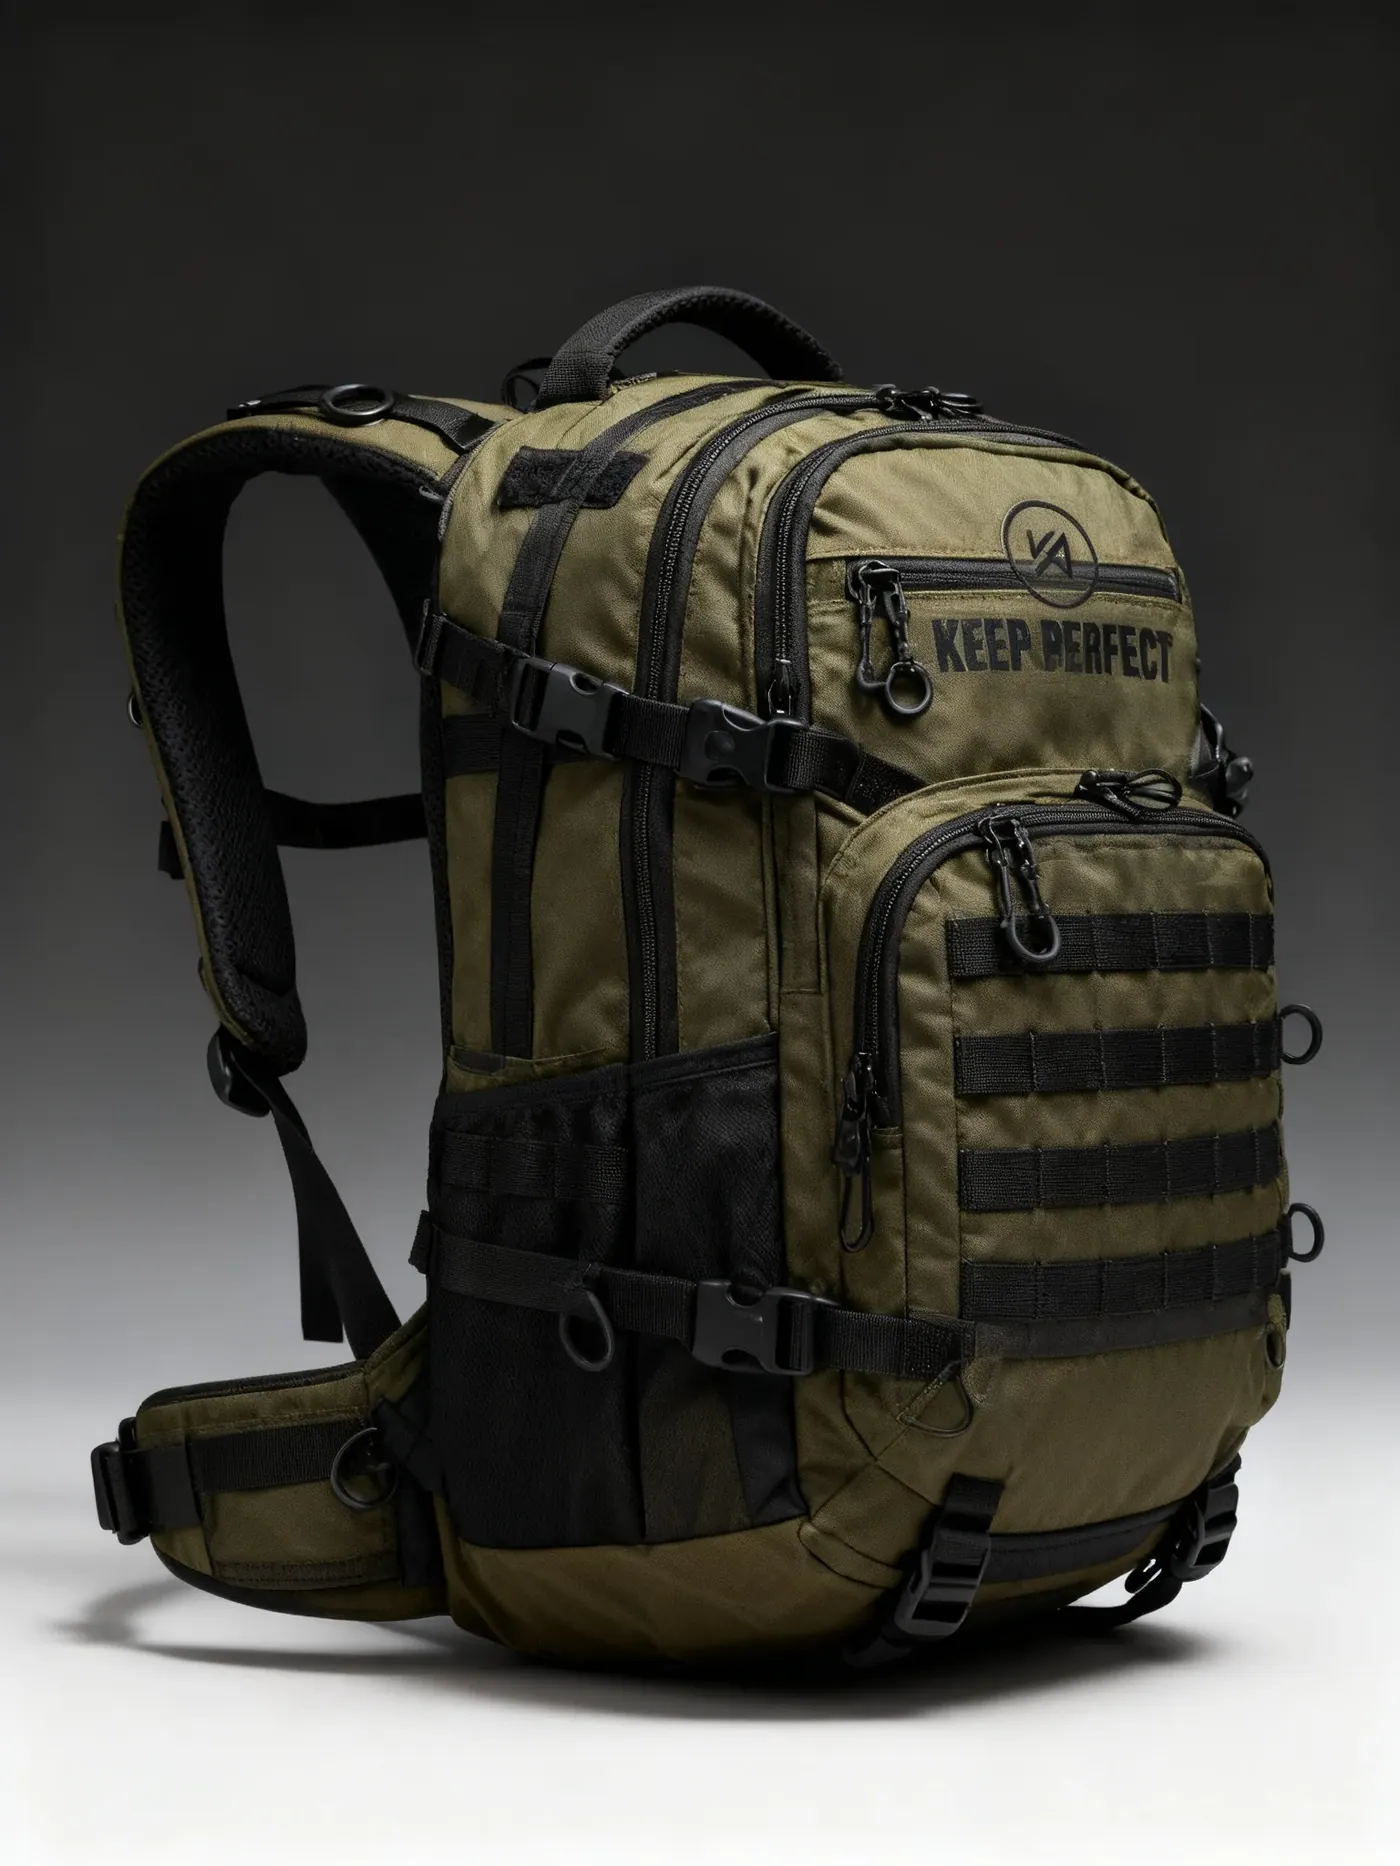
The same thinking applies at the end of the session. Everything that came out wet should go home dry, and a sealed liner inside a pack does that job better than any crate. The trade-offs of running a crate against carrying everything on the back are compared in detail in the kayak crate versus tackle backpack guide.
Module Three: Dry Storage and Safety
Some items are simply not negotiable about getting wet: a phone, a licence, a spare shirt, an emergency beacon, and any medication. A five litre dry liner rolled three turns with a thirty millimetre fold, clipped inside the crate so it cannot float out, protects all of them for about ten dollars. Anything whose failure would end the trip rather than spoil it goes in this liner and nowhere else.
Regulations and safety practice around what must be carried, how it is attached, and how it is accessible while seated are set nationally, and anyone building a rig should read the current requirements rather than copying a rig built for another country. Reference material for United States waters is published through USCG Boating Safety, and the same principle applies everywhere: a personal flotation device worn, not stowed, and every bulky item either leashed or impossible to lose.
Module Four: Insulated Catch and Food
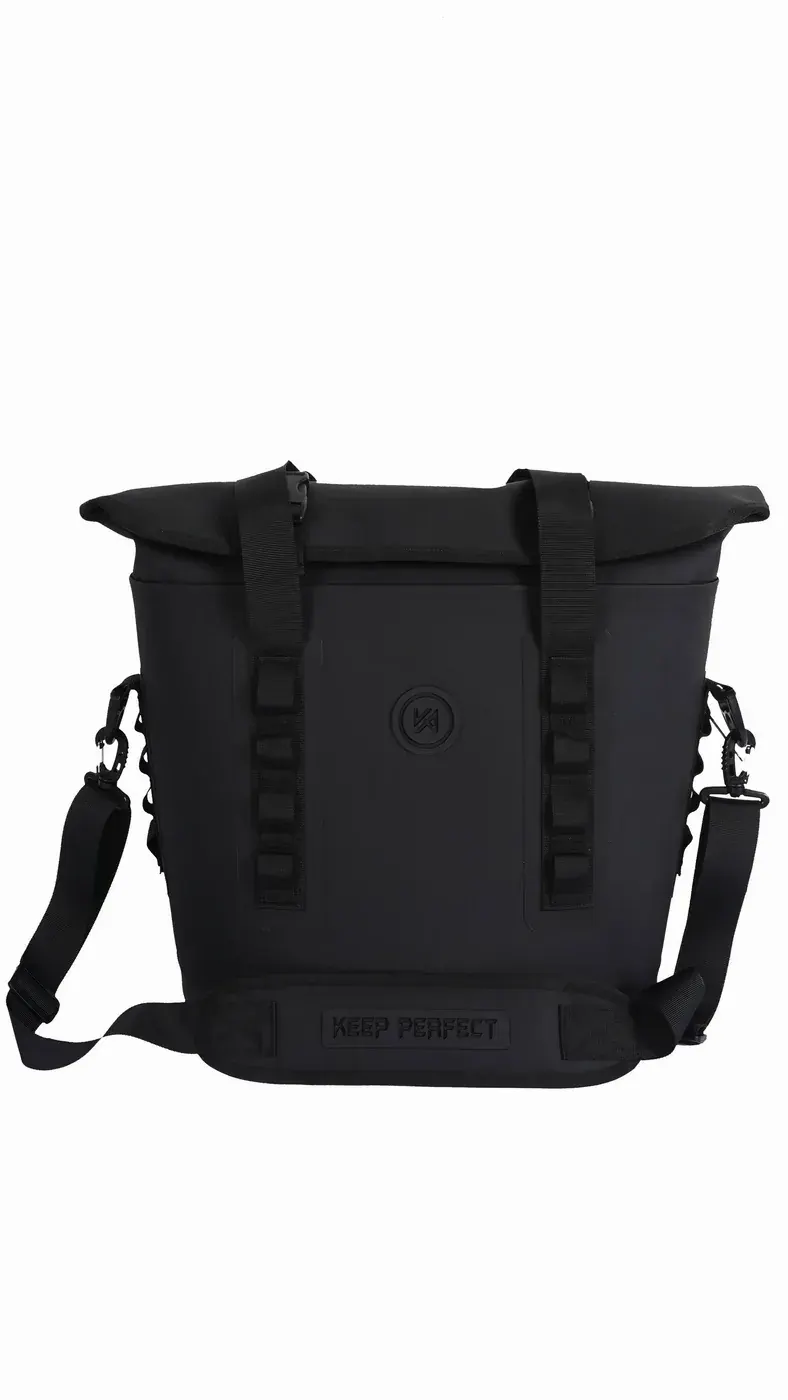
Keeping food and catch separate is not fastidiousness; it is what stops the crate smelling permanently and stops raw bait residue from contaminating tackle that later goes back into a bag. A compact insulated insert of six to nine litres occupies about one third of a twenty litre crate, holds a day of food plus ice, and lifts out for rinsing in one piece.
Insulated inserts differ enormously in how much condensation they let into the crate. Choose one with a welded rather than sewn liner, since a sewn liner weeps under ice load within hours and every millilitre ends up in the crate base. A welded liner costs about four dollars more and removes the problem entirely. Keep ice in a sealed container rather than loose, because loose meltwater mixes with bait and creates an odour that no amount of rinsing fully removes.

Weight, Stability, and Centre of Gravity
A sit-on-top kayak tolerates gear badly above a certain height. The working target for a rigged crate is a loaded weight between seven and eleven kilograms and a centre of gravity below two hundred and fifty millimetres measured from the well floor. Above about eighteen kilograms of gear and above roughly three hundred millimetres of centre height, a loaded kayak becomes noticeably twitchy in beam seas and recovers from a lean far less forgivingly.
| Payload arrangement | Loaded weight | Centre of gravity height | Handling |
|---|---|---|---|
| Empty frame only | 2.0 to 2.6 kg | Around 140 mm | Ideal |
| Frame plus three trays | 5.5 to 7.0 kg | Around 200 mm | Stable in moderate chop |
| Plus two rods and reels | 7.0 to 9.5 kg | Around 230 mm | Good, watch beam seas |
| Plus nine litre full cooler | 11.0 to 14.0 kg | Around 260 mm | Twitchy; move water low |
| Two humans worth of gear | Above 18 kg | Above 300 mm | Remove equipment before launching |
If the numbers come out too high, the fix is almost always removing rather than redistributing. Taking one tray out removes one and a half to two kilograms and drops the centre of gravity roughly fifteen millimetres, which does more for handling than any clever repositioning. Water is the exception: carry it low and loose in the hull rather than high in the crate.
Leashing Everything That Matters
The rule is one hundred percent coverage for anything whose loss ends the trip or costs more than fifty dollars. Two-point leashing is the standard: a primary cord from item to hull, and a secondary short loop so the item remains attached even if the primary clip opens. Three millimetre cord rated around two hundred kilograms of breaking strain is ample and costs cents per metre.
Leash length matters as much as strength. A cord long enough to let an item travel thirty centimetres is genuinely useful; one long enough to let it reach the water on the opposite side of the kayak simply moves the problem. Set lengths so every item stays within the well footprint, then test by tipping the kayak deliberately in shallow water with nothing valuable aboard.
Common Build Errors
- Using plated rather than stainless hardware, which shows rust within eighty hours of salt exposure and seizes inside a season.
- Building with no drain path, so the crate collects twenty litres of water and adds eleven to eighteen kilograms of high-centre load.
- Fitting rod tubes shorter than three hundred millimetres, from which long rods walk out in a following sea.
- Mounting tubes vertically over the paddling line, so every forward stroke catches the rod tip.
- Ignoring seat clearance, discovered only when the seat is reclined on the water with everything loaded.
- Leashing nothing, on the assumption that calm water in the morning predicts calm water at midday.
- Over-building with five trays when three would do, and paying for it in centre of gravity every single trip.
Cost and Time Budget
Built from new materials, a three-module rig costs between fifty and eighty dollars and takes three hours across two sessions, most of it waiting for nothing in particular and thinking about hole positions. Built with parts already in a garage, the same rig costs fifteen to twenty-five dollars in fasteners, cord, and board. The gap between a good build and a frustrating one is about eight dollars of hardware.
| Item | Cost | Notes |
|---|---|---|
| Heavy-duty crate, twenty litres | Twenty-five to thirty-five dollars | Do not economise here; thin walls deform |
| PVC or HDPE board, 12 mm | Twelve to eighteen dollars | One sheet is enough for floor and dividers |
| Rod tube stock, two lengths | Eight to twelve dollars | Schedule 40, 48 mm internal preferred |
| Stainless pad eyes and washers | Eight to twelve dollars | 316 grade if available |
| Bungee, cord, and clips | Six to ten dollars | Six millimetre bungee, three millimetre cord |
| Dry liner, five litres | Eight to fifteen dollars | Roll three turns, thirty millimetre fold |
Build or Buy
Honest assessment: build if the configuration is unusual, if the budget is tight, or if the process itself is the point. Buy if the priority is a rig that works this weekend, is backed by a tolerance-controlled fit, and arrives with drainage, reinforcement, and leash points already solved. Most commercial crate bags also handle the case that do-it-yourself builds rarely do well, which is keeping every item inside the crate during a capsize.
| Situation | Recommendation | Why |
|---|---|---|
| Unusual hull or unusual layout | Build | Nothing off the shelf will fit a non-standard well |
| Standard well, this weekend | Buy | Availability beats saving thirty dollars |
| Multiple kayaks sharing one rig | Buy or two frames | Interfaces beat single builds |
| Capsize considered genuinely likely | Buy purpose-built | Retention engineering is hard to replicate at home |
| Enjoy the project itself | Build | The learning transfers to every future rig |
Anyone weighing those options should read the current kayak fishing crate reviews before committing to a weekend with a saw, and compare against the purpose-built kayak fishing crate bag range. Both routes end at the same place: three modules, low centre of gravity, everything leashed.
Specifying a Crate Rig for a Programme
For buyers developing a crate range rather than one unit, the same principles become a specification. State the footprint and its tolerance, the divider spacing, the tube internal diameter and angle, the drain path requirement, the fastener grade, and the leash point count. Those six lines take most of the uncertainty out of a category where customers otherwise discover problems on the water.
QUANZHOU JUNYUAN BAGS has handled waterproof bag programmes continuously since 2014, supported by founders who entered the trade in 2004. Monthly capacity is 200,000 pieces and independently confirmed by SGS, with BSCI and ISO 9001 controlling the process. Material selection follows REACH and California Prop 65 requirements, and dispatch is gated on AQL 2.5 inspection. Hardware corrosion performance can be required against salt spray methods published by ASTM International, typically ninety-six hours minimum.
Open a crate brief with the footprint and the hull it must fit, then add tray count, tube count, angle, fastener grade, colour, and quantity. A programme begins at 500 pieces per design and colour, with six to ten working days needed for samples and thirty-five to fifty days for the run after approval and deposit. Shipment is quoted FOB Xiamen or DDP into more than one hundred countries. Send briefs to service@junyuanbags.com.
People Also Ask
What size crate fits a kayak tank well?
Most sit-on-top wells take a crate around 355 by 355 by 280 millimetres, leaving twenty millimetres of clearance all round. Always measure width again at the height the crate top will sit, since wells taper.
How much should a loaded kayak crate weigh?
Between seven and eleven kilograms with a centre of gravity below 250 millimetres. Above eighteen kilograms or three hundred millimetres of height a loaded kayak becomes twitchy in beam seas.
What angle should kayak rod holders be?
Twenty to thirty degrees off vertical with the mouth trailing behind the seat, clearing the paddle stroke. Keep tube depth below the rim above 320 millimetres or long rods walk out.
How many tackle trays should go in a kayak crate?
Three, standing vertically in slots at 48 millimetres of clear spacing. Five trays add one and a half to two kilograms of high-centre load for gear rarely used in one session.
Do I need to leash everything on a kayak?
Yes, for anything whose loss ends the trip or costs over fifty dollars. Use two-point leashing with three millimetre cord and keep every leashed item inside the well footprint.
Is it cheaper to build or buy a kayak fishing crate?
Building costs fifty to eighty dollars in materials plus three hours; buying costs more but arrives with tolerance-controlled fit, drainage, and retention already solved.
Frequently Asked Questions
Q1. What size milk crate works for kayak fishing?
A heavy-duty utility crate about 355 by 355 by 280 millimetres, roughly twenty litres to the rim. Thin-walled storage crates deform under strap tension within a season.
Q2. How do I attach a crate to a kayak?
Two six millimetre bungee hooks crossing diagonally to existing hull pad eyes, tensioned to about thirty percent stretch at rest, plus two-point cord leashes on valuable items.
Q3. What spacing do vertical tray slots need?
Forty-eight millimetres of clear internal spacing for a standard 3600 size tray, built from twelve millimetre PVC board with the slot mouths slightly radiused.
Q4. What rod tube diameter takes a reel?
Forty-eight millimetres internal takes a reel up to about a three thousand size. Forty millimetres takes a bare butt only, which rules out carrying rods pre-rigged.
Q5. How deep should kayak rod tubes be?
At least 320 millimetres below the rim. Shallower tubes let a long rod walk itself out in a following sea, particularly with a heavy reel fitted.
Q6. Should rod tubes have open bottoms?
Closed with a six millimetre drain hole. An open bottom drops rods, and an undrained closed tube fills with water within a session.
Q7. How much hardware corrosion resistance matters?
Enormously. Plated fittings show rust within about eighty hours of salt exposure; specify 316 stainless with backing washers spreading the load.
Q8. What is the best way to keep documents dry on a kayak?
A five litre dry liner rolled three turns with a thirty millimetre fold, clipped inside the crate so it cannot float out, holding phone, licence, medication, and beacon.
Q9. How do I stop the crate collecting water?
Fit a twelve millimetre false floor drilled with ten millimetre holes every eighty millimetres, plus open-bottom drainage, so the load drains in under ten seconds.
Q10. Can I use a soft cooler inside a kayak crate?
Yes, provided the liner is welded rather than sewn. A sewn liner weeps under ice load within hours and every millilitre ends up in the crate base.
Q11. Why does my kayak feel unstable when loaded?
Usually centre of gravity rather than total weight. Removing one tray drops it roughly fifteen millimetres and removes up to two kilograms, which is more effective than redistributing.
Q12. How long does a modular crate build take?
About three hours over two sessions using sixty to eighty dollars of materials, or half that if suitable offcuts and hardware are already available.
Q13. What is the MOQ for a crate bag programme?
MOQ is 500 pieces per design and colour, with six to ten working days for samples and thirty-five to fifty days for bulk from approved sample and deposit.