A fishing tackle bag developed to your own brief adds two to four weeks to a standard programme and typically between four hundred and three thousand dollars in one-time development and tooling cost, almost all of which disappears into margin over a first season of 1,500 pieces. Nine decisions shape the result: capacity and tray geometry, seam method, closure type, base construction, material and coating, hardware specification, colourway, brand application, and target unit cost. Buyers who fix the first two and leave target cost until last consistently overshoot their retail price band; buyers who fix all nine before quotes are requested get development samples right in two rounds rather than five.
When Developing Your Own Actually Pays
Starting from scratch is not always the right answer, and honesty about that saves money. Branding an existing platform is faster, cheaper and carries almost no development risk, so where a buyer simply wants a logo on a competent bag, that route wins. Development is justified when an existing platform cannot deliver something the market will pay for: a specific tray geometry, a closure better suited to a fishery, a capacity band that does not exist, or a feature that visibly separates the range from whatever else is on the shelf.
The commercial test is straightforward. Development cost recovers only if the resulting product either sells in higher volume or commands a higher margin than the standard alternative. Taking an existing 35 litre bag at nineteen dollars and improving it by twenty percent of features is usually not enough to justify tooling because competitors can follow the change within one season. Building something genuinely absent from the market usually is, since it competes on difference rather than on price, and difference is the only durable advantage available to a small range.
The Nine Decisions, In Order
Order matters here because each decision constrains the ones below it. Capacity and tray geometry set dimensions; dimensions constrain seam method and base construction; those constrain material; material constrains hardware. Working out of order produces rework, which is expensive measured in weeks rather than dollars.
| Decision | What it fixes | Typical range | Who tends to decide it late |
|---|---|---|---|
| 1. Capacity and tray geometry | Internal dimensions and overall size | 18 to 45 litres, two to six trays | Nobody; usually decided first |
| 2. Seam and shell method | Whether the shell is welded, sewn or taped | RF weld, sewn plus tape, hybrid | Usually decided too early, before cost |
| 3. Closure type | Access speed and realistic water rating | Coated zip, roll-top, flap | Everyone, and it is hard to change later |
| 4. Base construction | Whether the bag sits square and drains | Moulded EVA, welded flat, sewn panel | Almost everyone, unfortunately |
| 5. Material and coating | Weight, cold behaviour and abrasion life | 500D to 1000D, TPU or PVC coating | Sometimes, after seeing the sample |
| 6. Hardware specification | Corrosion life in saltwater | Stainless, coated alloy, polymer | Rarely revisited after first choice |
| 7. Colourway and interior lining | Usability in low light, heat load on deck | Exterior plus lining choices | Often, and interior colour matters most |
| 8. Brand application | How the mark appears and how it survives | Embroidery, patch, transfer | Occasionally, after costing |
| 9. Target unit cost | Everything above, retroactively | Retail band less margin less landed cost | Very frequently, which is the problem |
Note row nine. Target unit cost should be written down first, because eight decisions are made against it. Writing it last turns the development process into a negotiation with reality, usually after the sample has already been built twice.
Decision Two: Seam Method Sets Everything Else
Seam method is the most consequential technical choice and the one least discussed at enquiry stage. Radio frequency welding produces a joint approaching eighty to ninety-five percent of parent fabric strength and is effectively watertight, but it requires thermoplastic coatings and limits how the shell can be patterned. Sewn construction accepts a much wider material palette, including laminates that will not weld, and it is cheaper per unit, but every needle hole is a potential leak path unless taped afterwards.
Hybrid construction is common in good tackle bags for a reason. Welding the lower third, where water pools and where strength matters most, with sewn and taped panels above, gives most of the benefit at a fraction of the tooling cost, and it keeps the material palette wide enough that later cost targets remain adjustable. Detailed parameter notes are in the radio frequency welding guide, and fabric behaviour is set out in the material selection guide.
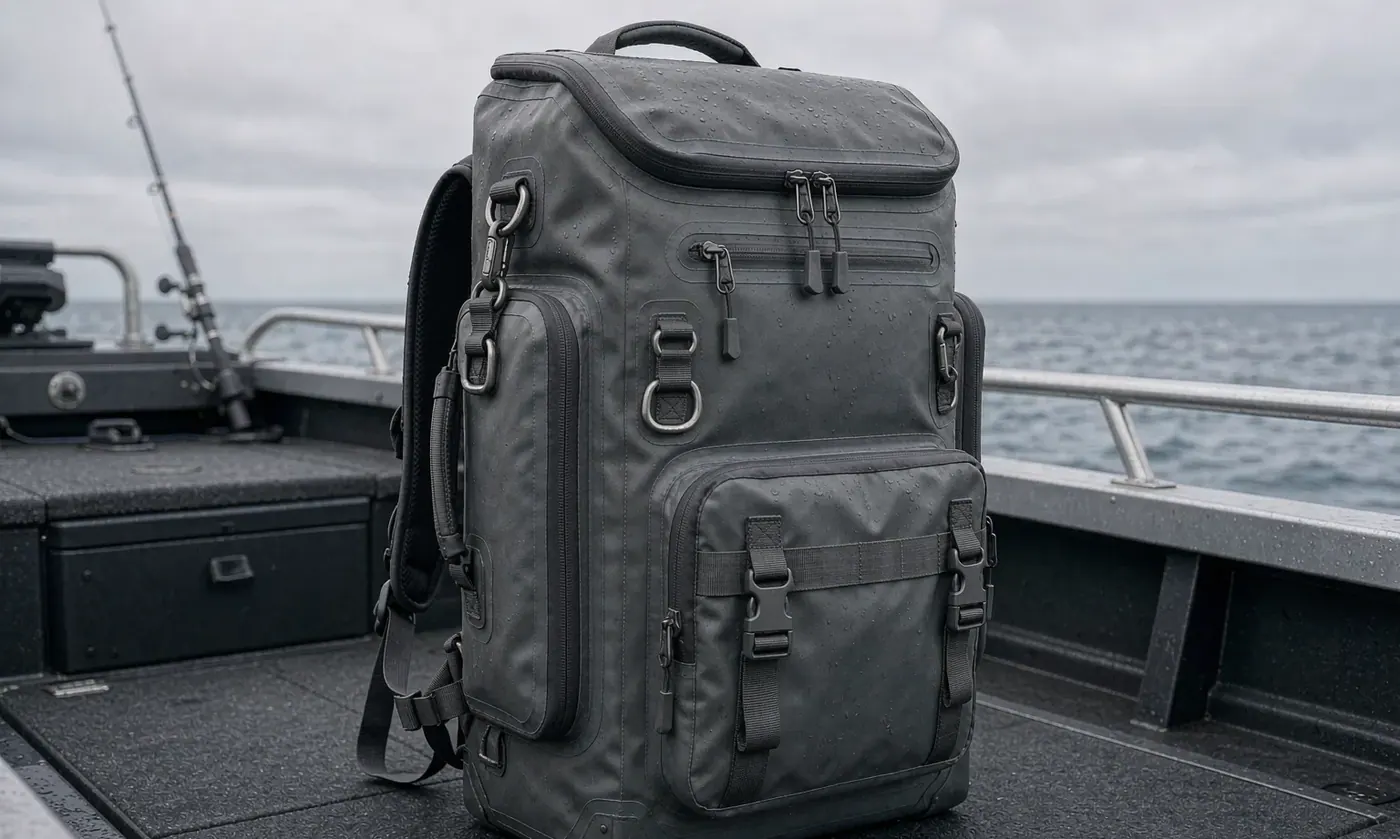
Decision One: Tray Geometry Before Capacity
Capacity in litres is a marketing number; tray geometry is what the angler experiences. Defining the internal cavity by the trays it must accept, rather than by a litre figure, produces a bag that works on the first try. A 3700 tray measures 356 by 229 by 51 millimetres, so any cavity claiming to hold four of them needs clear internal width above 356 millimetres and slot height nearer 60 millimetres once the lip is counted.
| Claim | What it actually requires | Failure mode if wrong |
|---|---|---|
| Holds four 3700 trays | 356 millimetres clear internal width, 60 millimetres slot height | Trays jam or force the seam |
| Holds six 3600 trays | 183 millimetres stack height plus rails, vertical access | Only four genuinely fit |
| Fits a rod holder | Side panel reinforcement plus drainage below | Panel tears under levered load |
| Fits a kayak crate | Footprint within 400 by 350 millimetres usually | Bag sits proud and shifts |
| Drains after swamping | Floor above base seam plus drained hardware ports | Water sits behind the liner |
Two habits improve the outcome measurably. Buy physical trays rather than working from published dimensions, since brands differ by several millimetres. And specify clear internal dimensions on the technical pack rather than external ones, because any padding, stiffener or seam allowance eats into the space available without changing anything a customer can see. Teams that dimension the cavity rather than the silhouette consistently avoid the most expensive kind of rework, which is the kind discovered after tooling exists.
What Development Costs
Development cost has four lines and buyers usually budget one. Understanding all four turns an alarming figure into a manageable one, and most of the cost is creditable against bulk once the order proceeds.
| Cost line | Typical range | Credited against bulk | Notes |
|---|---|---|---|
| Pattern and technical pack | 200 to 600 dollars | Often credited | Depends on complexity and panel count |
| Sampling rounds | 60 to 180 dollars each | Usually credited once ordered | Second and later rounds sometimes charged |
| Cutting dies | 100 to 400 dollars | Sometimes credited | Required for complex panel shapes |
| Tooling for moulded parts | 500 to 3,000 dollars | Rarely credited | Base mouldings, unique hardware, injected parts |
Recovered across volume, these figures are small. Three thousand dollars of tooling on a 1,500-piece order is two dollars a unit, which vanishes into margin on a bag retailing above sixty dollars. The same three thousand dollars against a 300-piece order is ten dollars a unit and probably makes the project unviable, which is why volume expectations belong in the very first conversation rather than the last.
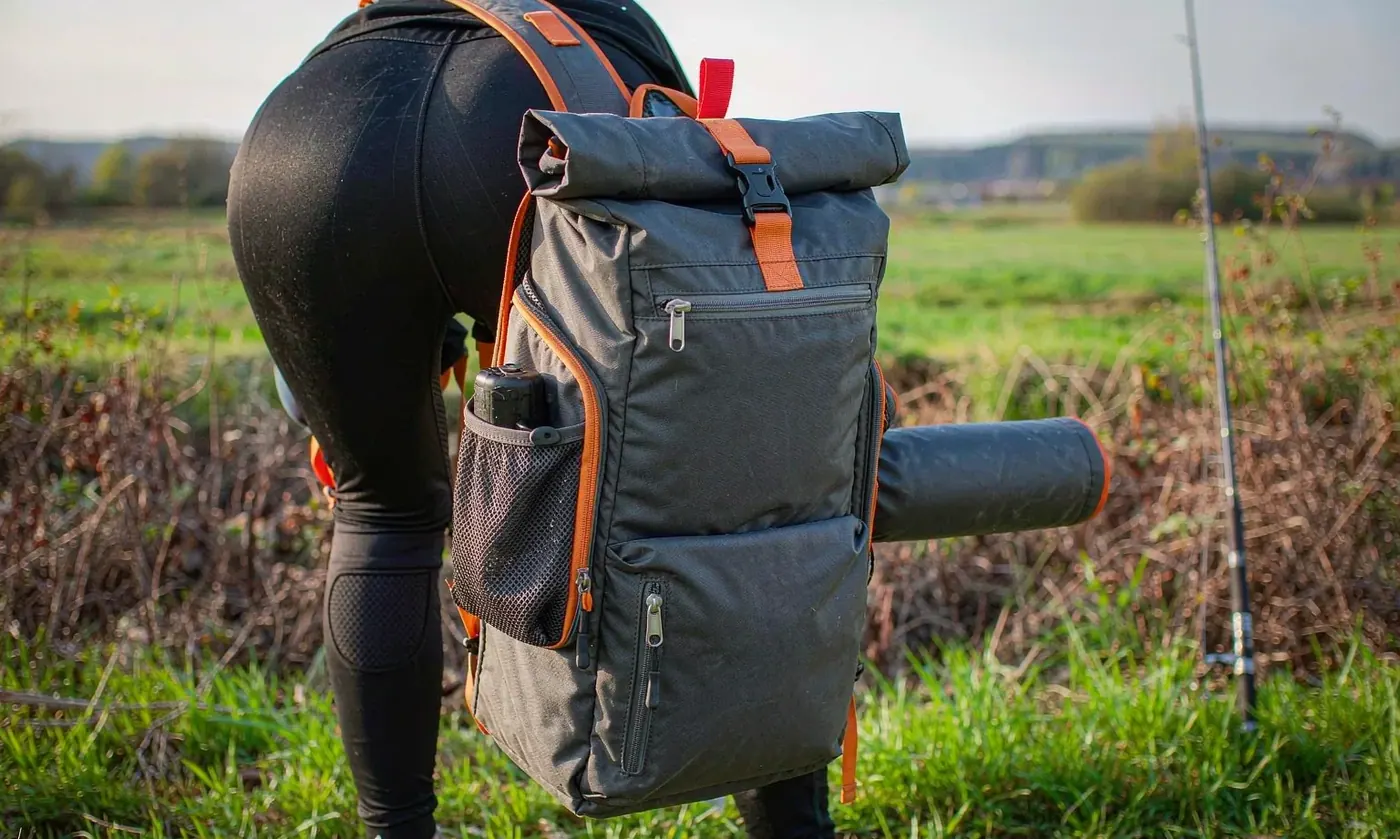
Timeline: Add Two to Four Weeks
Development adds time in three places. The technical pack takes a few days to agree, the first prototype behaves like a sample round at six to ten working days but often needs two rounds, and any new tooling has its own lead before pilot units can be built. It is also worth asking at this point what the second season version will be, because ranges that plan for iteration improve faster than ranges that treat the first launch as final.
Two things reduce the impact. Freeze the specification before the first prototype rather than refining it afterwards, since each change during the prototype stage costs more days than the same change made during the pack stage. And order any tooling at the same time as paying for the first round, because tooling lead frequently exceeds prototype turnaround and is otherwise discovered afterwards as an unexpected three-week gap.
Testing Before the First Bulk Order
A prototype that looks right is not necessarily fit for the water it will meet. Four checks belong between prototype approval and bulk booking, and none takes long. Fill the bag with the stated number of loaded trays and check that claimed capacity is physically achievable. Hang fifteen kilograms from each strap anchor for two minutes. Hose it down from three metres for three minutes as a crude IPX5 check. Cycle every closure twenty times with the bag loaded.
- Test with water temperature in mind: coatings stiffen below freezing, so a bag for ice fishing needs a cold flexibility check.
- Test with the trays you intend to sell alongside it, since bundle compatibility is usually part of the value proposition.
- Check that any printed logo survives twenty seconds of firm rubbing with adhesive tape, which approximates a season of handling.
- Leave a loaded prototype in the sun for a week and look for coating movement or colour change on the exposed panel.
- Photograph everything. Prototypes change hands and measurements taken twice are rarely taken in the same way.
Standardised methods make results comparable across programmes. Water ingress expectations should cite the International Electrotechnical Commission where an ingress code is claimed, colourfastness and abrasion of printed marks should reference methods published by AATCC, and mechanical pulls the relevant procedures from ASTM International.
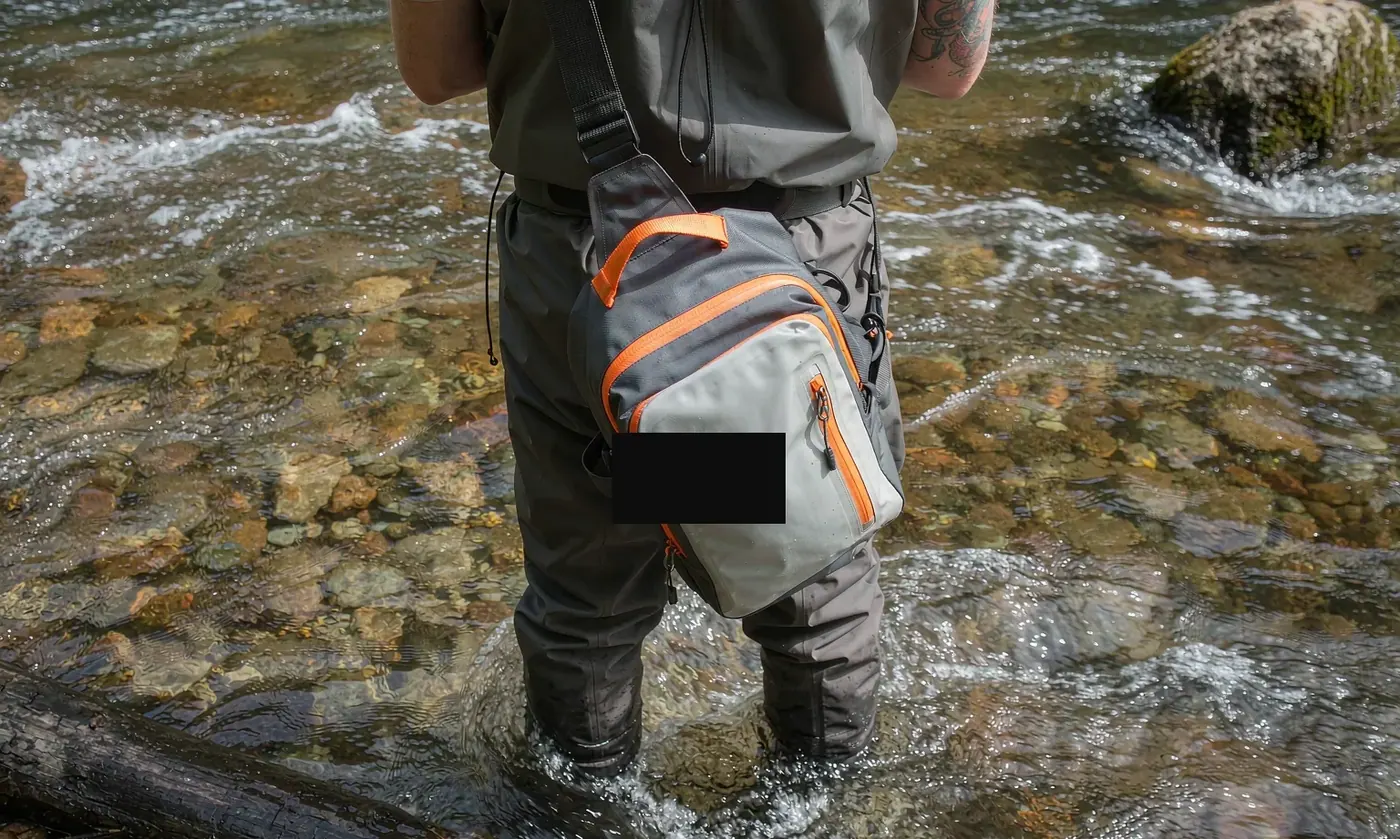
Three Cost Bands and What They Buy
Development briefs usually start with an idea rather than a price, and translating between them early saves the most time. These three bands describe how specification choices cluster in practice, using landed unit cost before retail margin.
| Band | Typical landed cost target | What is achievable | What is not |
|---|---|---|---|
| Entry, 8 to 14 dollars | Sewn and taped seams, standard hardware, two colours | Competent structural design, honest trim | Welded construction or unique mouldings |
| Mid, 14 to 24 dollars | Hybrid seams, quality hardware, moulded base | Welded lower shell, tuned tray geometry | Tooled injected hardware |
| Upper, 24 to 45 dollars | Fully welded body, premium closure, tooled parts | Unique geometry, distinct hardware | Cheap access to unique tooling at low volume |
Move deliberately between these bands by changing one specification at a time rather than several. Changing seam method, closure and material simultaneously produces a cost jump too large to diagnose, whereas changing only the seam method gives an attributable number that can then be compared directly against the retail plan.
There is one multiplier worth naming because it changes the whole economics of a project: repetition across sizes. Developing a family of three capacities on identical materials, hardware and construction costs far less than developing three unrelated products, because the pattern work and most tooling are shared. Families also sell better, since customers understand them instinctively, which is why most successful ranges converge on this structure within two seasons.
Six Ways Developments Go Wrong
Failures in development cluster in the same six places almost regardless of product type, and recognising the pattern is cheaper than discovering it.
- Target cost written last, so the second prototype is the one that reveals the design cannot hit its retail band.
- Capacity specified in litres rather than trays, producing a bag that meets the marketing number and fails the user.
- Tooling ordered after prototype approval rather than alongside it, adding its lead time to the end instead of overlapping it.
- Base construction left vague, which is discovered on the water rather than at the bench.
- Too many reviewers, each requesting revisions separately, so three rounds replace one.
- Field testing skipped, meaning the first real evaluation happens when a customer buys the product, usually in conditions nobody designed for, and usually with a competitor nearby.
Who Owns the Design
Ownership questions are straightforward if they are settled before the first payment and expensive if not. Generally, the buyer owns artwork, branding and any tooling paid for specifically to produce their unique parts. Tooling or jigs used broadly across other products remain the property of whoever made them. Patterns developed for a specific brief usually stay with the development team, which sounds alarming but in practice protects nobody more than it constrains: what prevents copying is not disputed ownership but continued volume.
Exclusivity is available in several shapes and each has a price. Market exclusivity within one country or channel is usually attainable with continuity commitments. Shape exclusivity, where the tooling is never used for anyone else, generally requires volume commitment over a defined period. Both should be written into the agreement rather than discussed politely, and both should include what happens if the buyer stops reordering.
Field validation is part of a smaller first development rather than a substitute for it. Give two or three experienced anglers a prototype for four weeks and ask for one structured response rather than general impressions: what they reached for, what they avoided, and what failed. That single exercise reliably produces about a dozen actionable points, roughly half of which are cheaper to fix on paper than any amount of design review would have produced in a meeting.
Scaling Down: Starting Smaller
Not every development has to be a 40 litre flagship. Compact items validate an idea at a fraction of the cost, because fewer panels mean less tooling and shorter prototype cycles. A well-designed sling or chest pack proves materials, hardware and brand application within one round, then the lessons carry into a larger piece with confidence. Brief-level notes on that route are in the own-brand sling pack guide.
Where an existing shape already fits but branding is all that is needed, the own-brand programme route is faster and cheaper, and skipping it is the most common way development budgets get spent unnecessarily. Conversely, trying to achieve a genuinely different product through branding adjustments alone tends to produce a bag that looks distinct and behaves exactly like everything else on the shelf.
Writing the Brief That Gets Useful Answers
A development brief should answer nine questions, which takes about thirty minutes to write and saves several weeks. State target retail and unit cost first. Give capacity in trays rather than litres. Name the closures considered. Describe the water it meets: rain, spray, deck wash or immersion. State whether it must float or drain. Give expected hardware exposure, particularly whether it is a saltwater programme. Name colourway count and interior lining preference. State quantity expectations over three years, not just the first order. And say what currently exists in the market that it has to beat.
The last question is the one rarely answered and the one that most improves the response. Knowing which competitor product is being benchmarked lets a development team propose realistic material and construction choices immediately, rather than guessing at the price band from the capacity figure alone. Quantity structure then follows naturally; the standard opening level of 500 pieces per design and colour is set out in the MOQ planning note, and the schedule impact in the lead time guide. Both should be read before the development brief is finalised, since neither can be adjusted meaningfully afterwards.
Send the brief as a numbered list rather than as prose. Numbered lines get answered point by point, which is exactly what is needed at this stage, whereas paragraphs tend to get answered in themes and leave the important commercial questions open. Attach sketches or photographs of anything existing that is close to the idea, since one photograph usually replaces three rounds of clarification.
Programme Notes
QUANZHOU JUNYUAN BAGS has run waterproof bag programmes since 2014 with a founding team in this trade since 2004, handling both own-brand work and full development builds. Monthly output runs at 200,000 units verified by SGS, operations follow BSCI and ISO 9001 governance, and every shipment is inspected at AQL 2.5 before release with materials screened for REACH and California Prop 65.
Sampling takes six to ten working days, bulk takes thirty-five to fifty days from approved sample and deposit, and shipment runs FOB Xiamen or DDP to upwards of one hundred nations. Send a nine-point brief to service@junyuanbags.com, and ask for a concept costing showing the development lines alongside unit pricing at two quantity levels, since those three numbers together decide whether the project proceeds and how fast it can realistically be shipped.
People Also Ask
How much does it cost to develop a fishing tackle bag?
Typically four hundred to three thousand dollars in one-time pattern, sampling and tooling cost, much of it credited against the bulk order.
How long does a new fishing bag design take?
Two to four weeks longer than a standard own-brand programme, mostly in the technical pack, prototype rounds and tooling lead.
Do I need new tooling for a new bag design?
Only for unique moulded parts or unusual panel shapes. Many developments need nothing beyond new cutting dies.
Who owns the design after development?
The buyer generally owns branding and any tooling they funded; shared jigs and general tooling remain with whoever produced them.
Can I get exclusivity on a developed design?
Yes, usually market or channel exclusivity with continuity commitments, or broader exclusivity against higher volume undertakings.
Should I test a prototype before bulk production?
Always: loaded tray fit, fifteen kilogram strap pull, three-minute hose-down and twenty closure cycles catch most design faults.
Frequently Asked Questions
Q1. What is the difference between branding an existing bag and developing one?
Branding changes appearance on a proven platform; development changes geometry, closure, base or construction, and adds two to four weeks plus tooling.
Q2. Is development worth it for a first order of 500 pieces?
Rarely. Tooling spread over 500 units usually adds too much per piece unless the product commands a premium price.
Q3. What is the most common development mistake?
Deciding target unit cost last. Every earlier decision then has to be revisited, usually after the second prototype has been built.
Q4. Should capacity be specified in litres or in trays?
In trays. Litres describe marketing, whereas tray dimensions determine whether the bag actually works on the water.
Q5. How does 3700 tray sizing affect internal design?
Each tray is 356 by 229 by 51 millimetres, so a four-tray cavity needs at least 356 millimetres clear internal width and roughly 60 millimetres slot height.
Q6. Is RF welding always better than sewn and taped seams?
No. Welding gives stronger, more waterproof joints but restricts the material palette; hybrid builds capture most of the benefit at lower tooling cost.
Q7. What does moulded tooling add to a project?
Between five hundred and three thousand dollars for unique base mouldings or injected parts, plus lead time before pilot units can be built.
Q8. Can a development sample be credited against bulk cost?
Usually yes for pattern and sampling lines once the order proceeds, rarely for unique tooling. Confirm this in writing first.
Q9. How many prototype rounds should be planned?
Plan two and aim to approve in one. Programs with a single decision-maker routinely approve faster than those with wide review groups.
Q10. What tests should run before bulk is booked?
Loaded tray fit, fifteen kilogram strap pull for two minutes, three-metre hose-down for three minutes, and twenty loaded closure cycles.
Q11. Can development ideas be tested on a smaller product first?
Yes, and it is cheaper. A sling or chest pack validates materials, hardware and branding before the same choices go into a large backpack.
Q12. What belongs in the first brief?
Target retail and unit cost, capacity in trays, closure options, water exposure, drainage needs, hardware exposure, colourways, three-year volume and the competitor benchmark.