A useful waterproof drone backpack combines a 30–40 L welded outer body, an IPX6-level rain target, and a removable insert with 40–60 mm closed-cell protection around the aircraft. Keep batteries in individual fire-resistant sleeves, place the controller in a 25 mm padded cell, and hold the full field load near 7–10 kg. For procurement, start with MOQ 500 pcs per design and colour, 6–10 working days for samples, and 35–50 days for bulk delivery after the real equipment layout is approved.
Begin with the Mission Load, Not the Pack Volume
Drone field work is a systems problem. The aircraft may occupy only 8 L, but 4 batteries, controller, tablet, landing pad, charger, filters, tools, rain shell, and drinking water can take the usable load beyond 30 L. Lay every item on a 1 m grid, measure the 3 largest dimensions, and weigh the complete mission set. A compact mapping kit often reaches 6.5 kg; a survey kit with larger batteries and ground-control accessories can reach 9–11 kg before personal equipment is added.
Separate flight-critical, support, and personal loads. The aircraft, controller, batteries, and media must be reachable in the first 60 seconds. Chargers and cables can sit below them. Wet clothing, food, and water should never share an open insert with optics or electrical contacts. A removable technical cassette inside a welded shell gives the cleanest boundary: the outer body manages rain, while the insert manages impact and layout.
| Mission item | Typical allowance | Protection target | Access order |
|---|---|---|---|
| Folded aircraft | 3–8 L; 0.8–2.5 kg | 40–60 mm foam at motor ends | First |
| Controller and tablet | 2–4 L; 0.6–1.4 kg | 25 mm foam, no stick pressure | First |
| Four batteries | 2–5 L; 1.0–3.2 kg | Individual sleeves, terminal covers | First |
| Charger and cables | 2–3 L; 0.5–1.2 kg | Divided pocket, strain relief | Second |
| Field and personal kit | 8–15 L; 2–5 kg | Separate wet and dry zones | Third |
Do not choose a 35 L pack merely because an aircraft listing says it fits. Usable volume falls when thick foam, curved corners, and a roll-top consume space. Allow 15–20 percent above the measured block volume and leave one 2 L flexible zone for route-specific items. The waterproof camera-gear backpack guide provides a parallel method for sizing optics, but drone motor arms need more clearance than a rectangular camera body.
Water Protection Has Two Layers
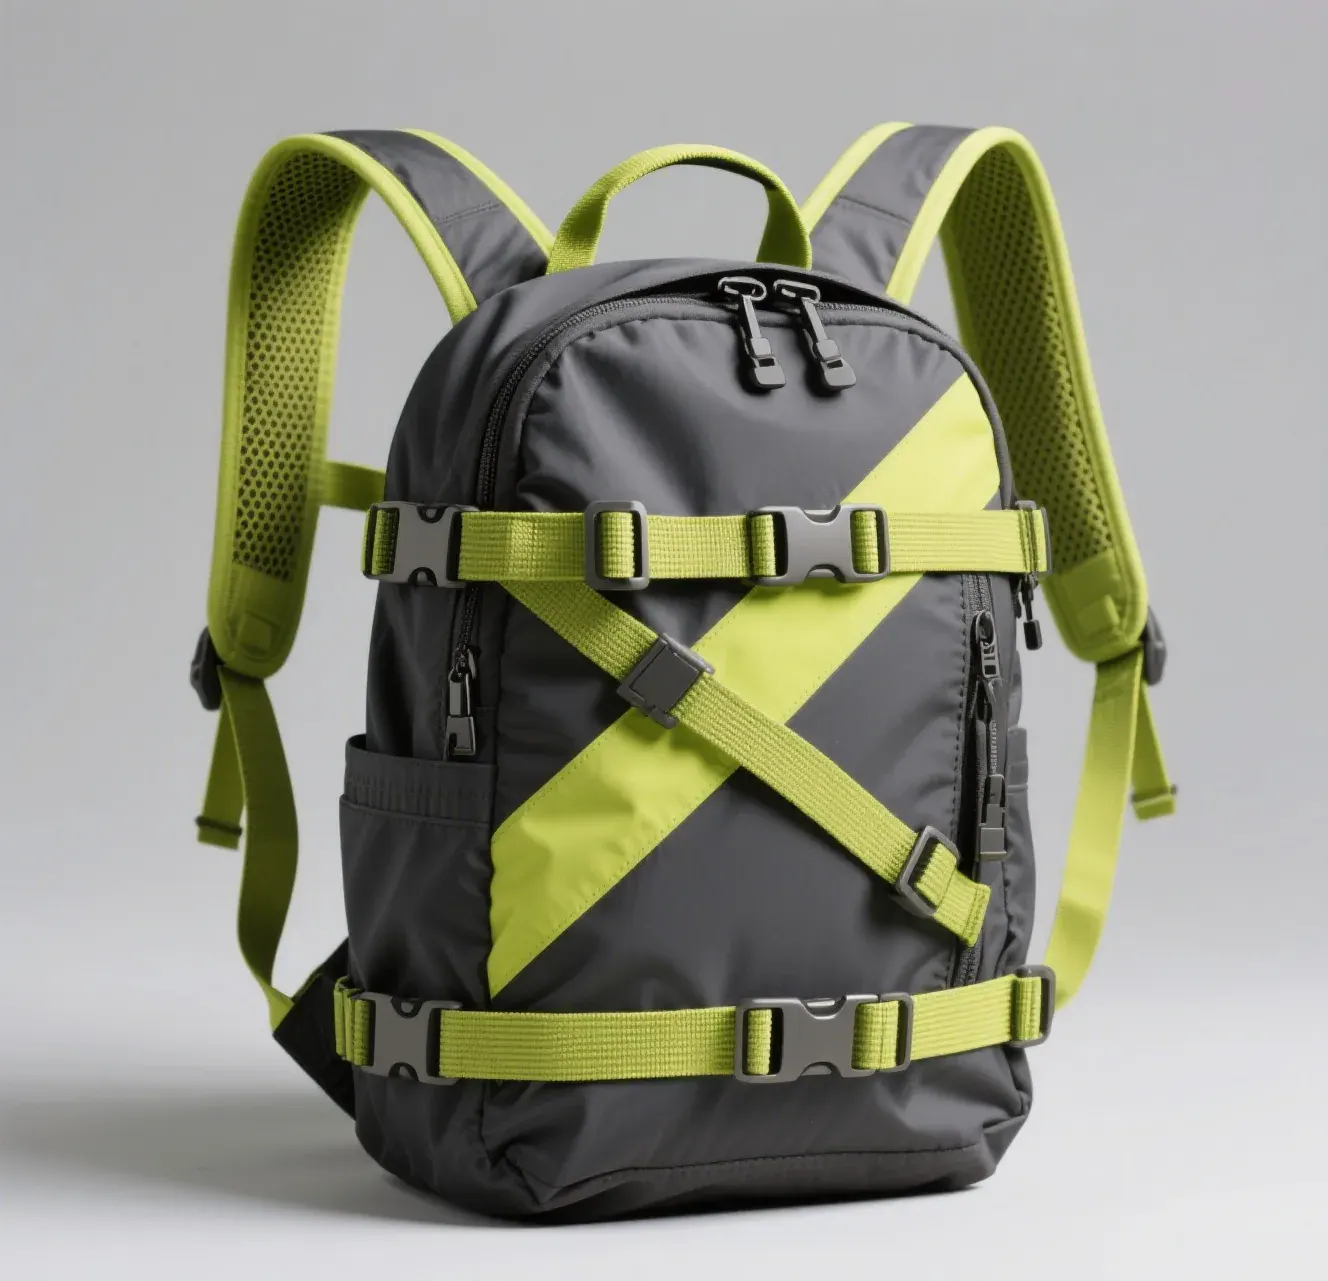
The outer layer should resist driven rain, mud splash, and a brief set-down on wet ground. A welded body with a 3-turn roll-top and a 100–150 mm reinforced base answers most field operations. IPX6 is a sensible design target for exposed work; IPX7 becomes useful near boats, marshes, or river crossings, but it requires a closure and valve system intended for temporary immersion. A water-resistant zipper on an organiser pocket does not turn the whole pack into an immersion container.
The second layer is local containment. Put media cards in a small sealed case, batteries in independent sleeves, and paperwork in a flat pouch at least 75 mm above the base. If the main closure is accidentally left open during launch, these layers preserve the most sensitive items. The rating vocabulary follows the IEC explanation of ingress protection; the finished loaded pack, not a fabric swatch, is the meaningful test article.
| Exposure | Minimum construction | Test duration | Operational note |
|---|---|---|---|
| Light rain, 30 min | Coated shell, protected zip | 30-minute directional spray | Keep zip facing away from wind |
| Driven rain, 2 h | Welded shell, 3-turn roll-top | 10-minute jet plus 2-hour field trial | Target IPX6-level protection |
| Wet grass set-down | Reinforced base to 150 mm | 30 minutes on saturated surface | Tissue under insert must remain dry |
| Shallow drop | Sealed roll-top and valve | Temporary controlled immersion | Only if the design claims it |
| Condensation | Vent routine and dry cassette | 4-hour temperature transition | Waterproofing cannot stop internal moisture |
Condensation deserves its own line because it looks like leakage. Moving a sealed cold pack into humid 28°C air can deposit water on equipment even when no rain enters. Allow the closed pack to warm for 20–30 minutes, then open it in a sheltered position. Add 20–40 g of reusable desiccant near media and inspect its indicator after each wet mission. Waterproof construction controls external water; field procedure controls the water already in the air.
Build an Insert That Controls Impact Without Crushing Equipment
Closed-cell foam is preferable around the aircraft because it absorbs little water and keeps a defined clearance. Use 40–60 mm around motor ends, 25–35 mm beneath the airframe, and at least 15 mm between rigid items. The insert should stop equipment 25 mm below the closure fold so a hard controller cannot create a high point that prevents 3 full roll-top turns. A removable insert also lets the shell dry independently after a muddy day.
Impact protection must be tested with the real mass. A 1 m drop of an empty pack proves little. Load the aircraft or matched dummies, close the pack exactly as in use, and drop on base, back, and one lower corner from 600 mm for a field-duty screen. Inspect propeller hubs, gimbal clearance, battery terminals, and controller sticks. For repeatable impact language and conditioning, consult relevant methods catalogued by ASTM International.
- Keep 40–60 mm of closed-cell material around protruding motors and 25 mm around the controller.
- Use removable dividers that cannot migrate more than 10 mm under a 9 kg load.
- Leave a finger channel at least 35 mm wide so the aircraft lifts without pulling its arms.
- Place the densest batteries against the back panel and below shoulder-blade height.
- Reserve a flat 300 × 300 mm sleeve for a folded landing pad outside the clean cassette.
A hard shell resists point pressure but can transmit shock and add 1–2 kg; a soft welded body with a tuned cassette is lighter and easier to carry over 5 km. The hardshell versus softshell waterproof pack comparison helps teams select by transit mode. Vehicle-only work may justify the hard option, while foot surveys usually benefit from the lighter shell.
Battery Isolation, Temperature, and Field Accountability
Battery handling should be designed into the pack rather than added as a loose pouch. Give every battery its own sleeve, cover exposed terminals, and mark one side charged and the other used. A 4-battery set needs 4 numbered positions so the operator can account for every unit at a glance. Keep cells away from metal tools and do not place water bottles above them. The carry pack is not a charging enclosure, and charging should occur only under the battery provider's stated conditions.
Temperature affects both flight time and pack materials. At 0°C, available battery performance can drop materially, while a dark closed shell in direct sun can exceed 45°C. Add a small internal thermometer, keep the pack shaded, and use an insulated sleeve when ambient temperature falls below 5°C. Never use a chemical hand warmer in direct contact with a battery. The aim is controlled transition, not maximum heat.
| Battery control | Field rule | Measured check | Record |
|---|---|---|---|
| Terminal protection | One covered cell per sleeve | No exposed metal contact | Pre-departure count |
| Charge state | Charged left, used right | 4 numbered positions | Flight log |
| Cold exposure | Insulated below 5°C | Internal temperature noted hourly | Temperature log |
| Heat exposure | Shade above 30°C ambient | Internal target below stated cell limit | 15-minute check |
| Physical change | Quarantine swelling or damage | Visual check before and after flight | Incident note |
A swollen, punctured, unusually hot, or damaged cell should be isolated according to the battery provider's safety instructions and local rules, not returned to the main pack. Field teams should carry a written response card and know the route to an appropriate disposal point. The backpack can improve separation and accountability, but it does not make a damaged energy cell safe.
Harness and Load Balance for Survey Walking
A 9 kg drone kit behaves differently from a 9 kg clothing load because batteries and controllers are dense. Keep the heaviest 3–4 kg within 50 mm of the back panel and between the hips and shoulder blades. A structured 50 mm hip belt should transfer roughly 25 percent of loads above 7 kg, while 55–70 mm shoulder straps distribute the remainder. Four side compression straps prevent the cassette from moving when the operator climbs a bank or steps across a ditch.
Test the harness for 90 minutes over the intended terrain, not for 5 minutes indoors. Walk 3 km with the complete kit, climb at least 100 steps, kneel for launch, and return the aircraft to its cell while wearing gloves. Record any pressure point, pack swing above 30 mm, or need to remove unrelated gear before reaching the controller. A technically protective pack still fails the mission if setup exceeds the weather window.
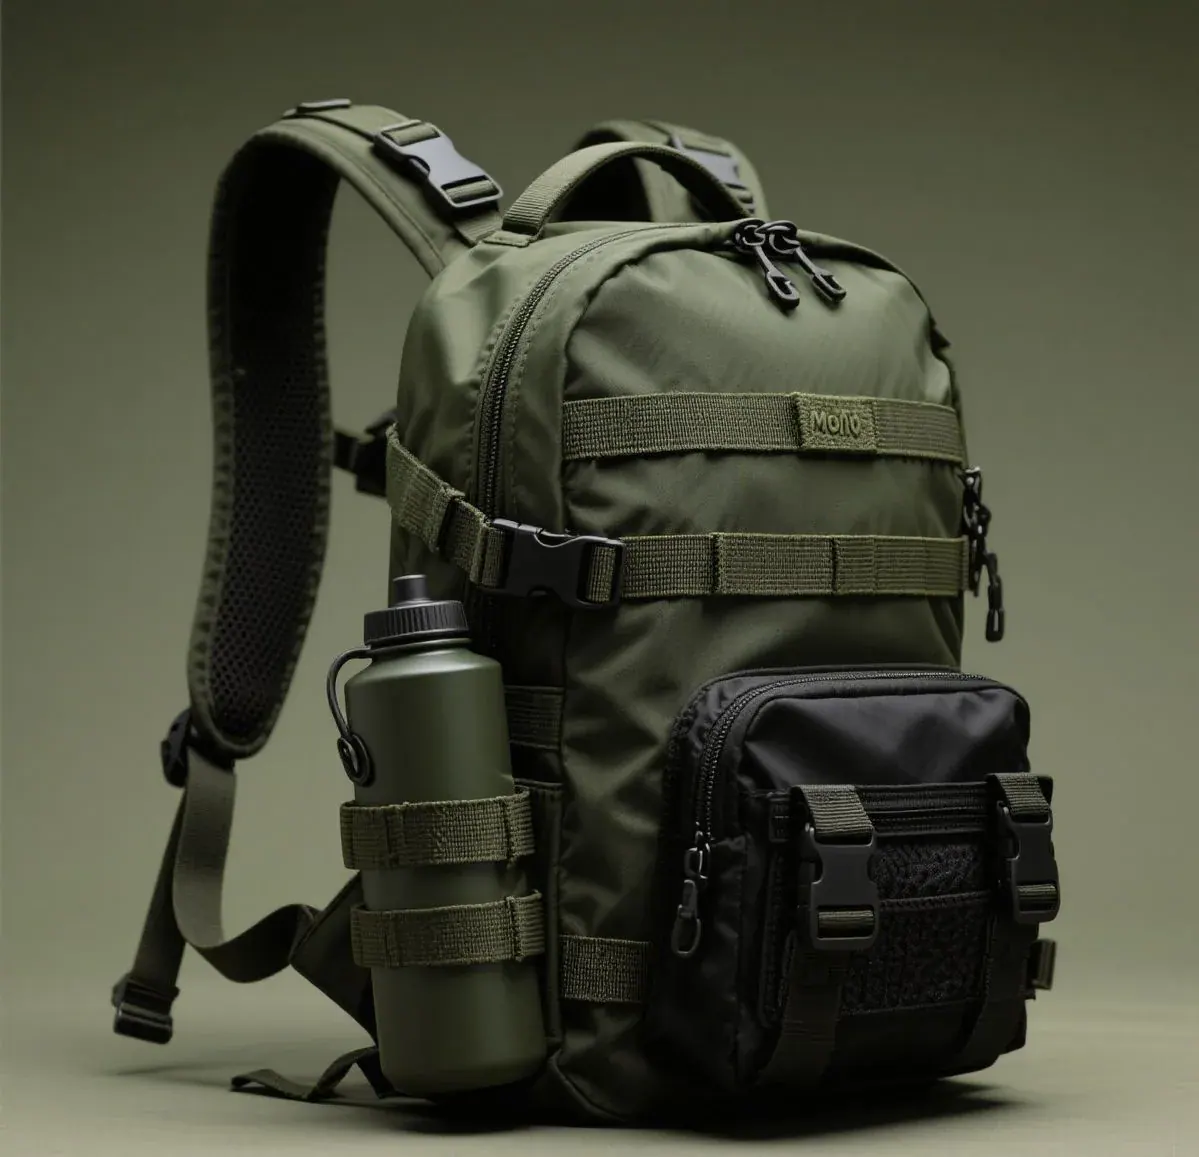
For longer approaches, the harness and outer-pocket logic used on a waterproof hiking backpack is a useful benchmark. Keep a 1 L water bottle outside the technical chamber, put the rain shell in a one-pull pocket, and secure tripod or survey pole tips above the base. Nothing attached outside should extend above the wearer's head or swing within 50 mm of the aircraft cell.
Launch-Site Workflow in Rain and Mud
Choose a setup order that limits exposure. Place the pack on its reinforced back or on a 600 × 600 mm ground sheet, open only one closure section, remove the landing pad, then controller, then aircraft. Keep the roll-top folded over the opening while connecting the controller. A two-person team should assign one person to equipment and one to weather and airspace checks; a solo operator should pause the sequence whenever rain increases or visibility changes.
Weather information belongs in the operational decision, not in a claim about the bag. Review current observations and forecasts from NOAA weather resources where applicable, then set local limits for precipitation, wind, visibility, and lightning. A waterproof pack protects equipment during a withdrawal; it does not make flight in unsuitable weather acceptable. Write a 2-minute pack-up drill and rehearse it before entering a remote site.
After landing, wipe visible droplets before returning the aircraft to foam. Put wet propellers or landing feet in a temporary 2 L wipe-clean sleeve so water is not pressed into the cassette. At base, remove the entire insert, air the shell for 8 hours, and inspect all 4 battery pockets. Mud should be rinsed from the outer shell with clean water rather than brushed dry into closure tracks.
Media, Cables, and Small-Part Control
The aircraft receives most design attention, but field delays often begin with a missing card, adapter, or short cable. Use one high-contrast organiser no larger than 220 × 160 mm with 8–12 labelled positions. Keep blank media in a sealed 0.3 L case, exposed media in a second clearly different case, and write the flight identifier before either returns to the pack. Tiny black objects disappear against a black lining, so pale grey or orange pocket backs reduce search time in low light.
Cable storage should control bend radius and connector pressure. Coil short leads to at least 60 mm diameter, hold them with soft tabs, and place rigid adapters in separate 40–60 mm cells. Do not wind a cable around a charger brick or compress a USB connector beneath the controller. A 10-minute inventory at the end of a mission costs less than driving back to a site because one data lead remained in wet grass.
| Small item | Storage rule | Count check | Failure prevented |
|---|---|---|---|
| Blank media | Sealed light-colour case | Count before launch | Using a full or wet card |
| Exposed media | Separate red-marked case | Match flight log | Accidental overwrite |
| Data cables | Coil at 60 mm or more | One slot per lead | Connector and conductor strain |
| Adapters | Padded 40–60 mm cells | Label by port type | Scratched screens and lost parts |
| Tools | Closed roll away from batteries | Five-piece silhouette | Metal contact at terminals |
Make the organiser removable so it can move directly from field pack to processing desk without emptying 12 loose pieces. Its attachment must remain outside the primary sealed boundary or use a bonded patch; rows of unsealed needle holes can defeat the outer shell. A 150 mm tether may secure the organiser during setup, but it should release under controlled hand force so it does not pull the open pack over.
At mission close, use a 90-second sequence: count the aircraft, controller, every battery, both media cases, charger, 3 critical leads, and 5 tools; photograph the open insert; then close the wet boundary. The photograph is not a substitute for the written flight record, but it creates fast evidence that small parts were present before the team left a remote location. This routine also identifies moisture before it spends a 2-hour drive trapped beside electronics.
Acceptance Testing for a Fleet Programme
A fleet brief should name the equipment list, loaded mass, insert drawing, rain exposure, drop screen, and access-time target. Useful acceptance lines are 3 roll-top turns with the loaded cassette, no wet tissue after the agreed spray exposure, no equipment contact after 3 drops from 600 mm, divider movement under 10 mm, and controller access within 60 seconds. Test 3 samples rather than relying on one unusually good build.
QUANZHOU JUNYUAN BAGS works with MOQ 500 pcs per design and colour, sample development in 6–10 working days, and bulk timing in 35–50 days. AQL 2.5 inspection can record insert dimensions, closure function, welded-joint appearance, strap pull, and accessory count. Programmes follow BSCI and ISO 9001 systems, with REACH and California Prop 65 material screening and FOB Xiamen or DDP delivery to more than 100 countries.
Teams can submit a mission load grid. Include aircraft dimensions with propellers folded, the heaviest battery mass, controller-stick clearance, target 30–40 L volume, and walking distance; send it to service@junyuanbags.com. Two insert layouts in one first sample round are more useful than two colours of the same unproven layout.
Keep a sample-control insert at the operations desk. Once each quarter, compare cell width, divider grip, base thickness, and closure clearance against the field units, then record any change above 3 mm. Foam can take a compression set long before the outer shell looks tired. Replacing one removable cassette at the right point is more economical than allowing a motor arm or gimbal to strike a hard wall during the next 600 mm drop.
The practical verdict is to treat water, impact, energy cells, and human carry as 4 separate controls. A welded outer body cannot replace foam, foam cannot isolate damaged batteries, and a neat insert cannot correct poor balance. When each control has a number and a field test, the backpack becomes a dependable part of the operation instead of decorative equipment.
People Also Ask
What size waterproof backpack fits a field drone kit?
Most compact field systems need 30–40 L after allowing 15–20 percent beyond measured equipment volume. The aircraft may use only 8 L, but 4 batteries, controller, tablet, landing pad, tools, water, and rain gear often raise the load to 7–10 kg.
How much foam should surround a drone in a backpack?
Use about 40–60 mm around protruding motor ends, 25–35 mm beneath the airframe, and at least 15 mm between rigid items. Keep the equipment 25 mm below the closure fold so 3 full roll-top turns remain possible.
Where should drone batteries sit in a backpack?
Place individually sleeved batteries close to the back panel and between hip and shoulder-blade height. Cover terminals, separate metal tools, number every position, and keep bottles or wet gear out of the battery zone.
Does a drone backpack need an immersion rating?
Usually not for land surveys; an IPX6-level rain target is more relevant. IPX7 or IPX8 becomes useful near boats, marshes, or crossings, but only when the complete closure and finished loaded pack are designed and tested for that exposure.
How should a drone pack be tested for drops?
Load real equipment or mass-matched dummies and drop the closed pack on base, back, and one lower corner from 600 mm as an initial field-duty screen. Inspect motors, gimbal clearance, terminals, sticks, and divider movement afterward.
Why is there moisture inside a sealed drone bag?
It may be condensation rather than leakage. A cold closed pack moved into warm humid air can deposit water internally; let it warm for 20–30 minutes in shelter and use 20–40 g of reusable desiccant near media.
Frequently Asked Questions
Q1. Is a waterproof drone backpack better than a hard case?
It is usually better for a 3–5 km foot approach because it is lighter and easier to balance. A hard case better resists point pressure in vehicle transit, while a welded soft body with a 40–60 mm foam cassette handles rain and walking efficiently.
Q2. What waterproof rating should a drone field pack target?
IPX6-level protection is a sensible target for driven rain and splash. Near-water operations may justify IPX7, but the claim must apply to the finished pack with its closure, seams, valve, insert, and normal load.
Q3. How heavy is a complete drone field backpack?
A compact mapping setup is often around 6.5 kg, and a larger survey set can reach 9–11 kg before personal gear. Keep dense batteries near the spine and use a load-transfer belt above about 7 kg.
Q4. Can batteries share one large compartment?
They should not. Give every cell an individual sleeve, cover terminals, number the positions, and separate charged from used units. This prevents metal contact, speeds accountability, and highlights a missing or changed battery.
Q5. How quickly should flight equipment be accessible?
Set a target of under 60 seconds for aircraft, controller, batteries, and media without removing unrelated personal gear. Pack flight-critical items first in the opening sequence and place support equipment below them.
Q6. Can I put a wet drone straight back into the insert?
Wipe droplets first and isolate wet feet or propellers in a 2 L wipe-clean sleeve. At base, remove the cassette, open the shell, and dry both for about 8 hours before closed storage.
Q7. How do I prevent a controller stick from being damaged?
Use at least 25 mm of closed-cell clearance around the controller, support its body rather than its sticks, and confirm nothing touches controls during a 600 mm loaded drop screen. A removable rigid cap can add local protection.
Q8. What should be kept outside the technical chamber?
Water, wet clothing, mud-covered landing parts, and personal food should use separate outer or wipe-clean zones. A folded 300 × 300 mm landing pad can ride in a flat external sleeve.
Q9. How should a fleet approve a drone backpack?
Test at least 3 samples for loaded closure, agreed spray exposure, 3 drops from 600 mm, divider movement below 10 mm, strap stability during a 3 km walk, and equipment access within 60 seconds.
Q10. What are the MOQ and lead time for a drone pack programme?
A practical baseline is 500 pcs per design and colour, samples in 6–10 working days, and bulk in 35–50 days. Submit the full mission grid and equipment dimensions before insert approval.