A home test can confirm a waterproof backpack to roughly IPX5 or IPX6 and can rule out IPX7, but it cannot certify either. Run five checks in 90 minutes: a tissue paper dry run, a hose spray at 12.5 litres per minute from 3 metres for 3 minutes, a 30 minute bathtub immersion at 0.3 to 0.5 metres, a buoyancy check with a 3 kilogram load, and a seam-focused water fill for packs with welded construction. Any damp spot larger than 20 millimetres on the tissue, or any drop reaching the interior within 15 minutes, is a fail worth investigating. Laboratory confirmation against the published ingress codes costs 80 to 300 USD per sample and takes 3 to 7 working days, which is the correct route once a home result is borderline.
What a Home Test Can and Cannot Establish
Being honest about the limits saves time and money. A home test is a screen, not a certification. It reliably separates a genuinely sealed body from one that leaks badly, and it localises the leak to a specific seam, closure or corner, which is the information a repair or a warranty claim actually needs. It does not produce a number that a buyer can print on a hangtag.
The reason is control. Formal ingress testing specifies nozzle diameter, flow rate, distance, duration, water temperature and the orientation of the sample, and it is performed on a rig calibrated to hold those values. A garden hose on a domestic supply varies by 30 to 50 percent between houses and between times of day, and a bathtub cannot produce a true one metre head. Home results should therefore be read as pass, borderline or fail rather than as a code.
What a home test can do very well is catch the two failure modes that dominate real complaints. The first is a closure that is not fully engaged, which accounts for roughly 50 to 65 percent of field leaks and which a 10 minute test finds every time. The second is a corner seam or a strap root that has begun to separate, which accounts for another 20 to 30 percent and which a test with the pack weighted and supported finds reliably.
| Question | Home test | Laboratory test |
|---|---|---|
| Can it find a leak? | Yes, reliably | Yes |
| Can it localise the leak? | Yes, to within 20 to 50 mm | Yes, with recorded pressure |
| Can it give a printed code? | No | Yes, IEC 60529 IPX5 to IPX8 |
| Water pressure control | Rough, 0.3 to 0.5 m typical | Exact, 0.098 bar per metre |
| Cost | 0 USD plus 90 minutes | 80 to 300 USD per sample |
| Turnaround | Same day | 3 to 7 working days |
Test One: The Tissue Paper Dry Run
This is the fastest screen and the one worth running first every time, because it takes 10 minutes and needs nothing but paper. Line the interior with 20 to 30 sheets of absorbent tissue or paper towel, pushing sheets into the corners and along the base seam where leaks start. Close the pack exactly as it would be closed in use, roll the top with three to four turns, and note the number of turns.
- Line the interior with 20 to 30 sheets of tissue, with extra sheets folded into the two base corners and along the roll top fold.
- Close the pack as it would be closed in the field: three to four turns of the roll top, buckle engaged, all pocket zippers fully home.
- Place the pack on a dry surface, spray or hose it for 5 to 10 minutes from all four sides plus the base, then wait 15 minutes without opening it.
- Open the pack in good light and inspect every sheet. Sort the sheets by location so any damp area maps to a seam, a corner or the closure.
- Mark any damp spot with a pencil circle and measure it. Under 10 millimetres and dry to the touch is tolerance; above 20 millimetres is a fail.
The 15 minute wait matters more than most people expect. Water that has entered through a pinhole travels along the seam tape or the coating interface before it reaches the interior, and opening the pack immediately can miss a leak that would have shown within five more minutes. Waiting also avoids the opposite error, where water on the user hands or on the outside of the pack is transferred to the tissue during opening and misread as a leak.
Interpreting the pattern is the valuable part. Damp sheets at the two lower corners point to a corner seam. Damp sheets along the top third point to the roll top fold, and the fix is usually one more turn rather than a repair. Damp sheets at the middle of the back panel, away from any seam, point to abrasion damage or to a puncture, which no amount of re-rolling will fix.
Test Two: Hose and Shower Spray
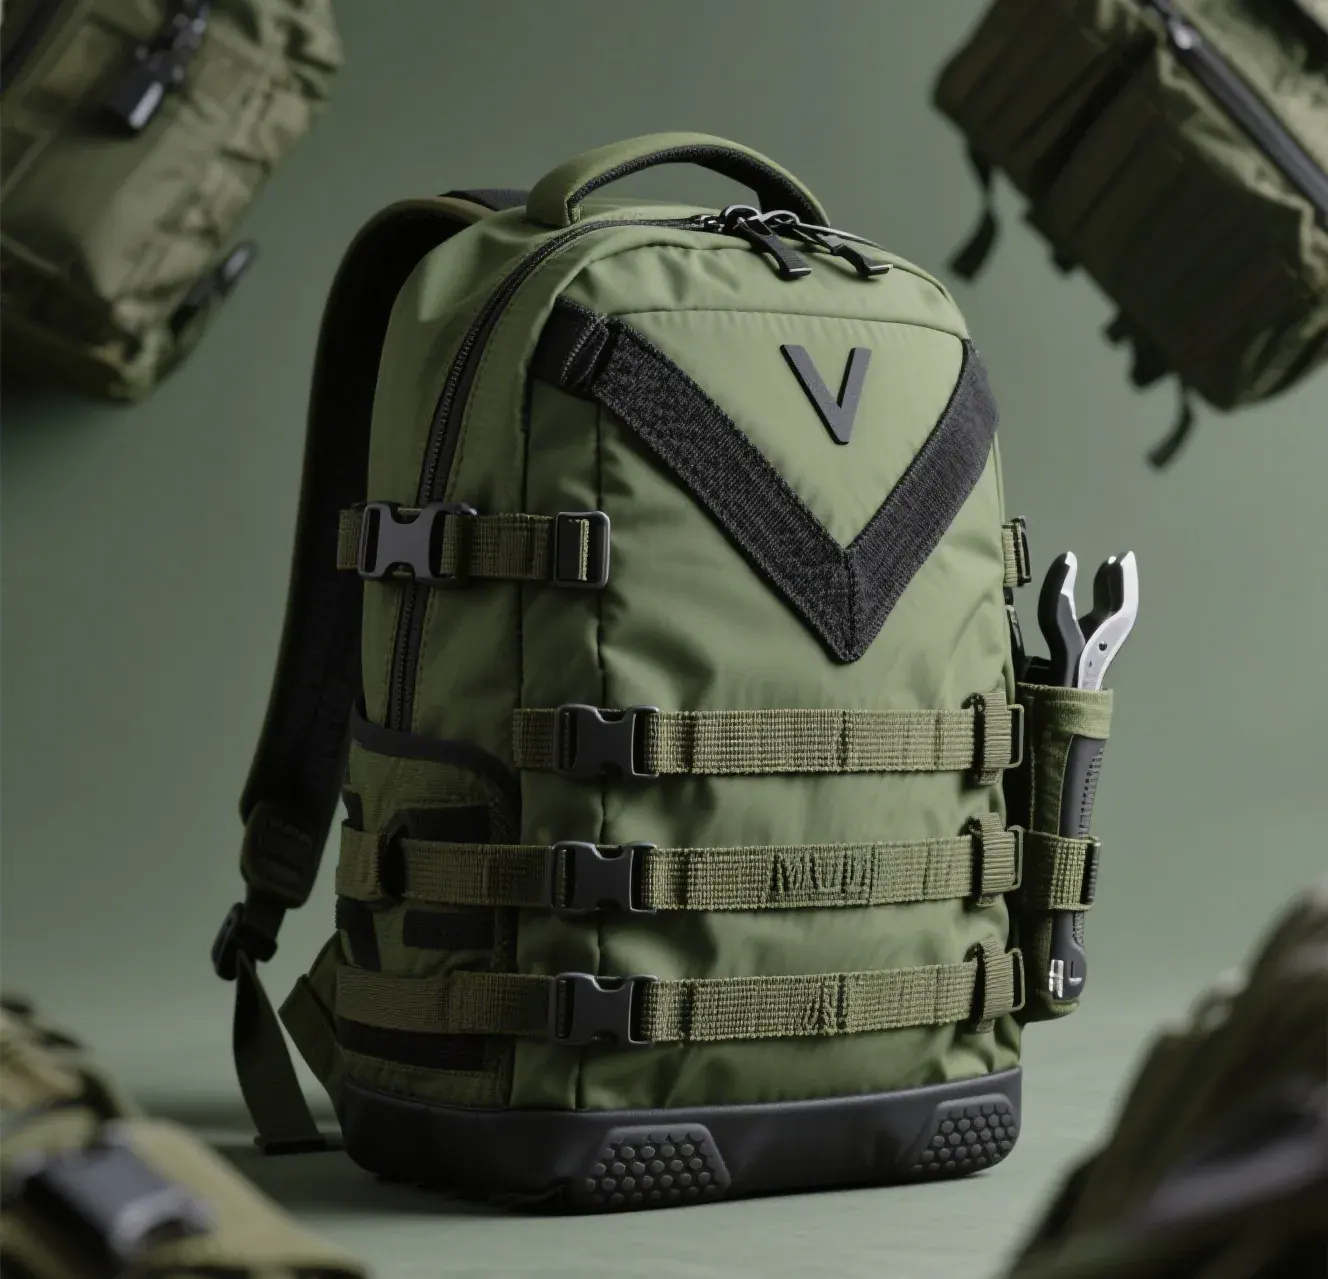
A spray test replicates rain driven by wind, which is the condition most packs actually meet. The published ingress definitions come from IEC 60529, which sets the jet conditions precisely: IPX5 uses a 6.3 millimetre nozzle at 12.5 litres per minute from 2.5 to 3 metres, and IPX6 uses a 12.5 millimetre nozzle at 100 litres per minute at the same distance, each for one minute per square metre of surface with a minimum of three minutes.
At home, approximate the milder jet. Fit a hose with a 6 to 8 millimetre nozzle, open the tap fully, and measure the flow by filling a 10 litre bucket and timing it; anything from 10 to 16 litres per minute is a reasonable stand-in for IPX5. Hang the pack so it hangs freely, and spray each of the five faces for 3 minutes from 2.5 to 3 metres, which is 15 minutes of exposure in total.
Water pressure is worth knowing even in a home test, because it converts depth into a number. One metre of water column equals 9.8 kilopascals, or about 0.098 bar, so a 0.5 metre bathtub submersion loads the seams with roughly half the pressure of a formal IPX7 test. A jet at 12.5 litres per minute produces local impact pressures well above that, which is why a pack can fail a hose test and still pass a shallow immersion.
| Code | Nozzle and flow | Distance and time | Home approximation |
|---|---|---|---|
| IPX3 | Spray at 0.07 L per minute per hole | 2 to 3 minutes | Light shower head, 2 minutes |
| IPX4 | Splash from all directions, 10 L per minute | 5 minutes | Shower head from 1 metre, 5 minutes |
| IPX5 | 6.3 mm nozzle, 12.5 L per minute | 3 minutes at 2.5 to 3 metres | Hose with a 6 to 8 mm nozzle |
| IPX6 | 12.5 mm nozzle, 100 L per minute | 3 minutes at 2.5 to 3 metres | Not reproducible at home |
| IPX7 | Immersion, 30 minutes | Lowest point 1 metre below surface | Bathtub at 0.3 to 0.5 metre, partial |
| IPX8 | Continuous immersion, agreed conditions | Deeper than 1 metre | Laboratory only |
Test Three: Bathtub and Bin Immersion
Immersion is the test people want and the one a home setting approximates least well. A formal IPX7 test immerses the sample so its lowest point sits one metre below the surface for 30 minutes, and almost no bathtub holds 300 millimetres over a loaded 40 litre pack. What a tub does provide is a genuine 0.3 to 0.5 metre head, which produces 3 to 5 kilopascals at the deepest point and finds any leak that is not marginal.
Run it properly. Fill a tub or a large bin with 150 to 250 litres at 15 to 25 degrees, put a 3 to 5 kilogram weight inside the pack so it sinks to a stable depth, and lower it slowly so trapped air escapes rather than lifting one corner. Leave it for 30 minutes, then lift it out without tipping, dry the outside, and open it. Any water inside fails the pack regardless of how small the volume.
Two errors ruin this test. The first is not weighting the pack, which leaves 20 to 40 litres of trapped air holding it at the surface so only the lower third is ever under pressure. The second is testing warm water against a cold pack or the reverse, because a 10 degree difference changes the internal air volume by 3 to 4 percent and can draw water past a closure that is fine at equal temperatures.
Packs fitted with an air valve allow a sharper version. Inflate gently to a firm but not rigid state, roughly 0.02 to 0.05 bar, submerge, and watch for a bubble stream. A continuous stream of bubbles from one point indicates a pinhole as small as 0.1 to 0.3 millimetres, far smaller than any tissue test would find, and the method is covered in more detail in the air valve walkthrough.
Test Four: Buoyancy and Load Behaviour
Buoyancy is not a waterproofness test, but it is a fast proxy for how much air the pack is trapping, and trapped air is what keeps a sealed body afloat if it goes overboard. A 30 litre pack loaded with 3 kilograms of clothing should float with 30 to 50 percent of its volume above the waterline for at least 30 minutes. If it sinks below the surface within 5 minutes, air is escaping somewhere, and wherever air escapes water can enter.
Record two numbers: the initial freeboard in millimetres and the freeboard after 30 minutes. A drop of more than 40 percent in that window indicates a slow leak, typically at the roll top fold or at a zipper end stop. A pack that floats level and stays level is genuinely sealed; one that lists to one side usually has water in a compartment, which is the same result the immersion test would have found.
Marine buyers should treat buoyancy as a specification rather than a curiosity, because recovery of a bag over the side is the difference between a wet day and a lost trip. Where small craft are involved, published sea state and wind figures from NOAA put the buoyancy requirement in context: a bag that floats for two hours in a flat harbour is worth very little in a two metre sea.
Test Five: Seam and Closure Focused Checks
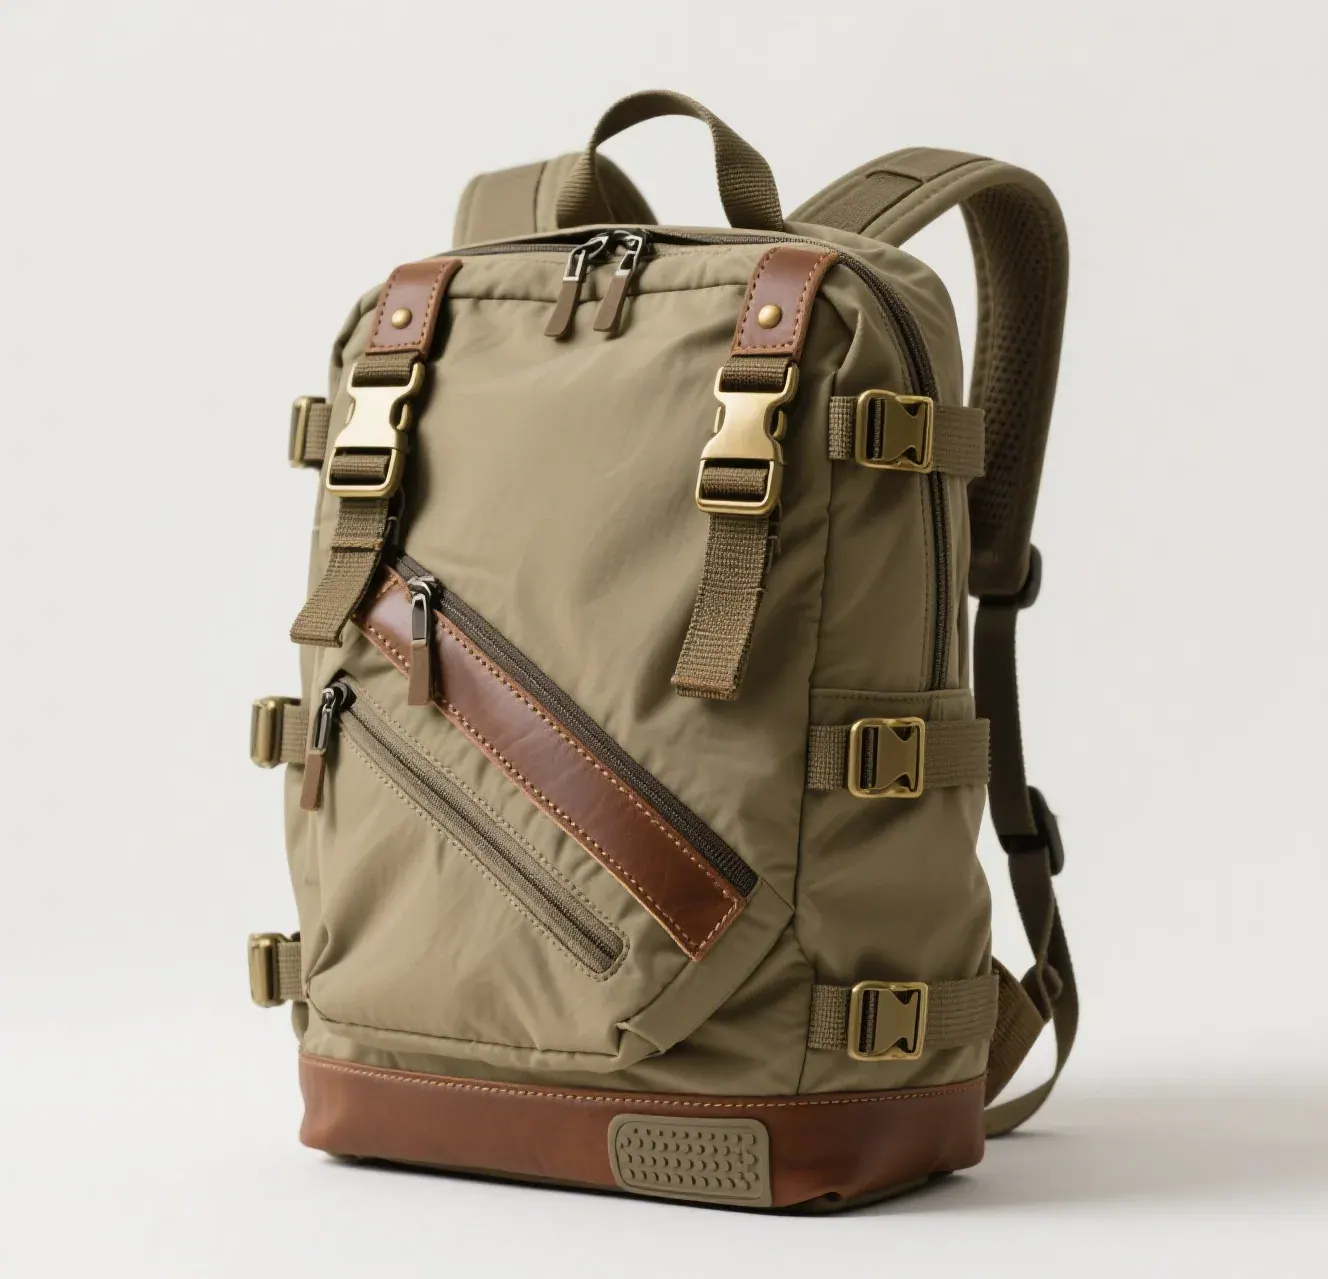
Once a leak is suspected, stop testing the whole pack and test the suspect component. For a roll top, close it with three turns and test, then repeat with four and five; if the leak disappears at four turns, the body was never defective and the instruction on the hangtag needs one more turn. For a zipper, close it, submerge the closure only for 10 minutes, and inspect the end stop and the first 50 millimetres of travel, which is where a slider that is not fully home leaves a gap.
A water fill test stresses seams that spray testing barely loads. Stand the empty pack upright in a basin, pour in 8 to 12 litres, and leave it for 15 minutes with the closure open so the water is not pressurised by rolling. Look for drips on the outside of the base and at the corners. This should only be done on a pack with fully welded construction, because a body with any stitched panel will leak by design and the result will be meaningless.
Finally, exercise the hardware. Open and close the main zipper 30 to 50 times while wet, then re-run the tissue test. A closure that passes dry and fails after 30 cycles has a slider alignment or a profile wear issue, and the fix is usually lubrication and a slider adjustment rather than a replacement. Cycle testing at this scale takes 10 minutes and predicts second-season behaviour better than any other home check.
| Focused check | Procedure | Pass condition | Typical finding |
|---|---|---|---|
| Roll top turns | Test at three, four and five turns | Dry at four turns | Instruction needs one more turn |
| Zipper end stop | Submerge closure only, 10 minutes | No moisture at the stop | Slider not fully home |
| Base water fill | 8 to 12 litres standing, 15 minutes | No external drips | Corner weld separation |
| Wet cycle test | 30 to 50 zipper cycles, retest | Still dry after cycling | Slider alignment or wear |
| Strap root | Spray directly for 3 minutes | No dampness at the backing | Weld or stitch creep under load |
Scoring, Thresholds and Failure Diagnosis
A result needs a threshold to be useful. Suggested pass marks: the tissue test shows no damp spot above 20 millimetres after 15 minutes; the hose test at 10 to 16 litres per minute produces no interior moisture after 15 minutes across five faces; the immersion test at 0.3 to 0.5 metres produces no interior water after 30 minutes; and the buoyancy test keeps 30 percent or more of the volume above the waterline for 30 minutes.
Failure should be diagnosed by location rather than by severity, because severity is often a symptom of how long the test ran. A corner leak is a weld problem and is repairable by a specialist in 30 to 60 minutes. A fold leak at three turns is an instruction problem and costs nothing to fix. A mid-panel leak is material damage and means the pack has reached the end of its useful life for critical use.
Keep a written record with the test date, the water temperature, the flow rate measured with a bucket and a stopwatch, and the location of any damp area photographed with a scale in frame. Four data points turn an argument into a claim. For commercial programmes this record is also the input to a corrective action request, and it is far more persuasive than a description in an email.
| Symptom | Most likely cause | Confirmation | Action |
|---|---|---|---|
| Damp at both lower corners | Corner weld separation | Repeat water fill, watch the corner | Professional weld repair |
| Damp along the top third | Under-rolled closure | Retest at four and five turns | Update the closure instruction |
| Damp at mid back panel | Abrasion or puncture damage | Backlight inspection for pinholes | Retire from critical use |
| Damp at the zipper end stop | Slider not fully home | Submerge the closure only | Lubricate and adjust the slider |
| Drips outside the base | Weld porosity in the base seam | Water fill with 8 to 12 litres | Weld repair or replacement |
| No leak but the pack sinks | Slow air loss at the fold | Buoyancy retest at 30 minutes | Re-roll and retest the closure |
Mapping Home Results to Laboratory Standards
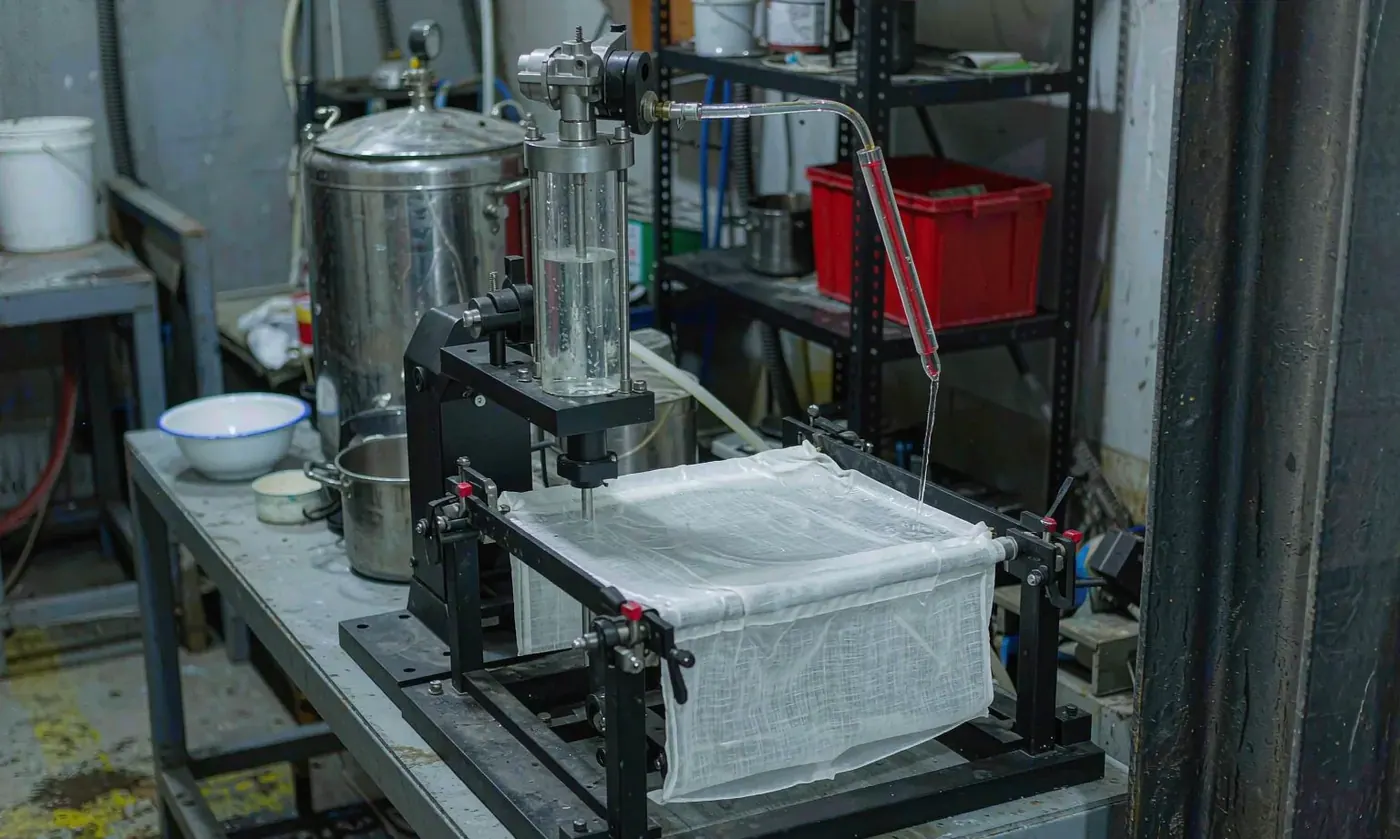
Every fabric waterproofness claim resolves to one measurable quantity: the height of a water column the material holds before three drops penetrate. Laboratory methods for that measurement are published by ASTM International and by AATCC, and the result is reported in millimetres of water column. A fabric rated at 3,000 millimetres holds a three metre column, which is roughly 29 kilopascals, before it leaks.
Seams and closures are measured differently, by air pressure or by immersion, and the codes come from IEC 60529 as described above. The mapping is loose but useful: a pack that survives a 3 minute hose test at 12.5 litres per minute is behaving like IPX5; one that survives 30 minutes at a true one metre depth is behaving like IPX7. Between those two claims there is a large gap in both cost and construction, and buyers should specify the lower of the two that meets the use case.
Laboratory testing is worth booking at three moments: at prototype sign-off, at the start of bulk production, and after any change of material or closure source. Cost per sample is typically 80 to 300 USD with a 3 to 7 working day turnaround, which is small against a bulk order and large enough that nobody should book it speculatively. Test the assembled pack packed to its intended level, because a nearly full pack has less trapped air and a shorter effective fold.
| Home result | Behaviour it indicates | Confirming laboratory method | Typical cost |
|---|---|---|---|
| Survives a 3 minute hose at 12.5 L per minute | IPX5 like | Jet test to IEC 60529 | 80 to 150 USD |
| Survives 30 minutes at 0.3 to 0.5 metre | Borderline, not IPX7 | Immersion at 1 metre, 30 minutes | 100 to 200 USD |
| Fabric holds a 3 metre column | 3,000 mm hydrostatic head | Hydrostatic head method | 60 to 120 USD |
| Survives 50 wet zipper cycles | Closure life above 3,000 cycles | Cycled closure testing | 120 to 250 USD |
| Floats 30 minutes with 3 kg | Positive buoyancy with load | Flotation test, recorded freeboard | 80 to 180 USD |
Programme Numbers and What to Specify
The specification should name the test, the method and the pass value, in that order, and it should state whether the sample is the pack alone or the pack packed to its intended level. A clause reading IPX7 to IEC 60529 on a pack filled to 60 percent of volume with three turns of roll top is enforceable. A clause reading waterproof is not, because it gives no method, no value and no sample condition.
Rating language is explained in full in the IPX rating guide for waterproof backpacks, and the distinction that most buyers get wrong is set out in the waterproof versus water resistant comparison. For a broader selection framework that includes what to test before accepting a shipment, see the waterproof backpack buying guide, and for the fabric side of the same numbers see the hydrostatic head explainer in millimetres.
QUANZHOU JUNYUAN BAGS develops welded TPU and PVC bodies with coating thickness from 0.15 to 0.60 millimetres and closure options ranging from a roll top to a waterproof zipper rated at 0.2 to 0.5 bar. Programme entry is 500 pcs per design and colour, prototype samples in 6 to 10 working days, bulk in 35 to 50 days, FOB Xiamen or DDP into more than 100 countries. Material screening against REACH and California Prop 65 is standard, shipments are released at AQL 2.5, and ISO 9001 certification underpins the quality system. Test plans, sample sizes and acceptance values are documented. Briefs may be sent to service@junyuanbags.com.
Run the five checks in order and the answer is almost always clear within 90 minutes. If it is not, the pack is borderline, and a borderline result is exactly the case where a 100 USD laboratory report is cheaper than a season of returns.
People Also Ask
How do I know if my waterproof backpack is actually waterproof?
Run a tissue paper test: line the interior with 20 to 30 sheets, close the pack as normal, spray it for 5 to 10 minutes, wait 15 minutes, then inspect. Any damp spot above 20 millimetres is a fail, and its location tells you whether the problem is the closure, a corner seam or the fabric.
Can I test IPX7 at home?
Only approximately. IPX7 requires 30 minutes with the lowest point one metre below the surface, which few bathtubs provide. A tub gives a genuine 0.3 to 0.5 metre head, or 3 to 5 kilopascals, which finds any leak that is not marginal but cannot confirm the code.
What flow rate should a hose leak test use?
10 to 16 litres per minute through a 6 to 8 millimetre nozzle from 2.5 to 3 metres for 3 minutes per face. That approximates IPX5, which is specified as 12.5 litres per minute through a 6.3 millimetre nozzle at the same distance. Measure your own flow by timing a 10 litre bucket.
How much weight should I put in a pack for an immersion test?
3 to 5 kilograms. Without a weight the pack traps 20 to 40 litres of air and floats, so only the lower third is under pressure. The weight sinks it to a stable depth and puts the whole body under the head.
How long does laboratory waterproof testing take?
3 to 7 working days at 80 to 300 USD per sample, depending on the method. Book it at prototype sign-off, at the start of bulk production, and after any change of material or closure source.
Why does my pack leak at the roll top but nowhere else?
The closure is probably under-rolled. Retest at four and five turns; if the leak disappears at four turns, the body is sound and the hangtag instruction needs one more turn. The roll top and its corners account for roughly half of all field leaks.
Frequently Asked Questions
Q1. What is the easiest way to test a waterproof backpack at home?
The tissue paper dry run. Line the interior with 20 to 30 sheets of absorbent tissue, close the pack exactly as you would on a trip, spray or hose it for 5 to 10 minutes, wait 15 minutes without opening, then inspect every sheet for damp spots and note the location of each.
Q2. How long should I leave a pack under water to test it?
30 minutes, which is the duration used in formal immersion testing. At home a bathtub gives 0.3 to 0.5 metres of head rather than the full one metre, so a pass indicates a sound body rather than a confirmed code.
Q3. Can a home test prove an IPX7 rating?
No. IPX7 requires the lowest point of the sample to sit one metre below the surface for 30 minutes on calibrated equipment. A home test can rule IPX7 out by finding a leak, but confirming the code needs a laboratory report.
Q4. What water pressure is one metre of depth?
9.8 kilopascals, or about 0.098 bar. A 0.5 metre bathtub submersion therefore loads the seams with roughly half the pressure of a formal IPX7 test, which is why a pack can pass at home and still fail in a laboratory.
Q5. Why does my pack float instead of sinking during a bath test?
Trapped air. An empty or lightly filled pack holds 20 to 40 litres of air, so only the lower third is under pressure. Add 3 to 5 kilograms inside and lower it slowly so the air escapes rather than lifting one corner.
Q6. How do I find a pinhole leak in a waterproof backpack?
Use an air valve if the pack has one: inflate gently to 0.02 to 0.05 bar, submerge, and watch for a bubble stream, which locates holes as small as 0.1 to 0.3 millimetres. Without a valve, backlight the dry fabric in a dark room and look for bright points at the base corners.
Q7. What is a hydrostatic head and how is it measured?
It is the height of a water column a fabric holds before three drops penetrate, reported in millimetres. A 3,000 millimetre fabric holds a three metre column, about 29 kilopascals. The measurement is made on a laboratory rig using published methods rather than at home.
Q8. Should I test the pack empty or packed?
Packed to its intended level. A nearly full pack has less trapped air and a shorter effective fold, which is the condition in which it will actually be used, and it is also the condition in which marginal closures fail first.
Q9. How many times can I submerge a pack before the test damages it?
Immersion in clean fresh water does not damage a welded body, so repeat testing is safe. What does cause wear is cycling a zipper while gritty, so rinse salt and sand off before any cycle test and lubricate afterwards.
Q10. What should I do if my pack fails at the corner seams?
Confirm with a water fill: stand the pack upright, pour in 8 to 12 litres with the closure open, and watch the outside of the base for 15 minutes. A confirmed corner weld separation is repairable by a specialist in 30 to 60 minutes.
Q11. How much does laboratory waterproof certification cost?
Typically 80 to 300 USD per sample with a 3 to 7 working day turnaround, depending on whether the test is a jet, an immersion, a hydrostatic head or a cycled closure test. Book it at prototype sign-off and again at the start of bulk production.