A waterproof paddle camping backpack should hold about 30–45 L, use a finished-pack IPX7-level target where accidental immersion is credible, and carry an 8–12 kg overnight load without relying on trapped air as flotation. Divide sleep insulation, dry clothing, food, and electronics into independent modules; close the roll-top through at least 3 turns and attach the pack to the craft at 2 rated points without wrapping loose lines around the body. Before departure, complete a 24-hour packed dry run, a controlled water check, and a loaded 1 km portage.
Size the Pack Around One Night, One Portage, and One Wet Landing
A warm one-night kit may fit 30–35 L: compact sleep system, shelter, dry layer, food, stove where appropriate, water plan, first aid, light, and communication. A cool or shoulder-season load often needs 38–45 L because insulation and spare clothing are bulky. Multi-purpose 50 L bodies can work in large craft but become awkward through hatches and during a 1 km carry.
Measure 3 constraints together: usable pack litres, craft storage opening, and human portage load. A 40 L cylinder may fit the gear and fail a 260 mm hatch. A narrow 35 L body may pass the hatch and ride too tall behind a kayak seat. Build a full-size cardboard or soft mock-up, check every storage route, and load the real 8–12 kg before selecting closure position.
| Trip pattern | Capacity | Loaded range | Critical constraint |
|---|---|---|---|
| Warm overnight, compact shelter | 30–35 L | 7–9 kg | Reserve 15% for wet return |
| Cool overnight | 35–40 L | 8–11 kg | Dry insulation module |
| Shoulder-season camp | 40–45 L | 9–12 kg | Bulky layer and glove access |
| Kayak hatch storage | Shape-specific 25–40 L | Craft-dependent | Opening and internal taper |
| SUP or open deck | 30–40 L | 8–11 kg | Low profile and 2-point restraint |
The waterproof backpack size guide covers general volume, but paddle camping adds hatch geometry and a wet return. Keep 15 percent reserve for damp tent fabric, imperfect rolls, and trash. If the pack closes only when knelt on, the chosen volume is too small and the wet boundary is already compromised.
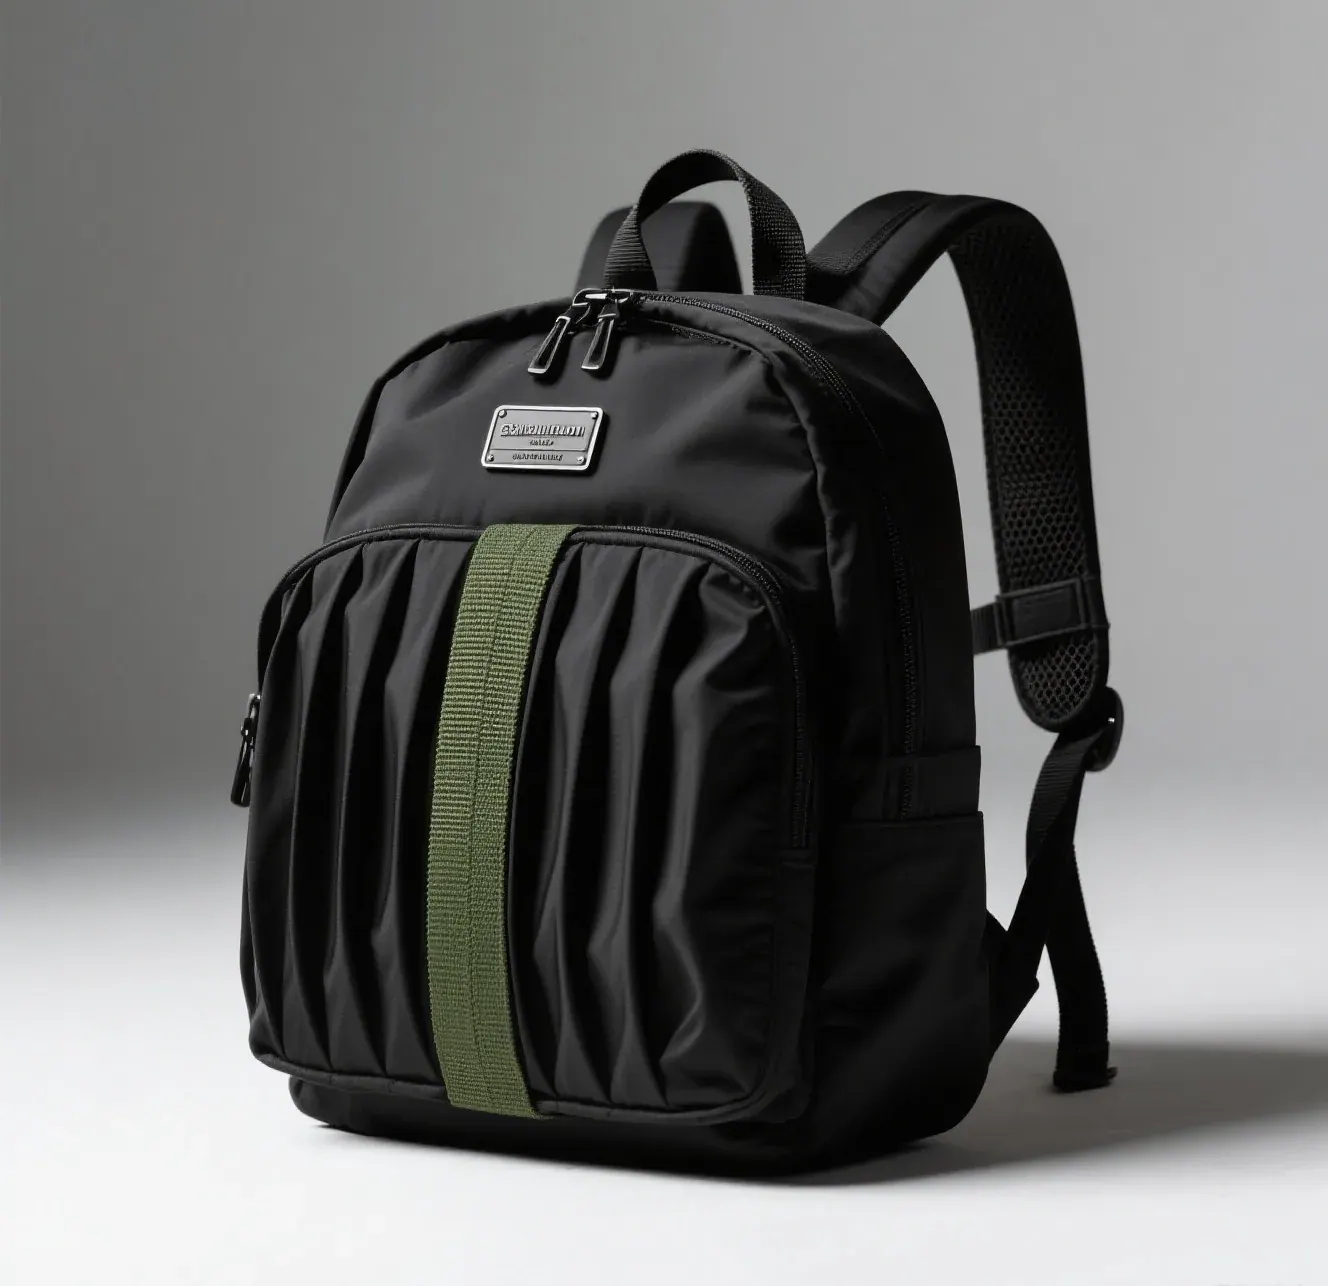
Use Three Dry Layers for the Highest-Consequence Gear
Layer 1 is the finished waterproof pack. Layer 2 is an independent sealed module for the sleep system and one complete dry base layer. Layer 3 is local protection for communication, documents, medication, and power. Not every spoon needs 3 layers. Redundancy belongs where water would end the trip, remove warmth, or eliminate communication.
Use a 6–10 L sleep module, a 4–6 L dry-clothing module, a 0.5–1 L electronics case, and a separate 3–6 L food zone. Close inner rolls with at least 3 turns where that construction requires it. Keep inner module surfaces dry during packing; a wet pouch placed inside the outer pack can create moisture that looks like a leak hours later.
| Module | Typical volume | Dry layer | Access timing |
|---|---|---|---|
| Sleep insulation | 6–10 L | Independent sealed liner | At camp only |
| Complete dry clothing | 4–6 L | Separate roll pouch | Emergency or camp |
| Communication and power | 0.5–1 L | Hard or sealed local case | Under 30 seconds |
| Food | 3–6 L | Leak and odour containment | Meal stops |
| Wet shelter or footwear | 4–8 L | Outside dry modules | Packed last |
Dry clothing supports cold-risk management, not merely comfort. CDC guidance on hypothermia explains how wet conditions can contribute to dangerous cooling. Carry adequate insulation for the actual weather and follow qualified local trip planning; a waterproof pack cannot compensate for inadequate clothing or an unsuitable route.
IPX Targets and What the Water Test Must Include
For protected flat water where the pack remains inside a closed hatch, IPX6-level rain and splash protection may be sufficient. For open deck, beach landing, canoe transfer, or a realistic drop into water, an IPX7-level finished-pack target provides a more relevant basis. IPX8 requires the specific depth and duration to be stated; the number alone is not unlimited submersion.
The definitions come from the IEC ingress-protection framework. Test the completed pack with the normal 8–12 kg load, closure, valve, attachment patches, and any externally connected modules. Put dry indicators beneath both closure corners, around valve and anchor areas, at seam junctions, and on the base. Condition load points before the water test.
- Close the roll-top through at least 3 firm turns with 75–100 mm of clear material.
- Load tie-down anchors before water exposure so strain-related paths are visible.
- Record depth, duration, water temperature, load, orientation, and closure sequence.
- Open the pack on a dry surface so exterior droplets do not contaminate the result.
- Repeat the screen after 5 trips, because folds and abrasion change with use.
A floating result is not the same as an IP result. Trapped air can keep one loaded pack on the surface and allow a denser one of the same volume to sink. A purge valve changes buoyancy over time. Treat flotation only as a controlled gear-recovery characteristic, never as personal safety equipment.
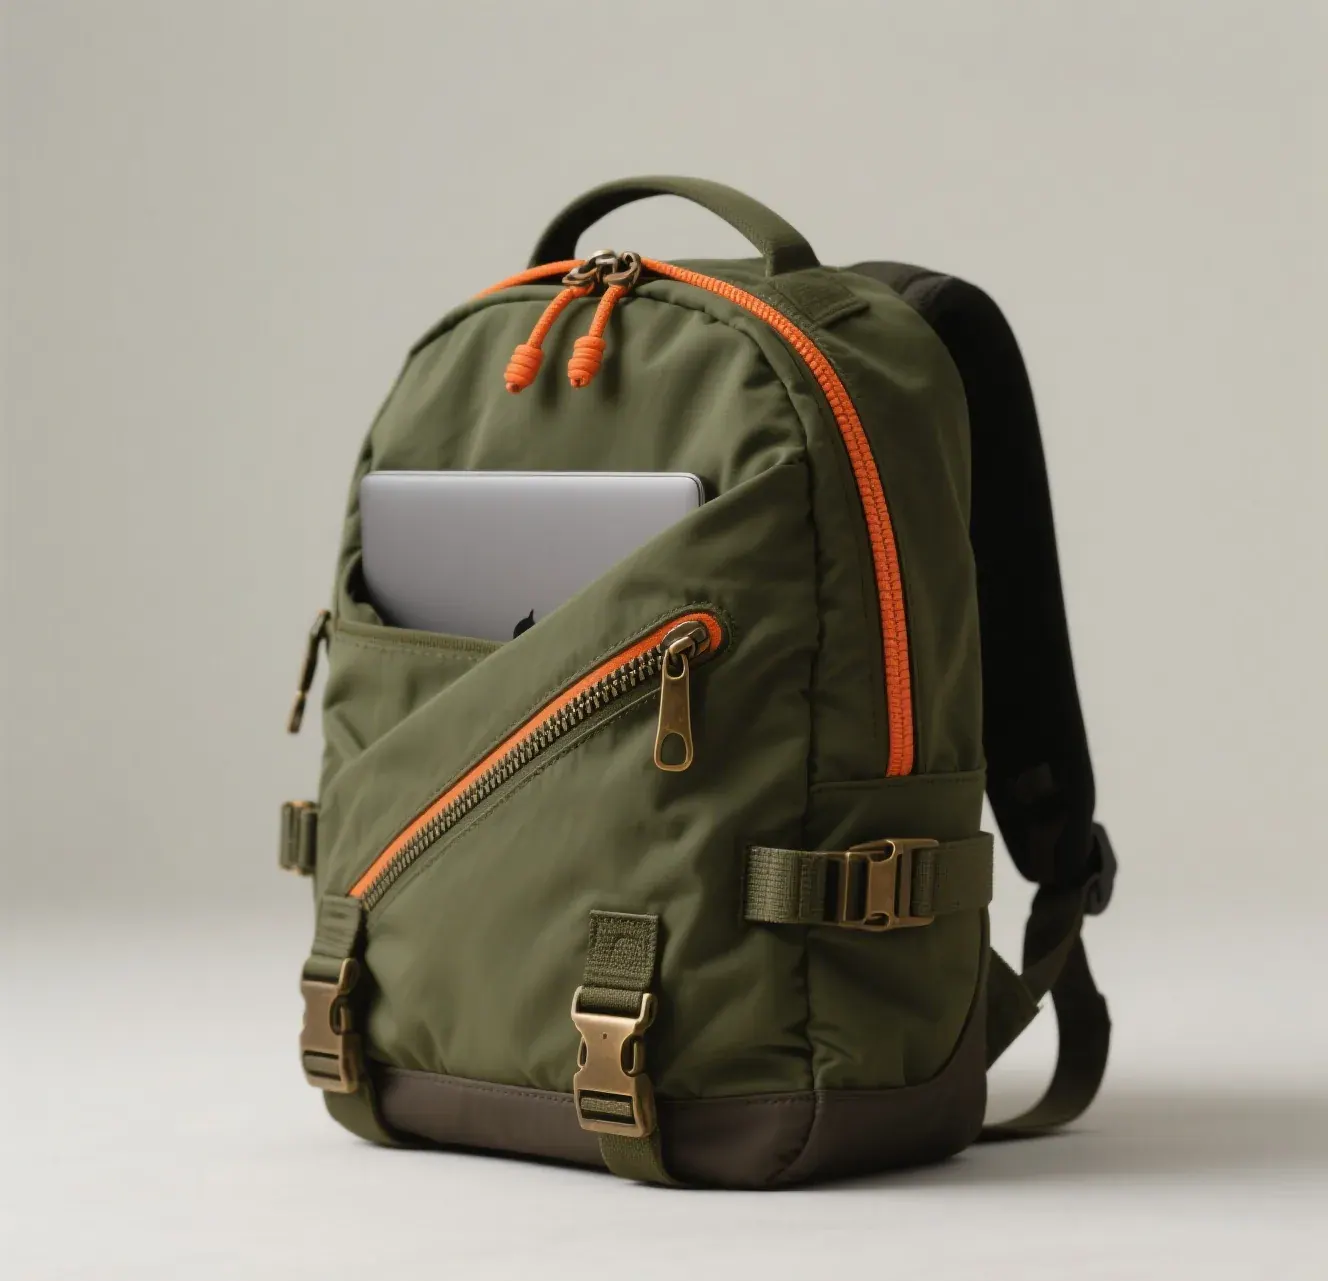
Deck and Craft Attachment Without Entanglement
Secure the pack to the craft at 2 independent rated points so it cannot leave during a capsize or rough landing, while following craft guidance and local expert practice. Keep attachment routes short and tidy. Loose line should not encircle a wrist, ankle, torso, seat, or control area. A pack tether is equipment retention, not a connection to the person.
Use low-profile external loops bonded or reinforced outside the primary wet boundary. Test each relevant anchor in its real direction, not only straight outward. A practical equipment-retention screen may use 300–500 N depending on the written programme and craft context, followed by a water check. Record growth, coating whitening, and whether the loaded pack can still be released using the intended mechanism.
| Attachment issue | Design control | Test value | Failure sign |
|---|---|---|---|
| Pack leaves deck | Two independent craft points | Directional load by plan | Anchor or deck routing releases |
| Loose-line entanglement | Short captured webbing | No open loop around body zones | Tail crosses seat or limb area |
| Anchor leak | External reinforcement island | Water check after load | Wet indicator behind patch |
| Difficult release | Glove-operable mechanism | Ten wet cycles | Jams or needs two hands |
| Pack blocks control | Low loaded profile | Full paddle and exit movement | Contact with controls or body |
Personal safety and flotation choices must follow applicable instruction and rules. Where relevant, U.S. Coast Guard boating safety resources provide authoritative guidance. A waterproof backpack does not replace a properly selected and worn personal flotation device, communication plan, training, or route judgement.
The waterproof backpack for boating page covers broader deck requirements. For a paddle camp, also check that the attachment does not block hatch access or tent gear. Run a complete unload on shore in under 2 minutes without placing dry modules in the wash zone.
Portage Comfort and Weight Distribution
A paddle pack may spend hours secured and only 20 minutes on the back, but that short carry can include slippery rocks, mud, and an awkward craft. At 8–12 kg, use 55–75 mm shoulder straps, a sternum adjustment, and a belt that stabilises or transfers load without interfering with a life vest or paddling clothing. Test the combined clothing system; bare-shirt fit proves little.
Keep dense food, water, and cookware close to the back between hip and shoulder-blade height. Put the light sleep module lower, where it forms a forgiving base. Side compression should keep movement under 30 mm during step-ups. A tall 45 L cylinder that moves 60 mm can pull balance on wet ground even when its total mass seems reasonable.
Complete a 1 km portage test with 50 step-ups of 250 mm, 10 set-downs, and 5 retrievals of communication or first aid. Score shoulder pressure, belt conflict, movement, and grip. Then inspect the lower 150 mm for abrasion and every tie-down patch for change. The pack should survive both human carry and craft restraint in the same condition.
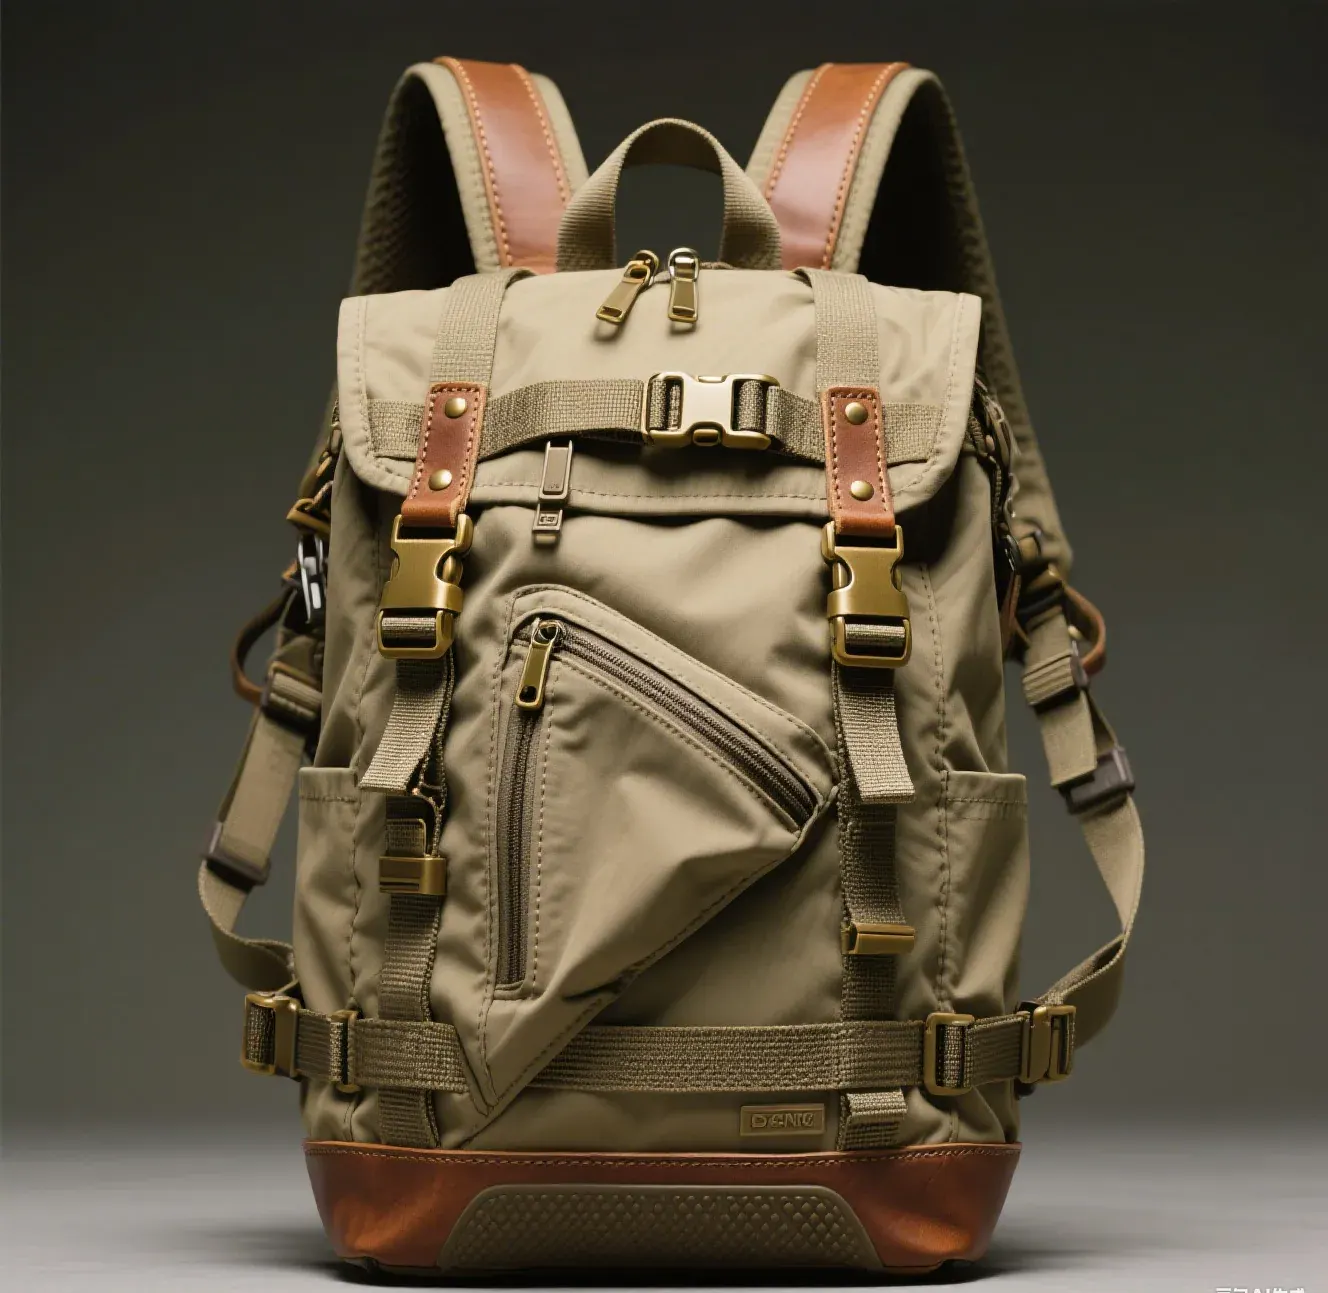
Food, Water, and Wildlife-Aware Camp Organisation
Food and drinking water planning depends on route, weather, local guidance, and individual need. Keep food in a dedicated 3–6 L module, separate from fuel-related items and wet equipment. Carry only fuel systems appropriate to the trip and follow their instructions. Never operate a stove inside the pack, tent, or enclosed storage area. Record food count and water plan before launch.
Wildlife requirements vary by location. Follow land-manager rules for food storage, site selection, waste, and approved containers rather than assuming a waterproof backpack is an animal-resistant container. Odour containment helps organisation but does not establish resistance. Keep the pack available for transport while using the required site-specific storage method at camp.
Separate clean-water equipment from untreated-water contact surfaces. Mark them by colour and store them in different pockets. A treatment device has organism, chemical, temperature, and maintenance limits; understand the exact product and authoritative local advice. Do not imply that the outer waterproof shell makes unknown water safe.
Pack wet tent fabric last in an exterior or isolated 4–8 L zone, not beside sleep insulation. On the return, reserve 15 percent free volume for the less orderly wet load. At home, open every module and dry the shell for 8–24 hours before storage.
Weather, Route, and Abort Criteria
Check current forecast, wind, water conditions, temperature, and local advisories before launch and again at the last reliable decision point. In the United States, NOAA weather resources support that review. Set written limits appropriate to skill, craft, and route with qualified local input; equipment should never be used to stretch beyond them.
Write at least 3 abort triggers: forecast or observed wind above the plan limit, lightning or rapidly falling visibility, and temperature or water conditions outside the equipment and experience range. Add 2 route-specific triggers such as water level or landing access. Turn around early enough to retain daylight and a 30 percent time margin.
Keep the weather layer, light, communication, and a small energy snack reachable within 30 seconds while the pack is attached. Test access without creating loose line or opening the sleep module. A sealed bag that takes 5 minutes to release can be too slow even when everything inside remains dry.
Camp Arrival and Wet-Pack Routine
Land the craft according to local practice, move the pack above the wash zone, and wipe the closure before opening. Remove shelter first if rain is active, then establish a dry place for sleep and clothing modules. Keep the outer pack outside that clean zone until mud and surface water are controlled. This sequence prevents external droplets from being mistaken for ingress.
At camp, inspect all water indicators and high-load anchors. Mark any wet point, move critical contents into secondary layers, and do not retest by repeatedly immersing a suspect pack during the trip. Use the spare liner and adapt the route. Repairs belong on a clean dry surface with the correct material and enough cure time, not during active rain unless they are temporary contingency measures.
On return, rinse fresh water over any salt exposure, clear sand before cycling closures, and dry open for 8–24 hours. Remove foam or base pieces where instructions permit. Store loosely at 15–25°C, not compressed in a hot vehicle. Inspect fold lines after every 5 trips and water-screen the complete pack every 6 months or after a hard impact.
Run a Twenty-Four-Hour Home Rehearsal
Pack the complete overnight list and leave it closed for 24 hours before the trip. This pause reveals slow valve leakage, a compression strap that slips, food odour, and rigid items pressing into the roll zone. Weigh the pack at the start and end to 0.1 kg, measure height and depth, and inspect whether the 3 turns remain even. Any unexplained shape change should be resolved before water testing.
After 24 hours, dress in the paddling layers and execute the shore sequence in a dry practice area. Attach at 2 points, retrieve communication in 30 seconds, remove shelter first, open the sleep module without placing it on the ground, and rebuild the load in 5 minutes. Repeat once with gloves and once in low light. A procedure that requires perfect daylight is not ready for a delayed landing.
| Rehearsal stage | Target | Record | Correction |
|---|---|---|---|
| Closed rest | 24 h at full load | Mass and dimensions | Move hard item below roll zone |
| Craft attachment | Two points in under 60 s | Tail length and release | Shorten or capture routing |
| Communication | Reach in under 30 s | Pocket and closure steps | Move to protected quick zone |
| Camp unload | Shelter first, under 2 min | Item sequence | Reorder modules |
| Wet-return simulation | Repack in 5 min | Three turns and 15% reserve | Increase volume or reduce list |
Add a controlled float-observation only in a safe supervised environment when gear-recovery behaviour is part of the plan. Load the pack exactly as for travel and compare its orientation at 1, 5, and 10 minutes; never put a person at risk to retrieve it. The floating waterproof backpack guide explains why volume, trapped air, dense contents, and valve state change the result.
End the rehearsal with the 1 km portage, not the water check, so opening and attachment decisions are tested under mild fatigue. Record one change only per repeat where possible. Moving 5 components at once may improve the result but hides which correction mattered. A final approved layout should be photographed and printed on a small pack card.
Buying Brief and Acceptance Sequence
Write 30–45 L usable volume, hatch or deck envelope, 8–12 kg load, IPX target and exact condition, 3 closure turns, 2 attachment points, directional anchor test, under-30 mm portage movement, 1 km carry, and module map. Add 15 percent wet-return reserve and a 2-minute shore unload. Test at least 3 samples because one closure result does not establish consistency.
QUANZHOU JUNYUAN BAGS supports waterproof programmes at MOQ 500 pcs per design and colour, with samples in 6–10 working days and bulk in 35–50 days. AQL 2.5 inspection can include dimensions, litres, closure, anchor appearance, accessories, and agreed water checks. BSCI and ISO 9001 systems support the workflow, alongside REACH and California Prop 65 material screening.
A craft-envelope and load plan can be emailed to service@junyuanbags.com. Include hatch dimensions, tie-down direction, overnight kit, maximum load, temperature, and water exposure. FOB Xiamen or DDP service to more than 100 countries follows an approved sample and complete test record.
The final selection rule is conservative: 30–35 L for compact warm nights, 35–40 L for mixed conditions, and 40–45 L only for bulky cold kits. Protect sleep and communication twice, control the pack on the craft at 2 points, and prove the same loaded sample in water and over a 1 km portage. Dry gear matters, but route judgement and personal flotation remain separate essentials.
People Also Ask
What size waterproof pack is best for one night of paddle camping?
Thirty to 35 L suits a compact warm kit, 35–40 L handles mixed conditions, and 40–45 L covers bulkier cold insulation. Keep 15 percent reserve for a damp, less orderly return load.
Should a paddle-camping pack be tied to the kayak?
Use 2 independent craft attachment points where compatible with craft guidance and local practice, with short captured routing. Do not tether the pack to the body or create loops around limbs, seat, or controls.
How should a sleeping bag be protected on the water?
Place it in an independent 6–10 L sealed module inside the waterproof pack, and keep one complete dry base layer in a separate 4–6 L pouch. Redundancy is appropriate because wet insulation has high consequence.
Will a sealed backpack float after a capsize?
It may, but behaviour depends on trapped air, load density, valve position, and leakage. Test only for controlled gear recovery; never use a backpack as personal flotation or rely on buoyancy without evidence.
How do I test a paddle pack before an overnight trip?
Pack it for 24 hours, confirm 3 closure turns, run the defined loaded water check, inspect tissue at closure, valve, anchor, seam, and base zones, then complete a 1 km portage with 50 step-ups.
Where should wet tent fabric go on the return?
Put it in an isolated exterior or 4–8 L wet module away from sleep insulation and dry clothing. Preserve 15 percent pack reserve so the damp shelter does not force the roll-top open.
Frequently Asked Questions
Q1. What capacity is right for overnight kayak camping?
Thirty to 40 L suits many one-night kayak kits, while 40–45 L helps in colder conditions. The body must also pass the hatch opening and preserve closure space after the real load is packed.
Q2. Does a paddle backpack need IPX7?
IPX7-level protection is valuable where accidental temporary immersion is credible. Protected-hatch trips may need only strong rain and splash control. Use the exact route and test condition rather than chasing the highest number.
Q3. How many dry bags should be inside the backpack?
Use independent protection for sleep insulation, one complete dry clothing set, and high-consequence electronics or health items. Food and wet shelter also need separation, but not every small object requires 3 layers.
Q4. How heavy should an overnight paddle pack be?
Aim for roughly 8–12 kg, adjusted to person, craft, route, and portage. Test a 1 km carry in paddling clothing, with 50 step-ups and all normal straps.
Q5. Can I attach the pack with one long rope?
Avoid long loose routing. Use 2 short independent craft points consistent with expert and craft guidance, capture strap tails, and ensure no loop can pass around a limb, torso, seat, or control.
Q6. Where should dense camping gear be packed?
Keep food, water, and cookware close to the back between hip and shoulder-blade height for portage. Put the lighter sleep module lower so it creates a forgiving base.
Q7. How much spare volume is needed for wet gear?
Reserve about 15 percent. Damp tent fabric, clothing, waste, and imperfect field rolls usually occupy more room than the dry home packing layout.
Q8. Should electronics rely on the main waterproof chamber?
Use a second local case or sealed pouch for communication, power, and documents. Position it for access within 30 seconds and lift it above the base.
Q9. How should I dry a paddle backpack after saltwater?
Rinse with fresh water, remove sand before operating closures, empty every module, and air dry open for 8–24 hours. Inspect tie-down patches and fold lines before loose storage.
Q10. Can a waterproof backpack replace a personal flotation device?
No. A pack is equipment storage, and any float behaviour varies with its contents and seal. Use properly selected personal flotation and follow applicable instruction and boating requirements.
Q11. What are the MOQ and timing for a paddle pack programme?
The baseline is 500 pcs per design and colour, samples in 6–10 working days, and bulk in 35–50 days. Approve craft fit, anchors, portage, closure, and water evidence before the run.