Almost every fishing bag that stops being waterproof fails at the zipper first, and most zipper problems are repairable in twenty minutes for under eight dollars. Start by measuring pull force: a healthy watertight coil runs at twenty to forty newtons, and anything above eighty signals trouble that lubrication will not cure. Work in a fixed order, clean the track at thirty degrees, dry it fully, then apply silicone grease at roughly half a gram per three hundred millimetres of coil and run the slider through its full travel ten times. If that does not bring pull force back under fifty newtons, the slider or the coil itself has worn and replacing the slider is the next step rather than applying more grease.
How a Watertight Zipper Actually Seals
A waterproof slide fastener does not seal by excluding water with a barrier; it seals by pressing two flexible lips against each other so hard that water cannot pass between them. The slider does that pressing as it closes the track, and the interference between the two lips is engineered to fractions of a millimetre. Anything that changes that geometry - a grain of sand, a bent coil, a worn slider throat - opens a path, and once the path exists no amount of surface treatment will close it.
This is why the closure governs the rating rather than the fabric. A bag built from a shell with a hydrostatic head of five thousand millimetres is no more water-resistant than the weakest metre of its zipper line, which is also why ratings describing whole bags are usually set by their openings. Ingress codes are defined by the IEC ingress protection framework, and the difference between IPX5 and IPX7 behaviour in a real bag is overwhelmingly decided at the closure.
| Component | What it does | Failure symptom | Typical fix |
|---|---|---|---|
| Flexible sealing lips | Press together under slider pressure | Slow drip or damp patch along the track | Clean, reshape, lubricate |
| Coil or moulded teeth | Provide the interlocking structure | Slider skips or the track opens behind it | Reshape, then replace the zipper if recurring |
| Slider body | Compresses the lips closed | Track closes but re-opens behind the slider | Replace the slider, three to eight dollars |
| Pull tab attachment | Transmits hand force | Tab tears away in cold weather | Fit a cord pull, one dollar |
| End stops and top stops | Retain the slider at both ends | Slider runs off the end | Fit a replacement stop |
| Tape to shell bond | Holds the closure to the bag | Track separates from the panel | Professional repair or replacement |
Diagnose Before Touching Anything
Six faults account for nearly every call about a leaking or stiff closure, and they have different fixes, so guessing wastes time and often makes things worse. The distinguishing test is simple and takes two minutes: with the bag empty and dry, run the slider its full travel and watch the track behind it. A track that reopens behind the slider means a worn slider. One that stays closed means dirt, deformation, or dryness, which are treated in that order.
The second observation is where water appears. A uniform damp line along the whole closure suggests the sealing lips are no longer meeting, which is a slider problem. A damp patch at one point usually means local damage, a bent coil segment, or a foreign object. Knowing which of the two is happening before starting any work prevents most unnecessary repairs.
| Fault | How to recognise it | Fix order | Cost |
|---|---|---|---|
| Dry or contaminated track | High pull force, no visible damage | Clean, dry, lubricate | Under one dollar |
| Grit packed in the coil | Grinding feel, uneven travel | Soak, brush out, rinse | Under one dollar |
| Worn slider throat | Track reopens behind the slider | Replace the slider | Three to eight dollars |
| Deformed coil segment | Visible flat spot or bulge | Reshape warm, then lubricate | Nothing beyond time |
| Separated tape bond | Visible detaching from the panel | Professional repair usually | Fifteen to forty dollars |
| Coating breakdown | Tacky feel, whitened surface | Retire the closure or the bag | Replacement |
Measure Pull Force Before and After
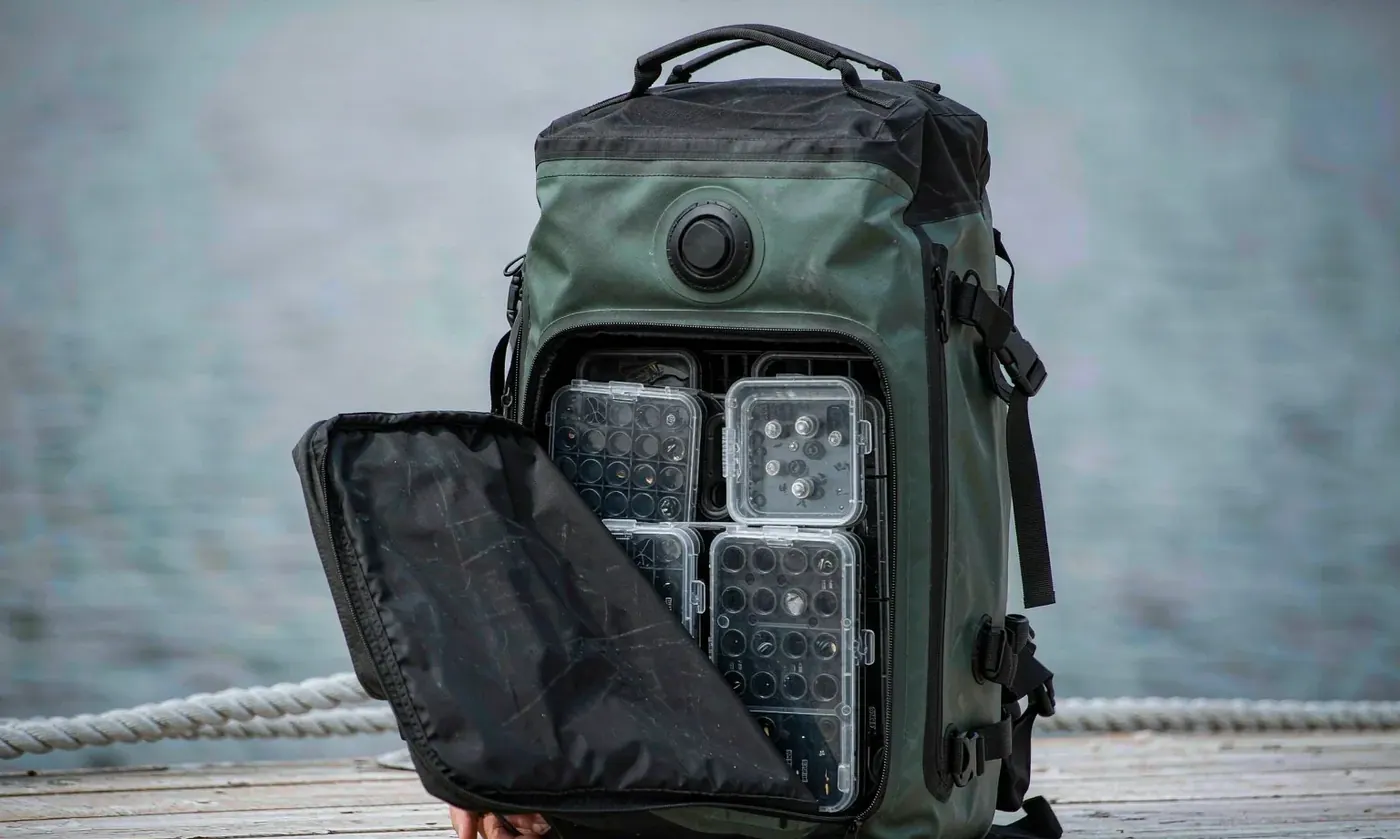
Pull force turns guesswork into a number and takes fifteen seconds with a luggage scale. Hook it to the pull tab, hold the bag steady, and read the peak as the slider is drawn along its travel. A healthy watertight closure on a tackle bag typically reads twenty to forty newtons; a dry one climbs to fifty or sixty; anything above eighty is a fault that grease will not fix.
Record the figure before any work and again after each stage. Cleaning typically removes ten to fifteen newtons of unnecessary resistance, correct lubrication another five to ten, and if neither moves the number meaningfully then the slider is worn. This single measurement prevents the two most common errors in this category: over-lubricating a closure that needed replacing, and replacing one that needed cleaning.
Step One: Clean Before Anything Else
Lubricating a dirty closure grinds abrasive particles between the sealing lips, which is worse than doing nothing. Cleaning always comes first and is mostly waiting: ten minutes of soaking in clean water at about thirty degrees, sixty gentle brush strokes along each side of the track with a soft toothbrush, then a thorough rinse and thirty minutes of air drying with the closure open.
For salt-contaminated closures the soak matters more than the brushing, because crystals sit deep between coil turns. Use two changes of water, twenty minutes total rather than ten, and finish by running a lint-free cloth along the track under light finger pressure. Never use a stiff wire brush and never use solvents; both remove the coating that makes the closure watertight.
- Open the closure fully and inspect the whole track under a bright light for bent sections and trapped grit.
- Soak the area for ten minutes in clean water at thirty degrees, or twenty minutes with two changes after salt exposure.
- Brush both sides of the track with a soft brush, sixty strokes per side, working along rather than across.
- Rinse thoroughly, then dry for thirty minutes with the closure open before applying anything else.
- Re-measure pull force. Anything still above fifty newtons moves on to lubrication, above eighty moves to replacement.
Lubrication: What, How Much, and How Often
Silicone grease is the default and the safest choice; it is chemically inert toward the polyurethane and thermoplastic coatings used on watertight coils, it stays where it is put, and it does not wash off at the first rain. Avoid petroleum jelly, multi-purpose oil, cooking oil, and standard bicycle chain lubricants, all of which either degrade the coating or attract grit at different rates.
Quantity matters more than most people expect: roughly half a gram per three hundred millimetres of track, applied as a thin bead along the sealing lips rather than smeared over the whole closure. Excess grease collects grit, which undoes the work within a session or two. Apply, run the slider full travel ten times to distribute, then wipe the surplus off with a cloth. Intervals of every three to five trips suit regular use; monthly suits storage periods.
| Lubricant type | Compatibility | Durability | Notes |
|---|---|---|---|
| Silicone grease | Safe with PU and TPU coatings | Three to five trips | Default choice, stays in place |
| Dry silicone spray | Safe, thinner film | One to two trips | Good for a quick fix on the bank |
| Purpose-made zipper wax | Safe on most coatings | Four to six trips | Check it is not paraffin based |
| Petroleum jelly | Damages coating | Not applicable | Never use on a watertight coil |
| General purpose oil | Damages coating, attracts grit | Not applicable | Never use |
| Graphite powder | Mechanically abrasive to lips | Not applicable | Avoid on coated tracks |
Clearing a Jammed Slider Without Breaking It
The instinct with a stuck slider is to pull harder, and that single action converts a five-minute problem into a replacement. Force spreads the slider throat, and once spread it no longer compresses the sealing lips, so the closure will never seal again even though it opens and closes freely. Every attempt should start with relieving pressure rather than adding it.
Release the load on the track by relaxing whatever is straining it, which is usually a full bag, then work the slider gently back and forth in short strokes while supporting the track either side with two fingers. Warm the area with a cloth soaked in water at about fifty degrees for a minute if it is cold: coatings stiffen below five degrees and most winter jams resolve with warmth alone. Pliers belong nowhere near a slider body.
Replacing a Worn Slider
A worn slider is identified by the track reopening behind it, and replacement takes about twenty minutes for eight dollars. Size is the only thing that must be right, and sizes are marked either moulded into the underside of the old part or measurable across the closed chain, which is typically eight to ten millimetres on tackle bags. Photograph the original from above and below before removing anything.
- Open the closure fully and note exactly how the top stop is fitted; some are crimped, some moulded, some stitched over.
- Remove the top stop carefully with flat pliers or a 1.5 millimetre drill bit for a metal crimp, keeping the tape intact.
- Slide the old slider off the top and compare it against the replacement for length, throat height, and pull tab fitting.
- Feed the new slider onto the tape in the same orientation, engaging both sides evenly with gentle even pressure.
- Test travel through three full cycles before refitting the stop, watching whether the track stays closed behind it.
- Refit or replace the stop, then lubricate and measure pull force. Figure should land between twenty and forty newtons.
Two details decide most outcomes here. Slackening any adjacent webbing takes the tension out of the track so the slider can be threaded square rather than at an angle. And checking whether the replacement is handed matters on some designs, where the pull tab must sit on a particular side for the moulded throat to engage both lips symmetrically.
Reshaping a Deformed Coil
A flat spot or bulge in the sealing lip is repairable if caught early and permanent if ignored. The repair is gentle: warm the section with water at about sixty degrees for two minutes to relax the polymer, then compress it back to shape with padded-jaw pliers set to a gap of around one and a half millimetres, working along rather than squeezing at one point. Then lubricate and re-measure.
What this cannot fix is a coil that has taken a set from months of being stored closed under load, since the polymer has relaxed rather than bent. Those sections return to their old shape within hours. Recognising that saves repeat attempts; the answer there is either professional closure replacement or retiring the bag, depending on what the shell is otherwise worth.
The Same Routine on Coolers, Totes, and Inserts
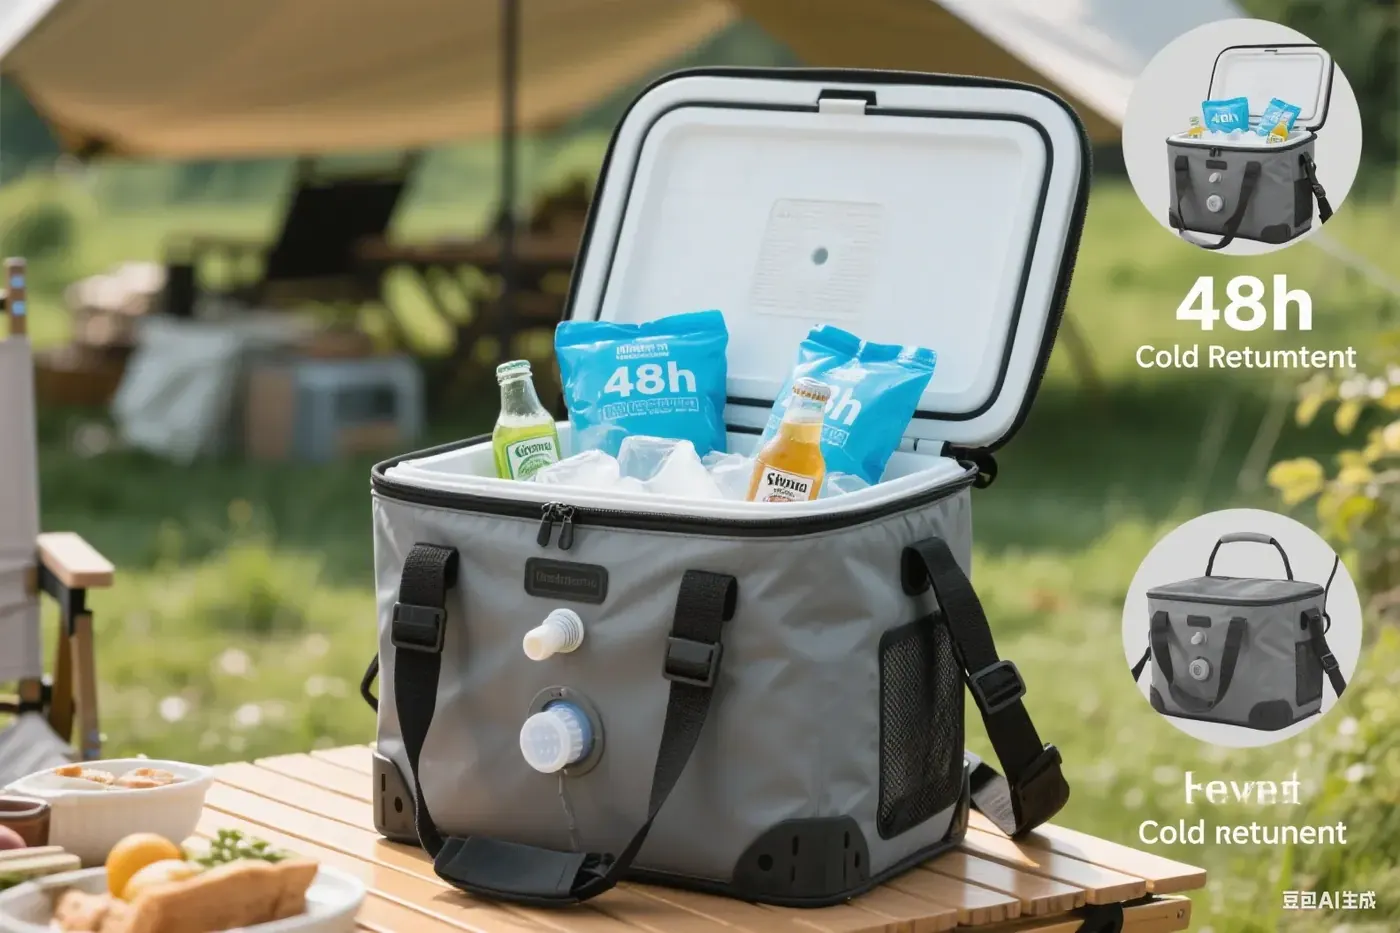
Watertight closures appear well beyond the main compartment of a tackle backpack. Insulated inserts, soft coolers, moulded utility totes, and even some internal document sleeves use the same construction, and they are repaired identically. The differences are scale and accessibility rather than method.
Smaller closures want proportionally less lubricant, around a quarter gram per three hundred millimetres, and shorter soaks of five minutes, because the thinner coatings used on light inserts are less tolerant of heat and solvent contact. Everything else transfers directly: clean first, measure where possible, lubricate thinly, wipe off the surplus.
The Eight-Dollar Field Kit
Almost every repair described here can be done on a tailgate if the parts are in the bag. Assemble once and forget about it: a five millilitre tube of silicone grease, two spare universal sliders in the common sizes, a metre of three millimetre cord for emergency pull tabs, a small soft brush, and twenty-five millimetres of four-hundred-grit abrasive paper for dressing a burred tape edge.
| Kit item | Typical cost | Weight | What it fixes |
|---|---|---|---|
| Silicone grease, five millilitres | Four dollars | 20 g | Dryness and high pull force |
| Two spare sliders | Three dollars | 10 g | Track reopening behind the slider |
| Metre of three millimetre cord | Fifty cents | 5 g | Lost or torn pull tab |
| Small soft brush | One dollar | 15 g | Grit packed in the track |
| Short length of fine abrasive | Fifty cents | 5 g | Burred tape edge catching the slider |
Total weight is under sixty grams and it occupies less than a third of a litre, which means it can live permanently in any lid pocket. The only thing the kit cannot handle on the bank is a separated tape bond, and that should be regarded as a return-to-base repair in every case.
Verify Every Repair Before Trusting It
Repairs that look right frequently are not, which is why verification matters. The tissue test takes fifteen minutes and catches nearly every incomplete fix: line the inside of the closure with strips of paper towel, close the bag, spray the outside of the closure for ten minutes at around eight litres per minute, then weigh or simply look at each strip. Stage two is a static check with two kilograms resting on the wet seam for five minutes.
| Test | Method | Pass condition | Catches |
|---|---|---|---|
| Pull force | Luggage scale on the tab | Between 20 and 40 newtons | Residual dryness or a still-worn slider |
| Travel check | Three full open-close cycles | Track stays closed behind the slider | Spread throat or mis-threaded slider |
| Tissue spray test | Eight litres per minute for ten minutes | No dampness on any strip | Lip damage or incomplete slider engagement |
| Static load test | Two kilograms resting five minutes | No drip at the contact point | Geometry faults that only show under pressure |
| Cold check | Five minutes at five degrees, then travel | No stiffness or skipping | Coating stiffening and dimensional change |
Repair or Replace: The Honest Threshold
There is a clear point beyond which repairs stop being sensible. A bag whose shell is sound, whose coatings are supple, and whose problem is one worn slider deserves twenty minutes of work. The same bag with two failing closures or visible whitening along a whole track is describing something systemic, and the money is better spent elsewhere.
| Condition | Verdict | Reason |
|---|---|---|
| Stiff but seals, pull force over fifty newtons | Repair | Cleaning and lubrication resolves it in minutes |
| Track reopens behind the slider | Repair | A three to eight dollar slider solves it |
| One localised flat spot on the coil | Repair | Reshaping works when caught early |
| Whitening or tackiness along the whole track | Replace | Coating breakdown cannot be reversed |
| Tape separating from the shell over fifty millimetres | Professional assessment | Structural rather than mechanical |
| Two or more closures failing at once | Replace the bag | Systemic ageing throughout the build |
Anyone deciding between a new closure and a new bag should also weigh what has been learned: a replacement bag specified with a better closure class will not have the same failure next season. Current thinking on closure families for fishing use is summarised in the watertight zipper guide, and routine intervals sit in the maintenance schedule. Strap and webbing repairs alongside a closure are covered in the strap repair walkthrough.
Specifying Closures That Need Less Repair
Most of what has been described here can be designed out at brief stage. Ask for the closure class by size and construction, specify the number of closing cycles it must survive, typically three thousand minimum for a daily-use bag, and require the cycle test result rather than accepting a claim. Add a storm flap of twenty-five millimetres over every external closure, since the flap is why many closures never see direct water at all.
QUANZHOU JUNYUAN BAGS has been running waterproof bag development since 2014, its founding team having joined the industry in 2004. Independent SGS verification puts monthly output at 200,000 units, delivered through BSCI and ISO 9001 systems. All components are screened for REACH and California Prop 65, and each order clears AQL 2.5 inspection. Durability requirements for closures should be written against published methods from ASTM International rather than expressed as loose counts.
Open a closure brief with class, size, cycle count, flap coverage, and the test method expected, then add litres, tray count, colour, and quantity. Programme entry is 500 pieces for each design and colour, with six to ten working days to sample and thirty-five to fifty days to complete bulk once the sample clears and the deposit lands. Deliveries go FOB Xiamen, or DDP to over one hundred countries. Send briefs to service@junyuanbags.com.
People Also Ask
Why does my waterproof zipper leak?
Usually because the slider has worn and no longer compresses the sealing lips together. Watch the track behind the slider as it closes: if it reopens, replace the slider rather than adding more grease.
What can I use to lubricate a waterproof zipper?
Silicone grease at about half a gram per three hundred millimetres, or dry silicone spray for a quick fix. Never petroleum jelly or general purpose oil, which attack the coating.
How much force should it take to pull a watertight zipper?
Twenty to forty newtons is healthy. Above fifty it needs cleaning and lubrication, and above eighty the slider or coil is worn.
Can a stiff waterproof zipper be repaired?
Yes, in most cases. Clean for ten minutes at thirty degrees, dry for thirty, then lubricate; this typically removes ten to fifteen newtons of resistance.
How do I replace a fishing bag slider?
Open fully, remove the top stop with flat pliers or a 1.5 millimetre bit, slide the old part off, fit the same size in the same orientation, then refit the stop. About twenty minutes.
How often should I lubricate a watertight zipper?
Every three to five trips in regular use, and monthly during storage. Always clean first, since greasing a gritty track grinds abrasive into the lips.
Frequently Asked Questions
Q1. How do I fix a leaking waterproof zipper?
Diagnose first: if the track reopens behind the slider, replace the slider; if it feels stiff and dry, clean for ten minutes at thirty degrees and lubricate with silicone grease. Record pull force before and after.
Q2. What is the best lubricant for a watertight fishing zipper?
Silicone grease, applied at roughly half a gram per three hundred millimetres and worked in with ten full travel cycles, with the excess wiped off afterwards.
Q3. Can I use petroleum jelly on a waterproof zipper?
No. Petroleum products attack the polyurethane coating on the sealing lips, and the damage cannot be reversed. Use silicone grease or dry silicone spray only.
Q4. How do I know if the slider or the zipper is bad?
Run the slider and watch the track behind it. If it reopens behind the slider, the slider throat is worn. If it stays closed but leaks, look for local coil damage or a contaminated track.
Q5. How much does it cost to replace a fishing bag slider?
Between three and eight dollars for the part, with twenty minutes of work. Identification matters more than anything: photograph the original or measure across the closed chain.
Q6. How often should fishing bag zippers be lubricated?
Every three to five trips in regular use and roughly monthly when the bag is stored. Clean before lubricating every time, otherwise grit gets ground into the lips.
Q7. What makes a waterproof zipper stiff in cold weather?
The polymer coating stiffens below about five degrees. Warm the area with a cloth at fifty degrees for a minute rather than forcing the slider, which spreads the throat permanently.
Q8. Can I reshape a bent waterproof zipper coil?
Yes if caught early. Warm at sixty degrees for two minutes and compress with padded pliers at a jaw gap of about 1.5 millimetres, then lubricate and re-measure.
Q9. Do soft coolers and inserts use the same closures?
Yes, identical families at smaller scale. Use about a quarter gram of grease per three hundred millimetres and a five minute soak rather than a longer one.
Q10. How do I test a repaired zipper?
Measure pull force between twenty and forty newtons, then line the inside with paper towel and spray the outside at eight litres per minute for ten minutes with no dampness on any strip.
Q11. When should I stop repairing and replace the bag?
When whitening or tackiness runs along the whole track, when tape separates over fifty millimetres, or when two or more closures fail together, all of which indicate systemic ageing.