Most fishing bag failures are repairable for under fifteen dollars and thirty minutes of work, but three of them are not worth attempting at home. A torn strap anchor, a slider that has spread open, and a punctured side panel can each be returned to full duty with polyester repair thread, a polyurethane patch and a hair dryer. What cannot be honestly repaired on a bench is a split along a load-bearing welded seam, because re-melting that joint needs the same dielectric heat the seam was formed with. Use one rule to decide: repair any fault that sits away from a structural seam, and retire any bag whose welded seam has separated for more than fifty millimetres. The numbers below put typical success rates, cure times and costs against each fault so the decision takes two minutes rather than an evening.
Repair or Retire: The Decision Table
Before any tool comes out, sort the fault into one of three buckets: cosmetic, structural but local, or structural and seam-critical. Cosmetic faults include scuffed coating and loose trim. Structural but local faults include a torn strap anchor, a split webbing tail, a dead slider and a small puncture, and these are the ones worth thirty minutes. Seam-critical faults mean the joint that holds two panels together has failed, and the honest answer there is usually replacement.
Cost is the second filter. A repair is worth doing when it costs less than twenty percent of the replacement price and buys at least one more season. A 120 dollar tackle backpack repaired for nine dollars and forty minutes that lasts another eighteen months is a clear win. The same bag with three failed anchors and a delaminated base is a project, not a repair, and projects tend to end with the same bag leaking on the next trip.
| Fault | Usual cause | Repair method | Success rate | Time and cost |
|---|---|---|---|---|
| Strap anchor torn from the body | Overload above 12 kg or sun-aged thread | Re-stitch a box pattern with bonded polyester thread | 80 to 90 percent | 25 minutes, 3 dollars |
| Slider spread or teeth misaligned | Grit in the coil, salt crystals | Replace the slider or reset it with pliers | 70 to 85 percent | 15 minutes, 6 dollars |
| Puncture under 10 mm on a flat panel | Hook point, knife tip | Solvent-clean then patch both faces | 85 to 95 percent | 20 minutes, 4 dollars |
| Abrasion through the coating at a corner | Dragging the bag on concrete | Skive, clean, patch inside and out | 75 to 85 percent | 30 minutes, 5 dollars |
| Cracked buckle or broken ladder lock | Cold embrittlement below minus 10 degrees | Replace hardware, stitch the new one in | 95 percent | 10 minutes, 4 dollars |
| Taped seam lifting inside the bag | Hydrolysis of the adhesive after 4 years | Re-tape with heat-applied seam tape | 55 to 70 percent | 40 minutes, 8 dollars |
| Split along an RF welded seam over 50 mm | Weld parameter drift or flex fatigue | Not a home repair | Near zero | Replace the bag |
Diagnose First: Finding Where the Load Actually Goes
Most bad repairs fail because they treat the visible tear rather than the load path. Load travels from the tray or contents into the base panel, up the side panel, into the webbing anchor, and finally into the strap. When one link is repaired stronger than the next weakest link, the failure simply moves. So before sewing, look at what sits downstream of the break: if the webbing anchor tore out, check whether the strap seam itself is still sound, because reinforcing only one often moves the tear fifty millimetres along by the next trip.
- Press a flat hand along the seam for two hand widths around the damage; a repair on stiffened fabric that has gone soft with hydrolysis will tear again within a week.
- Flex the panel across the damage twice. If the coating flakes rather than bends, the substrate has aged and needs a flexible patch rather than a rigid adhesive.
- Pull the strap hard by hand. Any movement at the anchor point means the stitch pattern, not the webbing, is the real fault.
- Smell the interior. A sharp vinegar note means coating hydrolysis has started, and every seam on the bag is nearer the end of the useful life than the damage alone suggests.
- Check the opposite side. Bags are symmetrical, and the matching panel on the other side is usually two or three trips behind the one that failed.
The diagnosis step takes five minutes and changes the outcome more than any choice of adhesive. It also explains why two anglers can repair apparently identical damage and get completely different results: one treated a symptom and the other treated a load path.
Shoulder Straps and Stitching Repairs
A strap anchor that has torn away from the body is the single most common structural fault on a loaded tackle backpack, and it is also one of the easiest to fix well. Use bonded polyester thread of Tex 70 or heavier, not the all-purpose cotton-poly spool in a household kit, because cotton rots in a damp garage within a year and the repair fails at the thread rather than at the fabric. A size 18 denim needle copes with two layers of coated fabric plus webbing. Stitch a rectangle about 25 by 35 millimetres with a cross inside it, and take the last three stitches through the original webbing tail rather than ending on new ground.
Thread tension matters more than thread thickness. A stitch pulled too tight cuts the coating and creates a perforation line that becomes the next tear; the test is that the fabric should lie flat with no puckering when the thread is pulled snug. Softer tension with three passes of a box-and-cross pattern outlasts one pass of a very tight satin fill by a wide margin, and it is the technique used on the original bar tacks that failed.
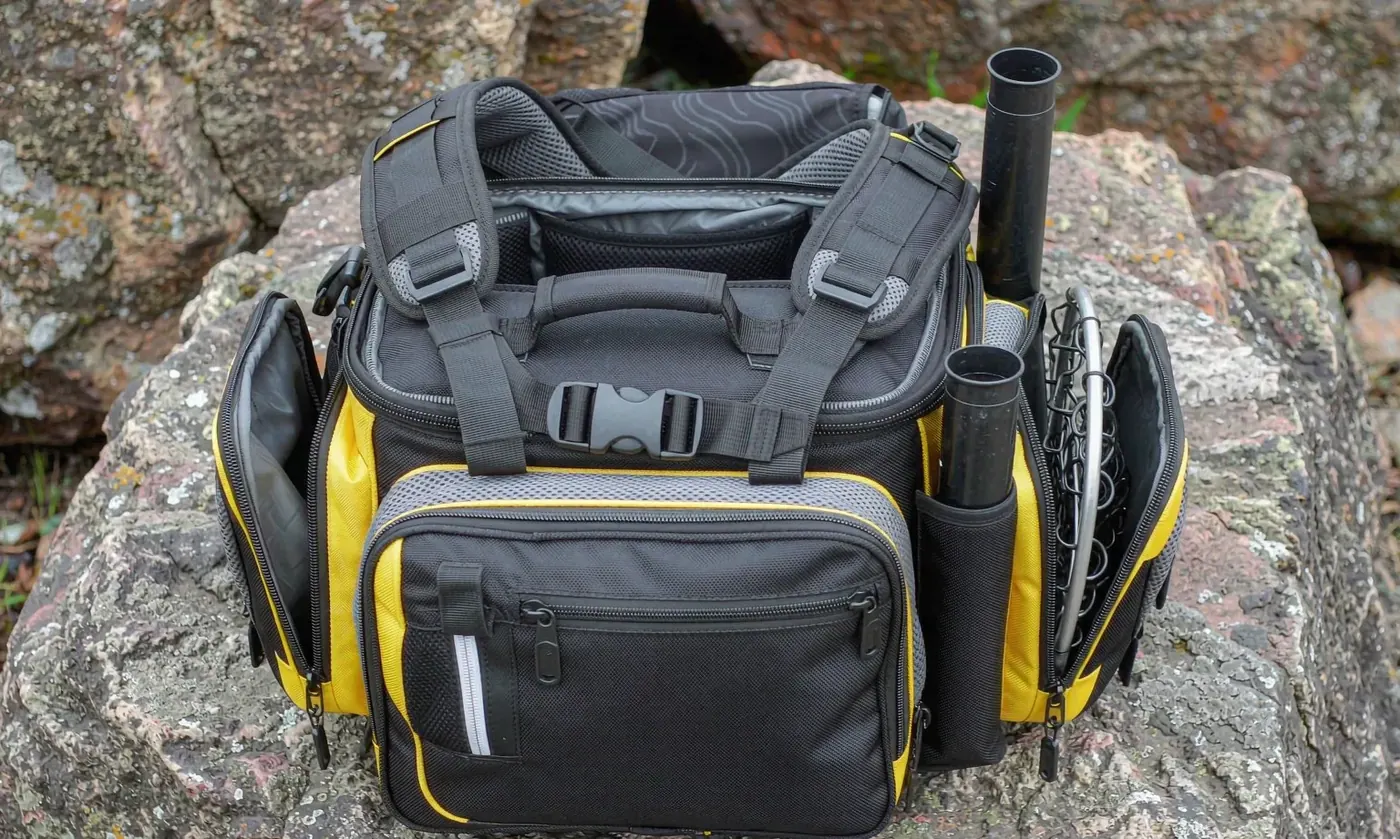
| Strap fault pattern | Share of strap repairs seen | Correct repair | Safe load after repair |
|---|---|---|---|
| Anchor stitching pulled out | 45 percent | Box-and-cross re-stitch plus a reinforcing patch | Up to 10 kg |
| Webbing tail split at the ladder lock | 20 percent | Trim 15 mm, melt the end, re-thread | Up to 12 kg |
| Foam padding compressed flat | 15 percent | Not repairable; affects comfort only | No load change |
| Strap webbing worn to half thickness | 12 percent | Replace the webbing length entirely | Up to 12 kg |
| Adjustment buckle slipping under load | 8 percent | Replace the buckle, keep the same webbing width | Up to 10 kg |
Zips: Slider, Teeth and Tape
Zips fail in three distinct ways and they need three different answers. A spread slider is the easiest: the slider jaws have opened and no longer bring the teeth together, which is fixed by squeezing the jaws closed with smooth-jawed pliers by about one millimetre, or better, by fitting a new slider of the same gauge. Grit-packed coils respond to fifteen minutes in warm fresh water followed by a dry silicone lubricant, never a wax candle and never oil, because both collect sand. A torn tape at the bottom stop needs sewing rather than glue, and it is worth doing because a tape tear left alone will migrate up the whole length within a season.
Coated zips used on waterproof fishing bags are less forgiving than coil zips. Once the polyurethane coating on the tape cracks, water travels behind it and no amount of lubricant restores the seal; the honest repair is to treat the zip as a shower-resistant fastener and move truly sensitive items into a separate dry pouch. Step-by-step slider replacement, including how to measure gauge, is set out in the waterproof zipper repair walkthrough, and the routine that keeps a coated zip alive for four years instead of eighteen months is in the waterproof zipper care guide.
Welded and Taped Seams: The Honest Limits
A radio frequency weld is not a line of glue; it is two polymer faces melted into each other under dielectric heat, so the joint strength can approach the strength of the parent material. That is also why it cannot be reproduced with a contact adhesive. Incoming inspection data from typical programmes puts well-parameterised welded seams at 80 to 95 percent of parent fabric strength, whereas adhesive-bonded repair patches land nearer 40 to 60 percent of that figure. Knowing this number is what keeps expectations realistic.
What can be done at home is narrower but still useful. A pinhole leak along a bag floor, where loads are compressive rather than peeling, can be sealed with a flexible polyurethane patch applied to a clean, abraded, solvent-wiped surface and cured for twenty-four hours. A vertical side seam that carries peel load every time the bag is lifted will reopen regardless of the adhesive used. Seam construction differences, and why some joints are worth repairing while others are not, are explained in the welded versus stitched fishing bag seam comparison.
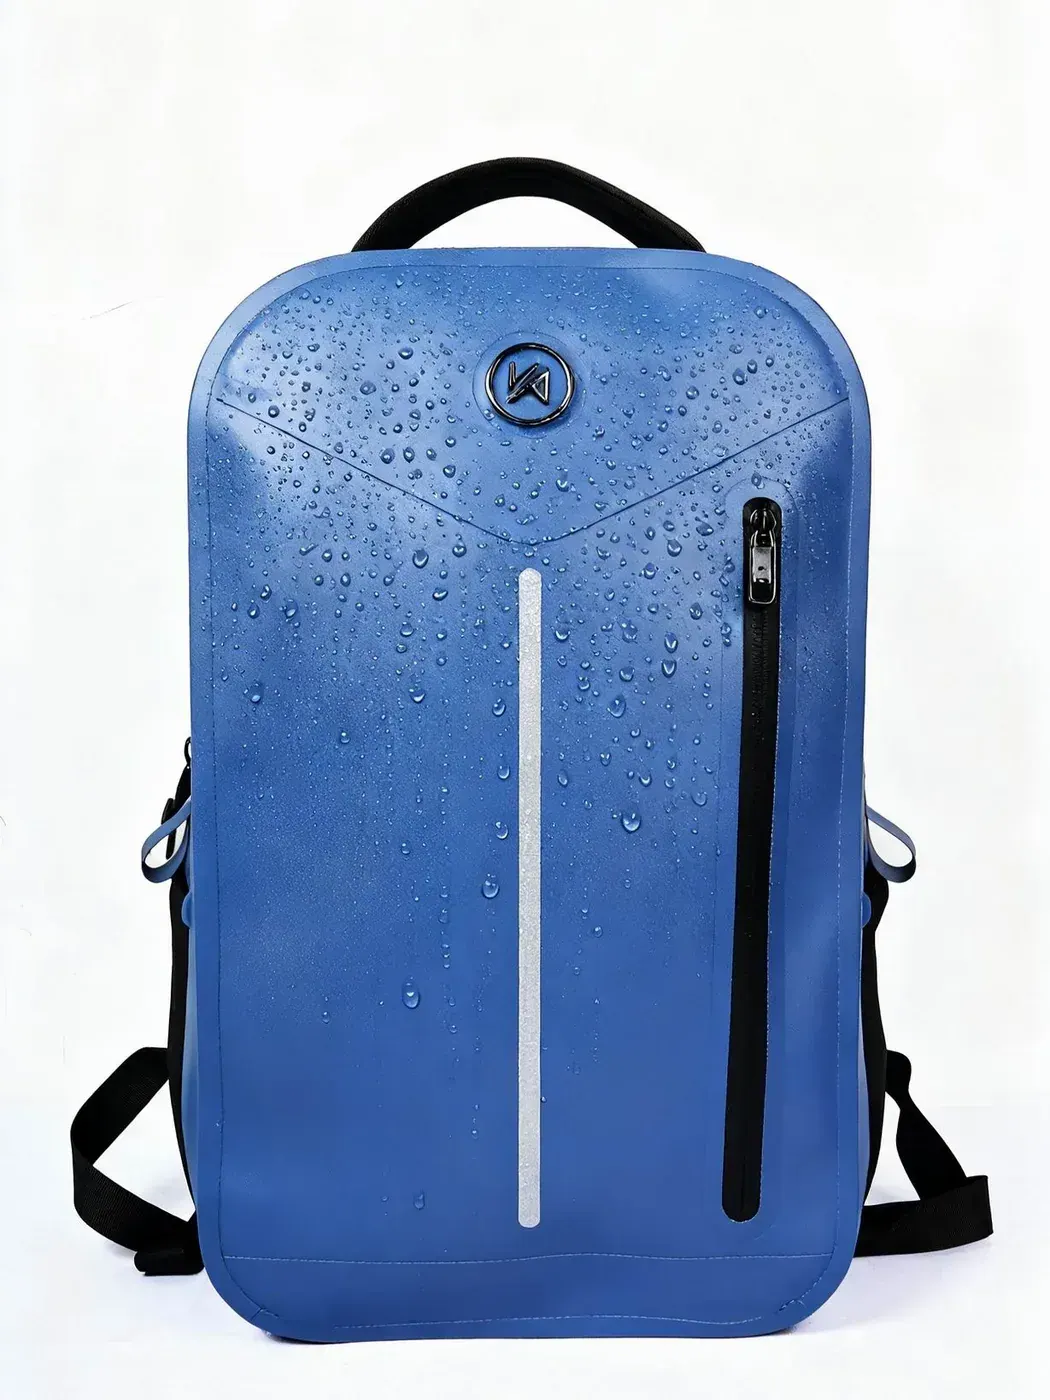
Patch Materials Compared
Adhesive choice decides whether a patch survives fifty flex cycles or five hundred. Flexible one-part polyurethane stays elastic below freezing, which matters for an ice fishing bag used at minus fifteen degrees. Solvent-based contact cement grabs fast but embrittles within two seasons. Heat-applied seam tape matches the original build, but it needs even pressure across the whole patch, achievable with a household iron on a medium setting for ninety seconds through a thin cotton cloth.
| Patch material | Bond method | Cure before use | Flex cycles survived | Best used on |
|---|---|---|---|---|
| Flexible one-part polyurethane | Chemical cure, clamped 12 hours | 24 hours | 400 to 600 | Side panels, corners, base |
| Heat-applied seam tape, TPU faced | Iron at 130 degrees, 90 seconds | 2 hours | 500 to 800 | Taped seams, interior liners |
| Solvent contact cement | Contact bond after 10 minutes | 12 hours | 80 to 150 | Flat cosmetic patches only |
| Two-part silicone sealant | Room temperature cure | 24 hours | 250 to 400 | Irregular shapes, hardware beds |
| Self-amalgamating repair tape | Wraps and fuses to itself | 1 hour | 150 to 250 | Emergency field repair |
Preparation beats material. Every one of these products fails prematurely if applied over salt residue, plasticiser from soft plastics, or a film of sunscreen, because all three sit between the adhesive and the polymer and act as a release agent. Wipe with isopropyl alcohol on a lint-free cloth, abrade with 240 grit paper until the surface looks uniformly matte, wipe again, and only then apply. The extra four minutes typically doubles working life.
Punctures, Corners and Coated Fabric
A hook point through a side panel is a five millimetre hole that becomes a thirty millimetre tear if the bag is loaded before it is patched. The field fix is a small self-amalgamating tape patch applied to a dry surface, which holds until the bag is home and can be done properly. At home, patch both faces: an internal patch carries the pressure load and an external patch protects the edges from lifting. Round the patch corners to a fifteen millimetre radius, because square corners on a flexible panel peel from the corner every time.
- Clean with alcohol, never with a solvent strong enough to attack the coating; acetone strips polyurethane face coats in under ten seconds.
- Cut patches with rounded corners at least 25 millimetres larger than the damage in every direction.
- Press from the centre outward with a roller or the back of a spoon to push out trapped air, which is the usual cause of a patch that lifts later.
- Weight the repair flat for the full cure, since any crease formed during curing becomes a permanent fold line.
- Re-test with a damp cloth after twenty-four hours, pressing gently for thirty seconds, before trusting the bag with electronics.
Hardware, Buckles and Salt Corrosion
Hardware rarely fails outright; it fails by corrosion and then by surprise. Stainless steel fittings survive saltwater use well, zinc-alloy hardware pits within two seasons unless rinsed, and plated steel is the weakest option on a boat. Replacement hardware costs one to four dollars, so replacing a suspicious buckle on the bench is far cheaper than replacing it in a car park. Keep the webbing width identical, because a twenty-five millimetre buckle threaded onto thirty-eight millimetre webbing will rotate and eventually slip.
Corroded rivets are a different matter. Once a rivet head shows rust bloom it is losing section, and the load path through it is compromised even though it still looks solid. Drill it out with a three millimetre bit, replace with a stainless rivet and washers, and check whether surrounding fabric has been weakened by corrosion staining, which commonly extends fifteen to twenty millimetres past the visible bloom.
Bases, Feet and Insulated Compartments
The base takes the punishment on every fishing bag because it meets concrete, boat decks and gravel. Moulded EVA bases crack at corners after roughly three seasons of hard use, and cracks under thirty millimetres can be stabilised with a flexible internal patch plus an external skid plate. Larger cracking means the moulding has lost structural role and the bag will no longer sit square, which is why the repair-or-retire rule asks first whether the fault is load-bearing.
Insulated compartments present a different problem: they leak from the liner, and the water ends up trapped between liner and shell where it cannot dry. If the compartment holds water when tilted, the liner has failed and the correct repair is to open the bottom seam, dry it thoroughly for forty-eight hours, then reclose it. Silicone over a wet liner traps moisture and the compartment will smell within two weeks.
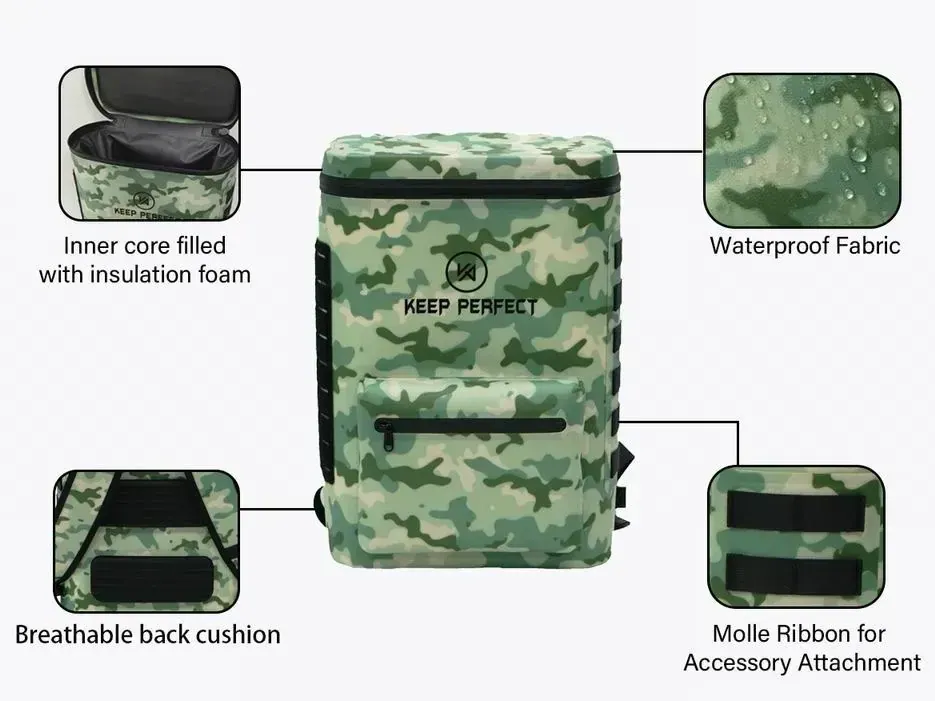
Tool Kit and Consumables Worth Keeping
A repair kit costs less than three fish hooks on a bad day and prevents the common failure mode of doing nothing until the bag fails completely. Everything here stays stable in a garage for three years except the alcohol wipes, which dry out, and the one-part polyurethane, which has roughly eighteen months of shelf life once opened.
| Item | Specification | Why it matters | Typical price |
|---|---|---|---|
| Bonded polyester thread | Tex 70, UV resistant | Cotton thread rots in damp storage within a year | 6 dollars per spool |
| Denim needles | Size 18, pack of six | Anything finer bends on coated fabric | 4 dollars |
| Flexible polyurethane adhesive | One-part, moisture curing | Stays elastic below minus 10 degrees | 12 dollars per tube |
| Isopropyl alcohol wipes | 70 percent, foil packed | Removes salt and plasticiser film before bonding | 8 dollars for 50 |
| 240 grit abrasive sheet | Wet and dry paper | Gives the adhesive a surface to key into | 3 dollars |
| Self-amalgamating tape | 25 mm wide roll | Field repair that works on damp surfaces | 9 dollars |
| Spare sliders and buckles | Match existing gauge and width | The cheapest fix is always a swap | 5 dollars |
Odour, Mould and Liner Delamination
Odour is a symptom with three possible causes and each has a different fix. Fish slime and bait residue live in fabric pores and come out with a mild detergent wash and full drying. Mould lives in the foam and needs a diluted white vinegar treatment followed by forty-eight hours in moving air, since mould cannot be killed by drying alone. Coating hydrolysis smells sharp and chemical, cannot be cleaned away, and means the bag is at the end of its useful life regardless of how it looks.
Liner delamination is the visible form of the same ageing process: the inner film lifts away in bubbles and then flakes. Small bubbles under twenty millimetres across can be re-adhered with heat tape through a cotton cloth. Once flaking starts across more than about ten percent of the liner area, the film will continue to shed into contents and hooks, and that is the point to retire rather than repair.
Test the Repair Before Trusting It
Every repair should be proven before the bag goes back into service, and the test should match the load the repair will carry. A strap re-stitch is proven by hanging fifteen kilograms from it for two minutes and checking for thread movement. A patch is proven by pressing a wet cloth against it for sixty seconds with the bag loaded normally. A zip repair is proven by twenty open-close cycles with the bag full, then tipping the closed bag over a dry floor with tissue paper inside.
Then repeat the test once after two weeks. Adhesive bonds that were going to fail almost always telegraph it early with a lifted edge or a hairline at the seam, and catching that at home costs ten minutes while missing it costs a soaked phone. Keeping to a seasonal rhythm helps too; the four-check calendar in the seasonal fishing bag maintenance checklist puts these inspections where they belong in the year.
Specification Notes for Programme Buyers
Buyers planning a fishing bag line can remove most of the repair complaints above at the specification stage rather than dealing with them in the field. Ask for bar-tack reinforcement at every strap anchor with a minimum stitch density, specify UV-stable bonded polyester thread rather than cotton blends, name the hardware alloy and finish so corroded rivets do not appear in season two, and set a peel-strength acceptance value on welded and heat-taped seams so weak joints are caught before shipment rather than on the water.
QUANZHOU JUNYUAN BAGS has worked on waterproof bag programmes since 2014, with a founding team in this trade since 2004, monthly output running at 200,000 units verified by SGS, and every bulk order inspected at AQL 2.5 before release. Thread strength and abrasion claims are best written against published test methods from ASTM International, colourfastness expectations against standard definitions published by AATCC, and cleaning guidance alongside chemical safety requirements from the United States Environmental Protection Agency. Opening orders start at 500 pieces per design and colour, sampling takes six to ten working days, and bulk runs take thirty-five to fifty days from approved sample and deposit. Briefs go to service@junyuanbags.com.
People Also Ask
Can a torn fishing backpack strap be sewn back on?
Yes. Re-stitch the anchor with bonded polyester thread in a box-and-cross pattern roughly 25 by 35 millimetres, and end the last stitches through the original webbing tail.
What is the best glue for repairing a waterproof fishing bag?
A flexible one-part polyurethane adhesive on abraded, alcohol-wiped fabric survives 400 to 600 flex cycles, far more than contact cement at 80 to 150.
Can a welded seam on a dry bag be repaired?
Only small pinholes on low-load panels. An RF weld is melted rather than glued, so a vertical seam split longer than 50 millimetres will reopen.
How much does it cost to repair a tackle bag?
Between three and twelve dollars in materials for a strap anchor, slider, buckle or patch, plus twenty to forty minutes of work.
Is waterproof tape enough to fix a leaking fishing bag?
Self-amalgamating tape is a good field repair lasting one day to two weeks, but a proper patch needs cleaning, abrasion and a full cure.
When should a fishing bag be thrown away?
When a load-bearing welded seam has split more than 50 millimetres, when hydrolysis has flaked more than ten percent of the liner, or when three or more strap anchors have failed.
Frequently Asked Questions
Q1. How do I know if a split seam can be repaired or if I should replace the bag?
Measure the split. Under 50 millimetres on a low-load panel such as the floor can be patched; anything longer, or any split running up a vertical load-bearing seam, means replace.
Q2. What thread should I use to re-stitch a fishing bag strap?
Bonded polyester, Tex 70 or heavier, with UV resistance. All-purpose cotton-poly thread degrades in a damp garage within about twelve months and the repair then fails at the thread.
Q3. Why does my zip keep opening under load?
Either the slider jaws have spread open by about a millimetre or the coil is packed with grit. Rinse in warm water, dry, apply dry silicone, and fit a new slider of the same gauge if the jaws do not hold.
Q4. Can I machine wash a bag before patching it?
No. Agitation tears coated fabric at the corners and destroys welded seams. Wash by hand with mild detergent, rinse with fresh water, and dry for twenty-four hours before bonding.
Q5. How long should a patch cure before I use the bag?
Twenty-four hours for one-part polyurethane and two hours for iron-applied TPU seam tape. Weight the repair flat for the whole cure so it does not set with a crease.
Q6. What causes the vinegar smell inside an old fishing bag?
Coating hydrolysis, where moisture breaks down the polyurethane face coat. It cannot be cleaned away and marks the end of the useful life of the bag.
Q7. How do I repair a moulded EVA base that has cracked?
Cracks under 30 millimetres can be stabilised with an internal flexible patch plus an external skid plate. Larger cracking means the base no longer keeps the bag square.
Q8. Can I replace just the slider instead of the whole zip?
Yes in most cases. Match the gauge printed inside the slider body, remove the top stop with pliers, slide the new slider on, and re-crimp the stop.
Q9. What is the right way to prepare fabric before applying a patch?
Wipe with isopropyl alcohol, abrade with 240 grit paper until uniformly matte, wipe again, then apply. Skipping this is the most common cause of early patch failure.
Q10. How much load can a repaired strap carry afterwards?
A correctly box-stitched anchor holds up to about 10 kilograms, which covers a loaded 35 to 40 litre tackle backpack at 6 to 8 kilograms.
Q11. How often should I check a repaired bag?
Test immediately after 24 hours of cure with fifteen kilograms hung for two minutes, then repeat the check once after two weeks, then at the end of every season.