Match a bag to the clear opening, never to the nominal hatch size: an eight inch round hatch typically gives about 195 millimetres of usable aperture, which accepts soft bodies up to roughly fifteen litres, while standard trays need a rectangular or oval opening above about 280 millimetres and therefore live behind the bow hatch or stay outside entirely. Rolling a soft pack down reduces its smaller cross section by roughly ten percent per turn, so two extra turns commonly make the difference between something that slides home and something that has to go back on the car roof.
The Size Written on the Hatch Is Not the Opening
Almost every kayak owner learns this the first time they buy a hatch bag. Round hatches are named by the nominal size of the lid or the flange rather than by the hole you push things through, so an eight inch hatch is not eight inches wide inside: the ring wall, the gasket seat and the flange lip all eat into it. Six inch round hatches commonly give somewhere between 135 and 150 millimetres of clear aperture; eight inch examples sit near 190 to 205; ten inch around 250 to 260.
| Hatch type | Nominal size | Typical clear opening | Usable shape |
|---|---|---|---|
| Round screw hatch, small | 6 inch | 135 to 150 millimetres | Circle |
| Round screw hatch, standard | 8 inch | 190 to 205 millimetres | Circle |
| Round screw hatch, large | 10 inch | 250 to 260 millimetres | Circle |
| Oval bow hatch | About 17 x 10 inch | Roughly 420 x 240 millimetres | Ellipse |
| Rectangular centre hatch | About 11 x 15 inch | Roughly 260 x 360 millimetres | Rectangle |
| Tank well, not a hatch | Varies widely | Often 400 x 300 millimetres | Open topped |
The rectangle and oval entries are the interesting ones, because they are the only openings on most kayaks large enough to accept anything rigid. Every round hatch on a kayak is too small for a standard tray, and understanding why saves a great deal of trial and error.
Why Trays Will Not Fit Round Hatches
Passing a flat rectangular object through a circular hole is a diagonal problem. A standard tray measuring 277 by 191 by 44 millimetres must go through on its edge, presenting a rectangle of 277 by 44, which needs an aperture of at least the square root of those two dimensions squared, roughly 280 millimetres. No round hatch on any production fishing kayak approaches that, so trays go in through the bow or centre hatch, or they do not go below decks at all.
| Item | Minimum aperture needed | Fits where |
|---|---|---|
| Standard tray, inserted edge on | About 280 millimetres | Oval bow or rectangular centre hatch only |
| Large tray, standard depth | About 360 millimetres | Very large bow openings only |
| One litre bottle, vertical | About 90 millimetres | Any hatch |
| Soft bag rolled to ten litres | About 170 millimetres | Eight inch round and upwards |
| Soft bag rolled to five litres | About 130 millimetres | Six inch round and upwards |
| Camera body with lens fitted | Around 150 to 200 millimetres | Eight or ten inch round |
Rolling Soft Bags Down to Fit
Soft-bodied packs have one enormous advantage at a hatch: their cross section can be traded against volume. Each turn taken in a roll-top closure removes height from the body and shortens the folded roll, typically reducing the smaller cross section by around eight to twelve percent per turn. That means a twenty litre roll-top will quite often pass a hatch it cannot enter when fully expanded, simply rolled down twice more.
- Measure the clear opening of the hatch, not the lid diameter, using a tape across the inside of the ring.
- Compare against the smaller cross section of the packed bag, which is not the diagonal but the flattened pair of dimensions.
- Take extra turns in the closure and re-measure; two turns usually buys fifteen to twenty millimetres of clearance.
- Release trapped air through corners or seams, since a sealed inflated bag pushes its own cross section outward.
- Push rather than shove; anything needing force will also need force coming back out.

Remember that whatever goes in has to come out, generally cold and wet, with limited use of both hands. Anything fitting with less than fifteen millimetres of spare diameter should be assumed too large regardless of how it went in.
What Each Hatch Size Is Actually For
Different openings suit different jobs, and dividing storage by job rather than by available space is what separates a tidy kayak from a frustrating one. Small round hatches are for items needed rarely and never in a hurry; large centre hatch access is for the things needed at lunch or at the launch; tank wells carry everything that must be reachable while paddling.
| Opening | Best contents | Access while seated | Avoid |
|---|---|---|---|
| Six inch round | Small dry bag, phone, keys, snacks | Awkward; retrieve ashore only | Anything needed quickly |
| Eight inch round | Clothing, lunch, light shell | Possible but slow | Rigid trays or anything urgently needed |
| Ten inch round | Camera, larger dry bag, waterproof pack | Reasonable | Sharp objects near the hull |
| Oval bow hatch | Trays, spare reel, heavier stores | Not while on the water | Daily essentials |
| Tank well or crate | Working tackle, everything current | Excellent, within arm's reach | Unsecured loads |
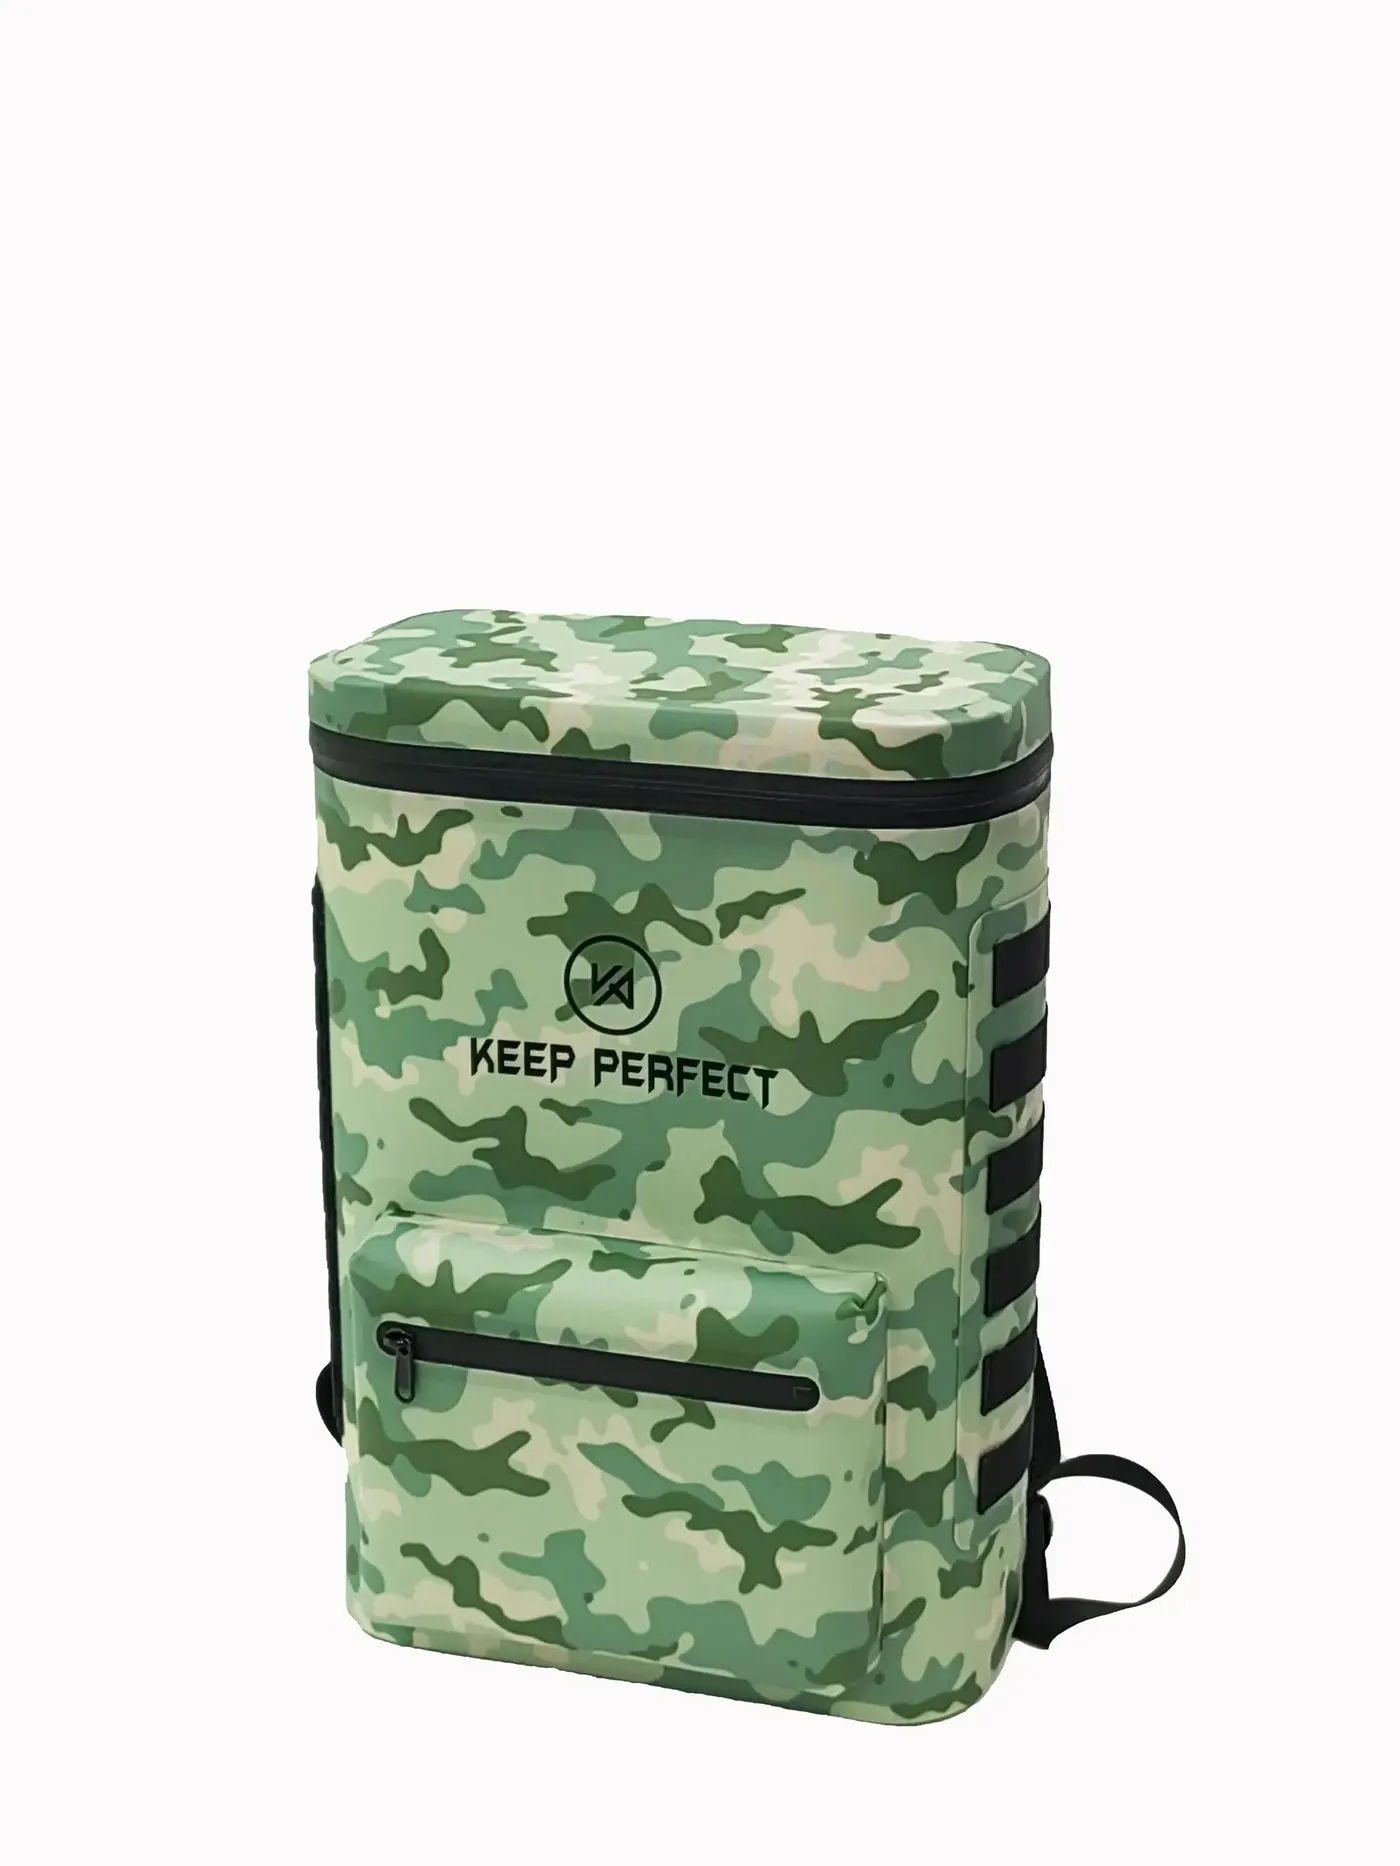
The last row explains why experienced paddlers carry most of their tackle above deck. Anything needed more than once an hour belongs where it can be reached without contortion, and everything below deck is properly considered backup rather than working storage.
Tank Wells and Rear Storage
Rear storage is not a hatch at all, which is precisely its advantage: nothing has to pass through anything. Typical tank wells measure somewhere between 380 and 520 millimetres in length and 300 to 420 millimetres in width, though the usable figure depends heavily on where recesses, handles and transducer wiring sit. This is where full-sized tackle bags, crate bags, cooler bags and rod carriers belong.
| Consideration | Typical figure | Why it matters |
|---|---|---|
| Well length | 380 to 520 millimetres | Determines whether a crate and two bags fit side by side |
| Well width | 300 to 420 millimetres | Sets whether bags can be rotated for access |
| Bungee attachment points | Four to eight pad eyes | Needed to restrain anything carried |
| Load height | Keep below the rim | Higher stacks catch paddles and line |
| Drainage | Open or scuppered | Otherwise the well becomes a bath |
Restraint is what makes rear storage usable. A bag that merely rests in the well slides on every paddle stroke, and on anything longer than a short crossing it will eventually slide into whatever space costs you an unwanted surprise. Running bungee over the top corners in a cross pattern holds far better than a single length along one axis, and adding a second crossing at ninety degrees removes almost all remaining movement.
Bungee has limits worth knowing. Elastic loses tension after a couple of seasons in sun and salt, and a slack cord permits several centimetres of movement, which is enough to work an unsecured bag free. Replacing the cord every two years costs very little and restores the original grip completely.
Leashing and Attachment
Anything carried on deck or stored below needs restraint, and anything stored below needs a way to be retrieved. A short cord works for both. There is also a serious point worth repeating: personal safety equipment is never interchangeable with gear restraint, and the US Coast Guard is clear that a properly worn life jacket is the only approved flotation device, while a tethered bag is simply equipment recovered more easily after a capsize.
- Use a cord rated well above the load, typically around 150 to 200 kilograms breaking strain for a loaded tackle bag.
- Keep tethers between one and 1.5 metres so a floating bag cannot foul around a limb or paddle.
- Attach to the craft at a fixed point such as a rail or pad eye, never to the paddle or to yourself.
- Clip with a locking carabiner or a captive pin rather than a spring hook, which can open against webbing.
- Give bags below deck a retrieval line long enough to reach the hatch without letting go of anything else.
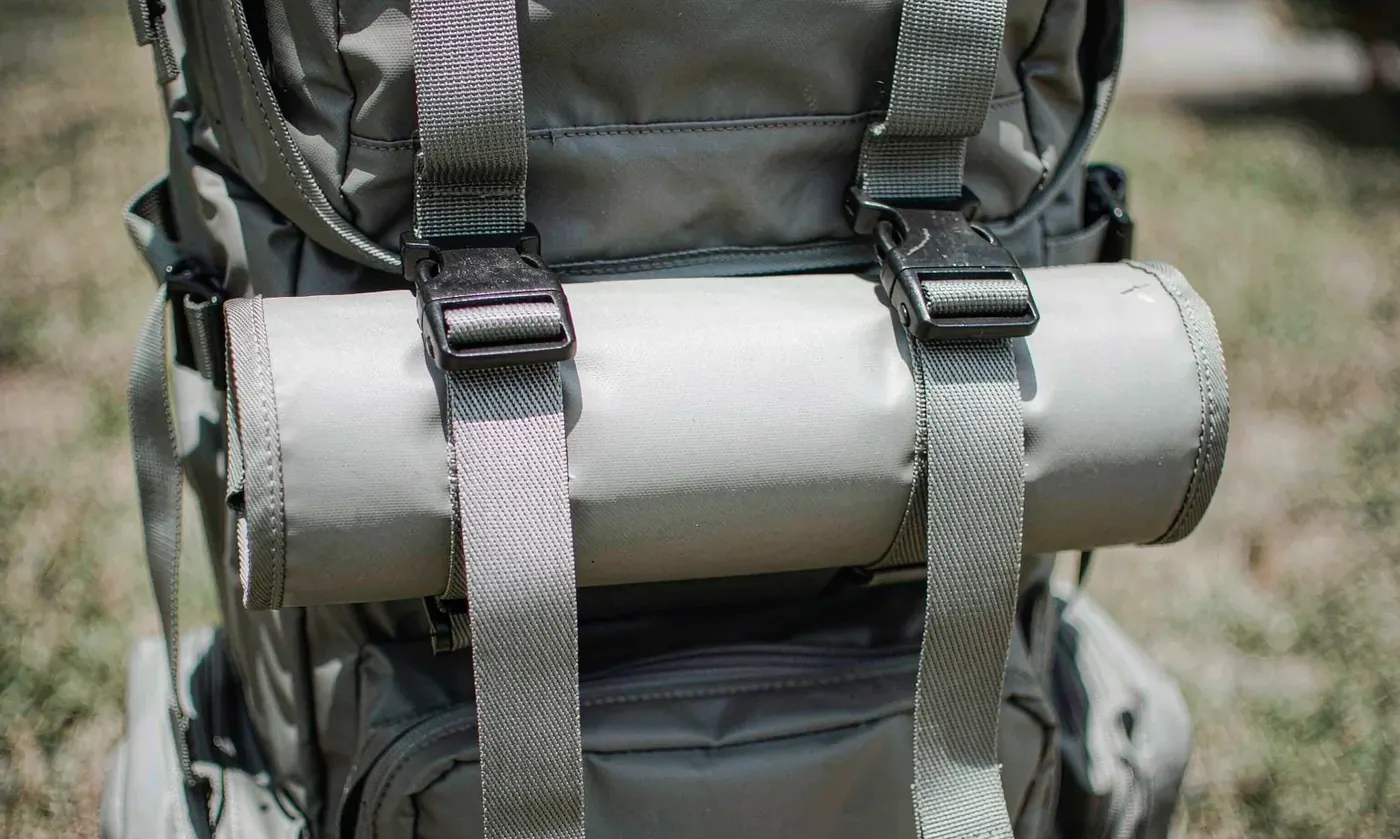
Where NOAA marine forecasts suggest deteriorating conditions, the standard advice is to double-check restraint before launch rather than once afloat, since re-clipping anything in chop is far harder than doing it from the bank.
Measuring Your Own Kayak
Ten minutes with a tape measure removes almost every guess. Do it once, write the figures down, and future purchases become trivial rather than hopeful.
- Measure every clear opening across the inside of the ring, to the nearest five millimetres.
- Note the shape as well as the size; a long thin rectangle and a circle of equal area hold entirely different things.
- Measure the depth available behind each hatch, typically 500 to 900 millimetres in a bow compartment.
- Measure the tank well and note any handles, wiring or recesses that reduce the usable rectangle.
- Photograph each opening with the tape visible, which is the fastest way to compare against listings later.
| Measurement | Where to take it | Typical result |
|---|---|---|
| Clear aperture, round hatch | Across the inside of the ring | 135 to 260 millimetres |
| Clear aperture, oval or rectangular | Both axes, at the narrowest point | 240 to 420 millimetres |
| Compartment depth | From opening to the internal bulkhead | 500 to 900 millimetres |
| Tank well footprint | Flat area inside any raised rim | 380 x 300 to 520 x 420 millimetres |
Choosing Bags Against Those Numbers
With figures in hand, selection follows three rules that hold across every kayak we have measured. Anything rigid goes into the largest opening or stays above deck. Anything needed hourly stays within arm's reach. And anything going below decks gets a retrieval cord, because putting it there is the easy part.
| Requirement | Recommended approach | Figure to check |
|---|---|---|
| Trays carried below decks | Oval bow hatch only | At least 280 millimetres of clear aperture |
| Working tackle within reach | Crate or tank well bag | Footprint against the measured well |
| Clothing and food stowage | Rolled soft bag | Cross section under the clear aperture less 15 millimetres |
| Camera and electronics | Ten inch round or larger | Around 200 millimetres plus padding |
| Emergency kit rarely used | Six inch round hatch | Small items only, retrieved ashore |
Buying against numbers rather than expectations is what prevents the most common disappointment in this category, which is a bag that fits the kayak beautifully and cannot be reached once afloat.
Load Distribution and Trim
Where weight sits in a kayak matters as much as how much there is, and it is the dimension most often ignored until a boat feels sluggish or wanders in wind. Storage load changes trim fore and aft, and shifting two kilograms from the bow compartment to a rear well changes how the hull meets both waves and breeze. Broadly, heavy items belong close to the paddler and low, while only light bulky items belong at the extremes.
| Position | Recommended mass | Effect if overloaded |
|---|---|---|
| Bow compartment | Up to about 4 kilograms | Bow digs, tracking stiffens, waves slap the deck |
| Stern compartment | Up to about 5 kilograms | Stern squats, bow lifts, wind steers the boat |
| Tank well behind the seat | 6 to 12 kilograms with restraint | Acceptable if tied down low and centred |
| Cockpit and within reach | 1 to 3 kilograms | Higher centre of mass; keep it very low |
| On the foredeck | Under 1 kilogram | Anything further forward catches wind badly |
Anyone loading for a long paddle should check trim on the water rather than at the car. Ten minutes into a headwind reveals everything about where things should have gone, and shifting one bag by thirty centimetres often improves handling more than any equipment change.
What Happens During a Capsize
Nobody plans for it, but every paddler eventually experiences it, and what happens to gear follows predictable rules. Anything untethered leaves immediately and moves with the current, not with the boat. Anything with positive buoyancy rises and stays put. Anything heavy but tethered stays attached and can usually be recovered once the kayak is righted, provided the tether was attached properly in the first place.
| Item state | Typical outcome | Prevention |
|---|---|---|
| Loose on deck | Lost within seconds | Everything clipped, always |
| Tethered, negatively buoyant | Hangs below; recoverable with effort | Short cord to fixed hardware |
| Tethered, buoyant | Floats alongside; easy recovery | Closed-cell panels worth specifying |
| Below decks, hatch closed | Usually stays dry and in place | Check the seal annually |
| Below decks, hatch open | Water and contents are exchanged | Never paddle with a hatch unsealed |
The second rule people forget: water in the hull has weight and momentum, and a partially flooded compartment behaves very differently from a dry one. Reaching anything below deck while the boat is still being stabilised is never worth attempting.
Purchasing Mistakes Worth Avoiding
Five errors account for most returns in this category, and none of them involves a defective product. They are all mismatches between what was bought and what the boat can actually take, which is entirely preventable with the measuring steps above.
| Mistake | What happens | Better approach |
|---|---|---|
| Buying to nominal hatch size | Bag arrives too large by 30 to 40 millimetres | Measure inside the ring before ordering |
| Storing working tackle below decks | Everything needed is out of reach | Reserve the tank well for hourly items |
| Ignoring tether points | Nothing can be secured in strong conditions | Require four attachment points minimum |
| Assuming hatches are dry | Water migrates into every compartment eventually | Treat hull storage as damp, not dry |
| Overloading the bow | Boat handles poorly into wind and waves | Keep forward loads under about 4 kilograms |
Avoiding those five costs nothing beyond a tape measure and twenty minutes, which compares favourably with discovering any of them mid-session.
Accessories That Change What Fits
Four cheap additions solve most storage problems without replacing anything, and all four are worth considering before buying another bag. They work by changing either the aperture problem or the access problem, which are the only two that really matter.
| Accessory | What it changes | Typical cost | Verdict |
|---|---|---|---|
| Soft insert caddy for the bow hatch | Keeps several small items removable at once | Modest | Best value addition |
| Hatch-mounted lid organiser | Uses dead space under the lid itself | Low | Useful for small tools |
| Compression straps on the bag | Reduces packed cross section by 10 to 20 millimetres | Very low | Cheapest way to gain clearance |
| Short retrieval cord with clip | Makes anything below decks retrievable | Very low | Fit one to every stored item |
Compression straps deserve particular mention. Reducing the packed cross section by even fifteen millimetres frequently turns a bag that jams into one that slides home, and it costs nothing beyond remembering to tighten them before pushing anything into an aperture.
Where budget allows one purchase rather than four, buy the cord first. Nothing improves retrieval odds more cheaply, and everything stored below decks without one is effectively stored permanently until the next landing.
Developing Bags for Kayak Storage
QUANZHOU JUNYUAN BAGS has developed waterproof bag programmes since 2014 behind a founding team whose trade experience began in 2004. Output reaches 200,000 pieces monthly under SGS verification and BSCI and ISO 9001 governance; materials are screened for REACH and California Prop 65 and lots are inspected at AQL 2.5 before release. Kayak storage is specified around measured openings rather than nominal hatch names, for the simple reason that the ring always reduces what the label suggests.
Send the clear aperture dimensions, whether access is needed while seated, whether the bag must float when loaded, target litre range, material, colours, and quantity. Development starts at 500 pieces per design and colour, with six to ten working days for samples and thirty-five to fifty days for bulk from approval and deposit, shipped FOB Xiamen or DDP to more than one hundred destinations. Send drawings to service@junyuanbags.com. Crate-mounted options are shown on the kayak crate bag page, selection logic continues in the kayak tackle bag guide, and current models are reviewed in the kayak tackle bag roundup.
People Also Ask
What is the clear opening of an 8 inch kayak hatch?
Typically 190 to 205 millimetres. The nominal size refers to the lid or flange, and the ring wall plus gasket seat remove another 30 to 40 millimetres.
Can standard tackle trays fit through a kayak hatch?
Only through oval or rectangular openings above about 280 millimetres. Round hatches are too small, since trays must pass edge-on and that needs a wide diagonal.
How do I make a soft bag fit a smaller hatch?
Take extra turns in the roll-top. Each turn reduces the smaller cross section by roughly eight to twelve percent, so two turns buys fifteen to twenty millimetres.
Should tackle be stored inside the hull?
Only for backup. Anything needed more than once an hour belongs in a crate or tank well within arm's reach of the seat.
How should I tie down gear in a tank well?
Use a cord rated around 150 to 200 kilograms, attach it to fixed hardware rather than to yourself or a paddle, and keep it between one and 1.5 metres long.
Where do larger storage bags actually go?
In the tank well or crate, which does not require anything to pass through an aperture. That is why full-sized bags work there and not below decks.
Frequently Asked Questions
Q1. What size is a standard kayak hatch opening?
Six inch round hatches give about 135 to 150 millimetres clear, eight inch around 190 to 205, and ten inch roughly 250 to 260. Always measure inside the ring rather than trusting the name.
Q2. Why does my bag not fit the hatch it was bought for?
Because nominal hatch names describe the lid, not the aperture. The ring wall and gasket seat typically remove 30 to 40 millimetres from what the label suggests.
Q3. Which hatch takes a tackle tray?
Only a large oval bow hatch or a rectangular centre hatch, needing at least 280 millimetres of clear aperture for a standard tray passed edge-on.
Q4. How much can I fit in a six inch round hatch?
Little beyond a small rolled soft bag, snacks and valuables. Treat anything behind it as backup retrieved ashore rather than working tackle.
Q5. Does rolling a dry bag down really help it fit?
Yes. Two additional turns usually buy fifteen to twenty millimetres of reduced cross section, which is often exactly the shortfall that prevented it fitting.
Q6. What should live within reach of the seat?
Everything needed hourly: current lures, tools, pliers, line, water, sunscreen. Anything else belongs below decks or ashore.
Q7. How do I stop gear disappearing over the side?
Tether it to fixed hardware with a one to 1.5 metre cord, using a locking connector. Nothing should ever be clipped to the paddler or to the paddle.
Q8. Is a dry bag enough protection inside a hatch?
It is the practical minimum. Bilge water migrates through hulls, so assume anything inside a hatch will meet some water eventually.
Q9. How deep are kayak storage compartments?
Commonly 500 to 900 millimetres behind the hatch, which is deep enough that items tend to migrate forward out of easy reach without a retrieval cord.
Q10. Do I need special bags for a tank well?
No special design, but the bag must fit the measured well rectangle and should have four usable tie points, since everything there is under bungee tension.
Q11. What figures should I send when specifying a bag?
Clear aperture dimensions for every opening, whether seated access is needed, target litres, whether loaded buoyancy is required, colours, and order quantity.