A waterproof riding backpack for horse trails should hold about 12–22 L, stay below 5 kg loaded, sit within a 260–300 mm body width, and use an IPX5-level rain target for ordinary wet routes. Choose low-profile straps, no loose loops longer than 80 mm, one-handed emergency access, and a stable 3-point harness that does not contact the saddle cantle. For buying programmes, a practical baseline is MOQ 500 pcs per design and colour, samples in 6–10 working days, and bulk in 35–50 days after mounted trials.
Riding Changes the Backpack Risk Model
A pack that works while walking can fail on horseback because the rider rises, sits, rotates, and passes branches above ground level. The lower pack can strike the saddle cantle, a loose compression strap can catch tack or brush, and dense contents can shift during a trot. Design around motion and snag reduction before adding pockets. The safest pack is narrow, close to the spine, and simple enough to open with one hand after dismounting.
Keep the body about 420–470 mm high and 260–300 mm wide for most day routes, then verify against the actual rider and saddle. Leave at least 70 mm between the pack base and cantle in the rider's seated position. Loaded movement should remain under 25 mm at walk and under 40 mm during a controlled trot. Any hard object belongs behind 10–15 mm padding and away from the spine.
| Riding hazard | Design control | Measured target | Trial check |
|---|---|---|---|
| Cantle contact | Short body and high base | At least 70 mm clearance | Seated and rising positions |
| Branch snag | Low-profile routing | No loose loop over 80 mm | Brush corridor at walking speed |
| Load bounce | Sternum plus low stabiliser | Under 25 mm at walk | 500 m walk and controlled trot |
| Hard item pressure | Padded flat back zone | 10–15 mm separation | Four-hour mounted check |
| Emergency delay | Known one-hand pocket | Access under 20 seconds | Glove test from ground |
Do not test clearance while standing beside the horse. The rider's pelvis angle, saddle depth, clothing, and torso length alter pack position by 30–80 mm. Fit with the normal saddle, helmet, outer layer, and 3–5 kg trail load. The waterproof hiking backpack guide helps with general harness fit, but the cantle and snag checks remain specific to riding.
Capacity: 12, 16, or 22 Litres?
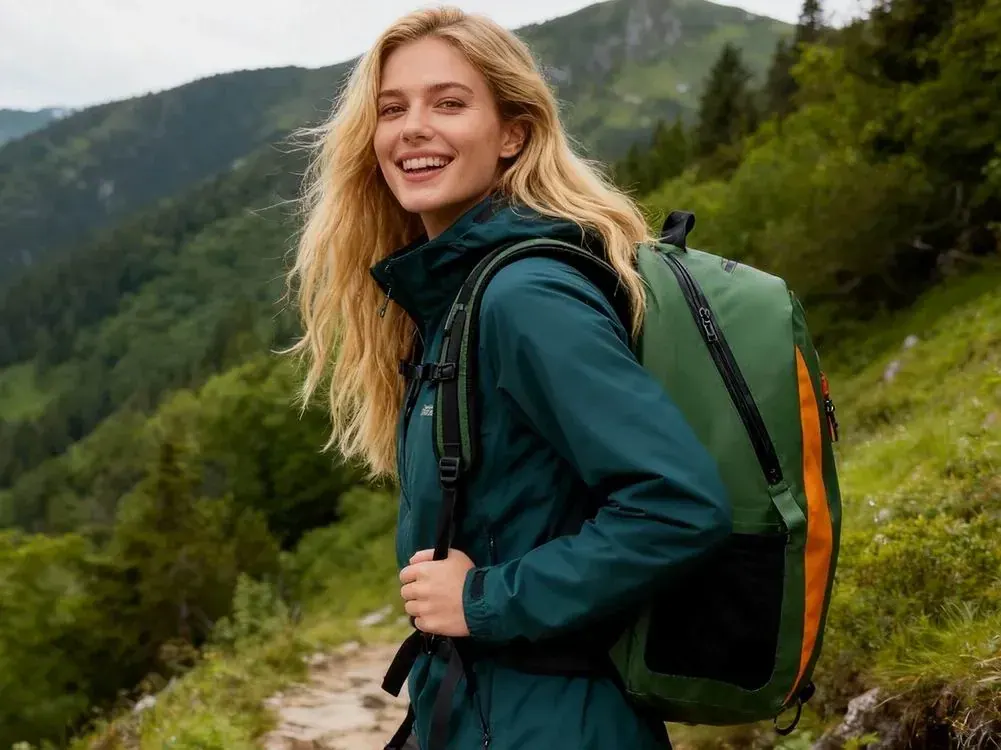
Twelve litres suits a 1–2 hour route with a 0.75 L bottle, light rain shell, phone, compact first aid, gloves, and one snack. Sixteen litres adds a warmer layer, 1.5 L of water, hoof pick, headlamp, and more food for 3–4 hours. Twenty-two litres fits an all-day shoulder-season load, but only if total mass stays near 5 kg and the body remains clear of the saddle.
Shared equipment should not automatically go on the rider. Where route practice and tack permit, distribute suitable stable items elsewhere while keeping personal emergency communication, identification, first aid, and a light layer accessible to the rider. A heavy 2 L water reservoir high behind the shoulders raises the centre of mass; divide 1.5–2 L into lower retained containers or place the reservoir close to the back.
| Route plan | Capacity | Loaded target | Core contents |
|---|---|---|---|
| Short local ride, 1–2 h | 12–14 L | 2.5–3.5 kg | 0.75 L water, shell, phone, first aid |
| Half day, 3–4 h | 15–18 L | 3.5–4.5 kg | 1.5 L water, layer, food, headlamp |
| All day, 5–8 h | 18–22 L | 4.0–5.0 kg | 2 L water, insulation, repair basics |
| Cold wet route | 20–22 L | Under 5.0 kg | Independent dry layer, gloves, food |
| Vehicle-supported event | 12–16 L | 2.5–4.0 kg | Personal safety items only |
Pack the heaviest 1–2 kg within 40 mm of the back and below shoulder-blade height. Fill gaps with the rain layer rather than allowing a bottle to move. A 22 L body loaded to 3 kg is easier than a 14 L body forced to 5 kg with hard shapes pressing outward. Litres describe space, not comfort or clearance.
Rain Protection and the Limits of a Pack
An IPX5-level finished-body target suits many riding routes with sustained rain and splash; IPX6 can add margin for exposed moorland or vehicle transfer. A 3-turn roll-top provides a simple wet boundary, but the opening must remain reachable after dismounting. Keep emergency items in one protected pocket above the lower 120 mm splash zone rather than beneath spare clothing.
Water rating terms follow the IEC ingress-protection framework. A coated shell does not prove that harness anchors, pocket seams, or closure corners remain dry. Test the complete pack with a 4 kg load and the exact 3-turn closure. Place tissue at the top corners, base, and strap-anchor zones, then record duration and direction.
A waterproof backpack protects contents; it does not make a route, crossing, animal, or weather condition safe. Follow local riding practice, land access rules, and qualified instruction. Leave the trail when wind, lightning, visibility, water level, footing, or the horse's behaviour makes continuation unsuitable. Equipment should make withdrawal faster, not encourage exposure.
Harness, Breakaway Thinking, and Snag Control
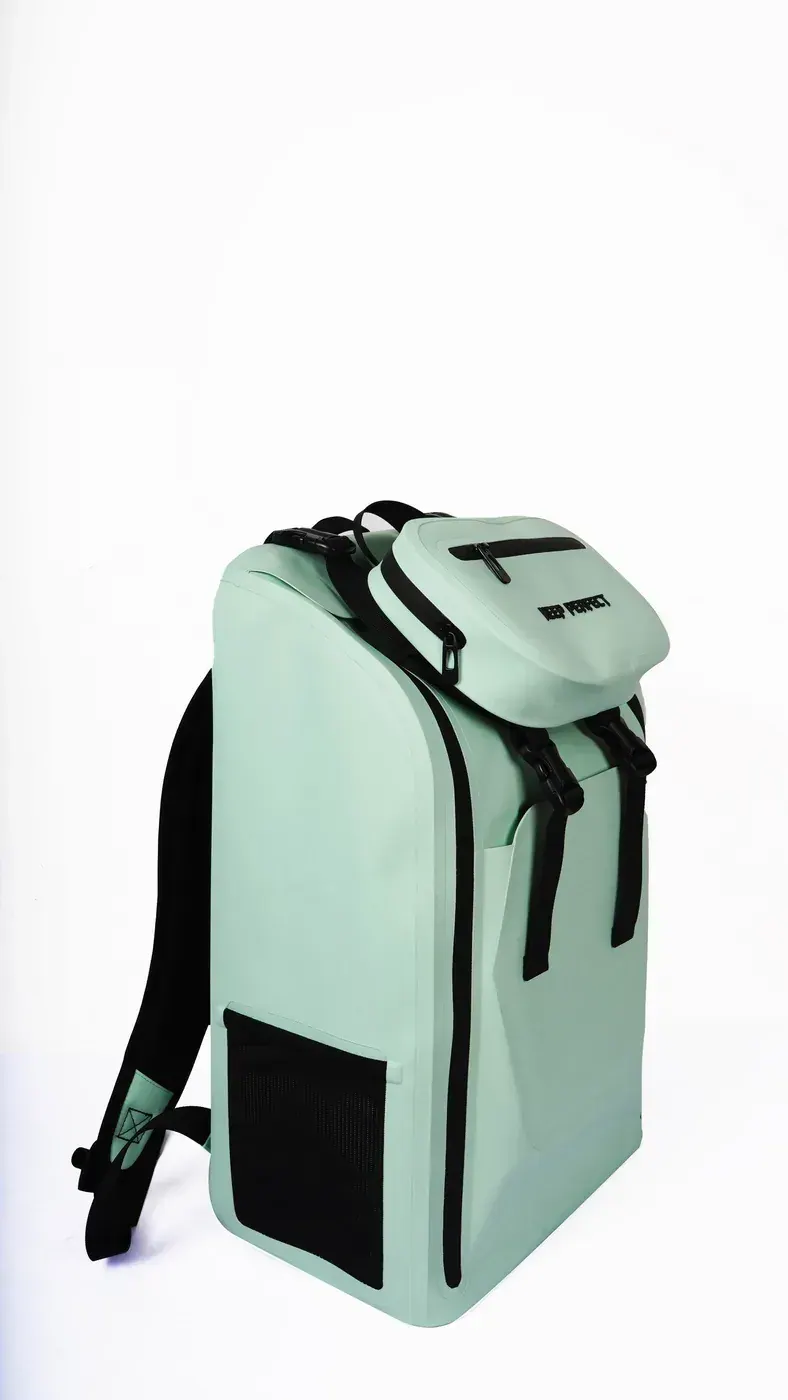
The carry system needs stability without creating a web around the rider. Use 45–60 mm low-profile shoulder straps for a sub-5 kg load, an adjustable sternum strap, and a narrow lower stabiliser where the riding context supports it. Capture every strap tail in 2 keepers and cut or fold routing so no free loop exceeds 80 mm. Avoid rigid external frames, tall bottle necks, and exposed hooks near the rider's arms.
Breakaway requirements depend on discipline, location, and expert risk assessment; a weak part added without analysis can release during normal motion, while a non-releasing loop can snag. Define which external accessory attachment should release, under what directional load, and which core harness parts must not. Record the force and repeat it across at least 5 samples. Never improvise by partially closing a buckle or tying an unknown knot.
| Harness element | Working range | Control | Reject if |
|---|---|---|---|
| Shoulder strap | 45–60 mm wide | Low profile, soft edge | Touches neck or restricts arms |
| Sternum strap | 80 mm vertical adjustment | One-hand release | Pulls shoulders inward |
| Lower stabiliser | 25–35 mm | Controls bounce under 5 kg | Contacts saddle or tack |
| Strap tail | Preferably under 80 mm free | Two keepers | Can form an open snag loop |
| Accessory point | Defined directional release if required | Five-sample force record | Unplanned release or no rationale |
Run a snag audit with the rider off the horse first. Pass the loaded pack slowly beside representative branches, gate hardware, and tack without creating a hazardous setup. Mark every contact. Then conduct a controlled mounted trial in an appropriate enclosed area with qualified support. The goal is to remove hooks and loops before the route, not to discover them at speed.
Emergency Access and Visibility
Emergency access begins with a list, not extra pockets. Put identification, phone, whistle or signalling device, essential medication, and compact first aid in a single known zone reachable within 20 seconds after dismounting. The opening should be at least 140 mm wide with a 50–70 mm pull usable in gloves. Test 10 retrievals in rainwear; an average result hides one unacceptable 60-second search.
Visibility needs 2 modes. A bright body or panel supports daytime recognition, while 100–200 cm² of reflective detail on the rear and straps responds to vehicle lights. Check from 50 m with the rider seated, because hair, hood, and outer clothing can cover upper trim. Reflective material should remain visible when an external layer or 1 L bottle is attached.
Current weather and warning information should shape the route. Where relevant, NOAA weather resources provide authoritative observations and forecasts. Agree a turnaround time, check 2 weather points before departure, and carry a dry insulating layer when cool rain is possible. A pack helps keep that layer dry but does not determine the go-or-no-go decision.
A waterproof hunting backpack offers useful references for muted exterior hardware and brush movement, but riding needs different visibility and saddle clearance. Choose reflective detail appropriate to road exposure rather than copying a low-visibility field layout.
Mounted Trial: Four Stages Before Approval
Stage 1 is a 20-minute ground walk at the real load. Check neck edge, strap slip, one-hand access, and movement. Stage 2 is a static mounted fit with at least 70 mm cantle clearance in sitting and rising positions. Stage 3 is 500 m at walk plus a controlled short trot in a suitable environment. Stage 4 is a 4-hour route simulation only after the earlier stages pass.
Record movement on video from the side and rear. Measure the pack's reference point against a mark on clothing: under 25 mm at walk and under 40 mm in the controlled trot is a practical target. After 4 hours, inspect skin pressure, jacket wear, pack base, strap keepers, and all hard-item positions. Ask the rider to retrieve the emergency pocket at the end, when fatigue makes poor design clearer.
- Use the normal saddle, outer layer, helmet, and a complete 3–5 kg load at every mounted stage.
- Confirm at least 70 mm cantle clearance while seated and rising, not only while standing.
- Measure pack movement from video rather than relying on the rider's impression alone.
- Stop immediately if a strap contacts tack, a hard item presses the spine, or the horse reacts to pack movement.
- Repeat the rain and access checks after the 4-hour trial because compression can change closure geometry.
Short low-risk day options can be benchmarked against the lightweight waterproof daypack guide. However, reducing mass below 500 g is not the priority if it removes keepers, back padding, or stable compression. A 650 g pack that remains quiet and close may be safer and more comfortable than a 420 g body that moves.
Cleaning After Mud, Sweat, and Stable Use
Remove loose dirt outdoors, then rinse the shell and closure with fresh water. Use mild soap on sweat contact zones and a soft brush on textured webbing. Rinse twice and air dry open for 8–24 hours away from heaters. Do not seal a damp glove, food residue, or wet first-aid pouch inside; odour and moisture can persist even when the coated outer body looks dry.
Inspect after every 5 rides or any hard snag. Check 4 anchors, 2 buckle bodies, strap keepers, base abrasion, and roll-top corners. Mark a 10 mm reference line beside any suspicious lift so growth is visible. A loose cosmetic thread can be trimmed carefully; a growing load-bearing separation or cracked buckle requires removal from service until assessed.
Store the clean pack loosely shaped at 15–25°C with straps released. Repeated storage in a vehicle above 50°C can age coatings and foam. Keep it away from oils, topical treatments, and strong cleaning agents used around riding equipment unless material compatibility is known. A pack should not share a closed box with wet or chemically treated tack.
Organise the Load for a Gate, Break, or Unexpected Stop
Pack order should follow the moment an item is needed. Identification, phone, essential medication, and signalling equipment live in the first pocket. Gloves, light layer, and food form the second access group. Water sits low and close to the back but remains reachable after dismounting. Repair pieces and reserve food can sit deepest. The rider should never unload 6 unrelated items beside a gate to find one necessary object.
Use a 3-zone layout rather than many similar pockets. Zone A opens in under 20 seconds, Zone B in under 45 seconds, and Zone C only at a planned stop. Give each zone a different pull texture that can be recognised in gloves. Ask 5 unfamiliar testers to find the phone, first aid, layer, water, and headlamp without coaching; at least 4 should select the correct opening on the first attempt.
| Access zone | Time target | Contents | Design cue |
|---|---|---|---|
| A: immediate | Under 20 seconds | Phone, ID, medication, signal | Long textured pull |
| B: short stop | Under 45 seconds | Gloves, food, light layer | Contrasting medium pull |
| C: planned break | Under 90 seconds | Reserve and repair items | Main roll-top |
| Wet outside | Under 15 seconds | Damp gloves or small towel | Drain path, no sealed contents |
| Low close-to-back | After dismounting | Water and dense items | Retention plus padding |
At a gate, loose straps become especially important. Before moving, confirm both side-compression tails are captured, the lower stabiliser lies flat, and no retrieved item hangs from a temporary clip. A 15-second reset routine after every stop is more dependable than remembering 5 separate cautions. Print the same sequence on a small internal label where it is visible during closing.
If the rider falls or the pack strikes a branch, end the routine and inspect before continuing. Check all 4 harness anchors, buckle cracks, shell puncture, and whether a hard item moved toward the back panel. Mark any damage and downgrade the pack if the wet boundary or load attachment is uncertain. A bag that still looks tidy can have a stressed anchor hidden beneath webbing.
Write the Riding Brief in Measurable Terms
Specify rider torso range, saddle style, minimum 70 mm cantle clearance, target 12–22 L volume, maximum 5 kg load, body width, IPX5-level exposure, closure sequence, emergency access under 20 seconds, and no free loop over 80 mm. Add the four-stage trial and clear stop conditions. A phrase such as suitable for riding cannot replace these dimensions.
QUANZHOU JUNYUAN BAGS supports waterproof pack programmes at MOQ 500 pcs per design and colour, with samples in 6–10 working days and bulk in 35–50 days. AQL 2.5 inspection can include dimensions, loose-webbing length, closure operation, anchor checks, accessory count, and agreed water exposure. Programmes follow BSCI and ISO 9001 systems, with REACH and California Prop 65 material screening.
A riding load and clearance drawing can be reviewed. Send rider torso range, saddle-side photographs, pack list, total mass, and weather target to service@junyuanbags.com. Delivery can run FOB Xiamen or DDP to more than 100 countries after the mounted sample record is approved.
Before approving colour or trim, run a noise check in a quiet enclosed area. Walk 200 m, turn, rise in the stirrups where appropriate, and record buckle taps, webbing flutter, or rigid contents knocking. Secure any repeating sound at its source with a keeper, sleeve, or layout change. A pack can meet every dimensional target and still distract horse or rider if one metal pull strikes another hundreds of times over a 4-hour route.
The final decision is conservative: keep the body narrow, mass below 5 kg, cantle clearance above 70 mm, and loose loops below 80 mm. Prove access and stability in 4 stages with qualified support. Waterproofing protects the contents, but disciplined fit and routing protect the rider's movement.
People Also Ask
How large should a backpack be for a half-day horse ride?
Fifteen to 18 L is usually enough for 1.5 L of water, a layer, food, phone, first aid, headlamp, and gloves. Keep the complete load around 3.5–4.5 kg and preserve 70 mm of cantle clearance.
Where should a riding backpack sit?
It should sit close to the upper and middle back with its base at least 70 mm above the saddle cantle while seated and rising. The body should not touch the helmet, restrict arms, or move more than about 25 mm at walk.
Can a rider use a normal hiking backpack?
Only after mounted fit and snag checks. A hiking pack may be too tall, have exposed loops, or carry a structured belt that contacts tack. Test the real saddle, clothing, torso, and 3–5 kg load.
How much water fits in a day riding pack?
Allow 0.75 L for a short local route and around 1.5–2 L for longer conditions, adjusted for weather and plan. Keep water low and close to the back so it does not pull the pack outward.
Should riding backpack straps release under a snag?
Any directional release must come from a discipline-specific risk assessment and a repeatable force requirement. Do not weaken core harness parts or improvise a partial buckle closure; define each attachment's intended behaviour.
How do I stop a riding backpack bouncing?
Use close torso fit, a correctly positioned sternum strap, a narrow lower stabiliser where appropriate, and side compression. Measure movement with video and target under 25 mm at walk and under 40 mm during a controlled trot.
Frequently Asked Questions
Q1. What size waterproof backpack is best for horse riding?
Use 12–14 L for 1–2 hours, 15–18 L for a half day, and 18–22 L for an all-day shoulder-season route. Capacity must still preserve saddle clearance and a loaded mass under about 5 kg.
Q2. How waterproof should an equestrian trail pack be?
An IPX5-level finished-body target suits many sustained-rain routes, while IPX6 adds margin in exposed conditions. Test the complete 4 kg loaded pack with its normal 3-turn closure and all attachment zones.
Q3. Can the backpack touch the saddle?
It should not. Maintain at least 70 mm between the base and cantle in seated and rising positions. Repeated contact can move the load, disturb the rider, abrade the pack, and affect the horse.
Q4. How wide should a horse-riding backpack be?
About 260–300 mm works for many day designs because it stays within the rider's profile. Confirm on the intended torso and test that elbows, reins, outer clothing, and saddle movement remain clear.
Q5. Should a riding pack have a hip belt?
A narrow 25–35 mm stabiliser can control a sub-5 kg load where it does not contact tack. A broad structured load-transfer belt is usually unnecessary for this small riding load and needs mounted evaluation.
Q6. Where should emergency items be stored?
Keep identification, phone, essential medication, signalling item, and compact first aid in one known protected pocket above the lower splash zone. It should open in under 20 seconds with gloves after dismounting.
Q7. How long should a mounted backpack test last?
Progress through a 20-minute ground walk, static saddle fit, 500 m walk plus controlled trot, and finally a 4-hour route simulation. Stop at any tack contact, pressure point, or unexpected horse reaction.
Q8. How much loose webbing is acceptable?
Design so no uncontrolled loop is longer than about 80 mm, and use 2 keepers on each adjustable tail. Run a careful snag audit around representative brush and gate geometry before mounted use.
Q9. How should I clean a muddy riding pack?
Remove loose dirt, rinse with fresh water, use mild soap and a soft brush, rinse twice, and air dry open for 8–24 hours. Keep it away from heaters and unknown equipment-treatment chemicals.
Q10. What are the MOQ and timing for a riding pack programme?
A practical baseline is 500 pcs per design and colour, samples in 6–10 working days, and bulk in 35–50 days. Approve through measured mounted trials with the actual saddle and load.