A stitched fishing backpack can be upgraded to shed heavy rain for fifteen to thirty dollars in supplies and about two hours of work, but it cannot be upgraded to survive immersion. Field fixes realistically move a water-resistant bag from shower-proof to sustained-rain territory, roughly the difference between nothing specified and IPX3 to IPX4 behaviour; genuine IPX7 or IPX8 performance requires welded seams and a watertight zipper, which are build choices rather than aftermarket ones. The highest-value twenty dollars is a rain cover with a hydrostatic head above 1500 millimetres, worn over a shell whose water repellency has been renewed, with a dry liner inside protecting anything that must stay dry.
What Field Fixes Can and Cannot Achieve
Start with the honest ceiling. Every aftermarket treatment works on the outside surface or at the entry point; none of them changes how the bag itself closes. A sewn-and-taped body with a coil zipper protected by a flap will keep rain off contents for hours and will still flood in thirty seconds if dropped over the side of a boat. Knowing which of those two outcomes has been bought prevents the most common and most expensive disappointment in this category.
The useful framing is three levels rather than the word waterproof. Level one is splash resistance: water beads and runs off, good for ten minutes of drizzle. Level two is sustained rain: a covered bag stays dry inside through two hours of rain at twenty millimetres per hour. Level three is immersion: the bag is sealed, welded, and carries a watertight zipper. Aftermarket work moves most bags from level one to level two, and no amount of sealer moves anything to level three.
| Performance level | Typical exposure survived | How it is achieved | Cost |
|---|---|---|---|
| Level one, splash | Ten minutes of drizzle | Renewed surface repellency alone | Six to twelve dollars |
| Level two, sustained rain | Two hours at twenty millimetres per hour | Repellency plus rain cover plus zip management | Fifteen to thirty dollars |
| Level two plus, heavy weather | Four to six hours of driving rain | The above plus a storm flap and internal liner | Twenty-five to forty-five dollars |
| Level three, immersion | Temporary submersion to one metre | Welded seams and a watertight zipper, build-level choices | Replacement bag, forty to one hundred and twenty dollars |
Diagnose Where the Water Actually Enters
Water enters a bag at three places, and treating them in order of actual contribution saves effort. The largest is normally the zipper line, because it is both permeable and positioned where water runs. The second is the back panel and strap contact zone, which wicks rather than leaks. The third is the seam network, and only then the fabric face itself. Testing which dominates takes fifteen minutes and twenty grams of paper towel.
- Line the bag with five sheets of paper towel, one at the zipper line, one at each side seam, one at the base, and one flat against the back panel.
- Weigh each sheet and write the figure down; a sheet weighs about 2.5 grams dry.
- Hang the bag loaded to roughly six kilograms and run a garden spray over it for ten minutes at about ten litres per minute, wetting it evenly from all sides.
- Reweigh every sheet. Anything that gained more than 2 grams is an active entry point; anything above 10 grams is the main one.
- Fix the largest first, then repeat. Most bags need two rounds before they are genuinely dry inside.
Recording grams rather than impressions is the whole point. A damp-looking panel often turns out to be condensation or wicking through webbing, while a dry-looking zipper line routinely gains fifteen grams. Running the numbers turns a vague sense of getting wet into a ranked work list, and it is the same diagnostic used when assessing whether a claimed rating means anything, which is unpacked in the waterproof versus water-resistant comparison.
Layer One: A Rain Cover Is the Best Value Fix
Nothing else in this list returns twenty dollars better. A cover transfers the entire water-shedding job to a dedicated piece of fabric designed for exactly that purpose, and it can be taken off and dried while the bag stays packed. Look for a hydrostatic head above 1500 millimetres, a face fabric in 40 to 70 denier silicone-treated nylon, sealed rather than raw edges, and a drain panel at the bottom so water that gets behind the cover leaves instead of pooling.
Weight and packed size decide whether a cover gets carried. A 40-denier cover for a forty litre pack weighs 150 to 200 grams and packs to roughly 0.4 litres, which fits in any lid pocket. Failing to carry it is the single biggest cause of a soaked bag, so the cover should live permanently in the bag rather than at home. Covers sized by the litre figure rather than by brand are a better bet, since the shape variation between makers exceeds what most size charts admit.
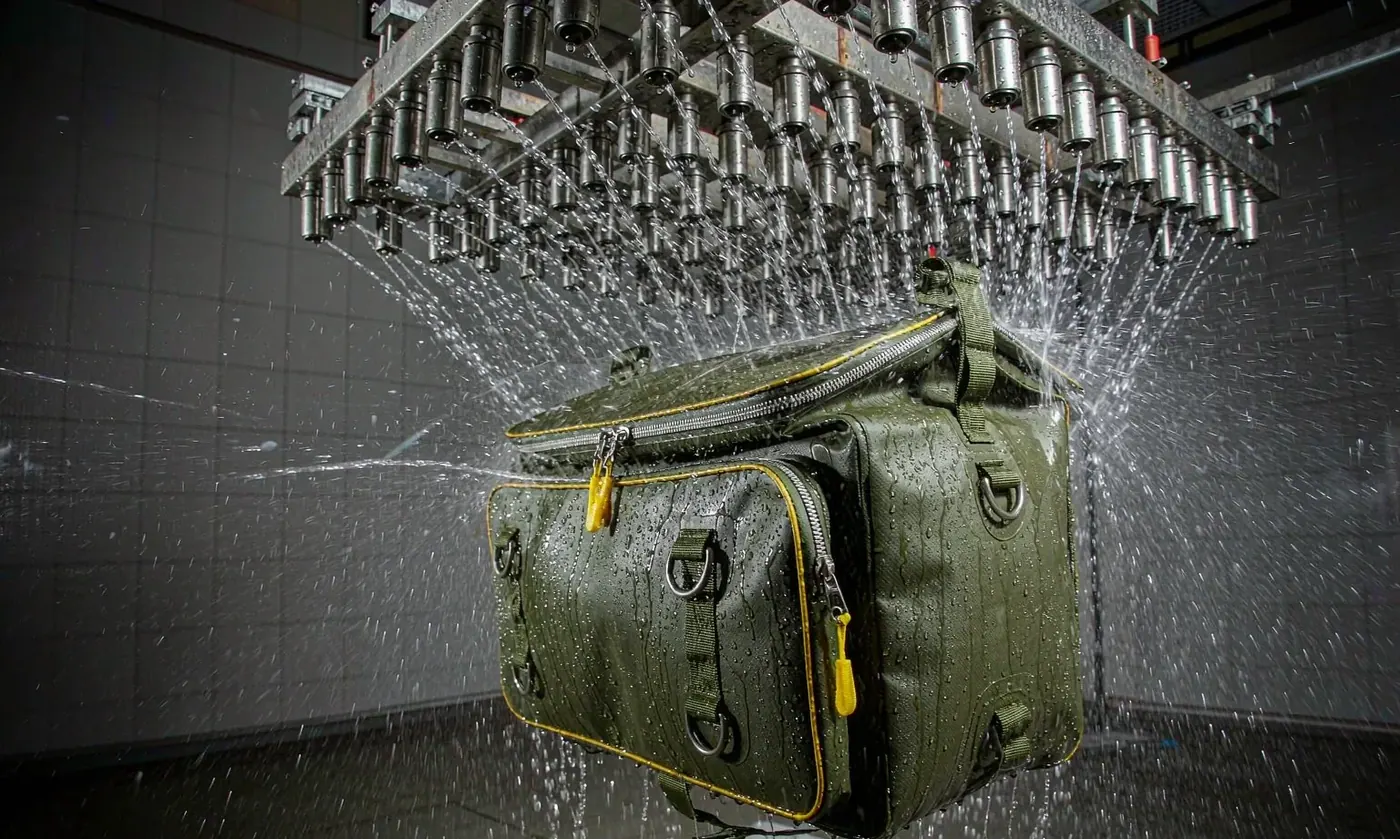
Two details separate covers that work from covers that look fine on a shelf. The first is strap coverage: a cover stopping at the shoulder yoke leaves two webbing channels running straight into the bag. The second is retention in wind, since a cover that lifts at thirty kilometres per hour of wind delivers its entire rain load directly onto the zipper it was supposed to protect. Fitting guidance and size charts for the covers themselves are reviewed in the fishing bag rain cover guide.
Layer Two: Renew the Surface Repellency
Every durable water repellent finish degrades, and almost nobody renews it. The finish works by making water form beads at a contact angle above ninety degrees so it rolls off instead of wetting out, and that property disappears once the surface is contaminated with dirt, sunscreen, fish slime, and plasticiser migration. A bag that wets out across the shoulders after twenty minutes of rain usually has intact fabric and simply a dead finish.
Renewal is cheap and takes thirty minutes. Wash the bag with a technical cleaner rather than household detergent at about thirty degrees, rinse twice, then apply a spray-on treatment at roughly fifteen to twenty-five grams per medium bag or use a wash-in at the dose printed for two garments. Cure matters: either twenty minutes in a tumble dryer at sixty degrees or twelve hours air drying, and the heat route revives fluorocarbon-free finishes better than anything else available to a home user.
| Finish condition | Contact angle behaviour | Symptom in use | Action |
|---|---|---|---|
| New or renewed | Beads above ninety degrees that roll off | Water runs off and the shell stays matte | None, renew in six to ten washes |
| Partly degraded | Flattened beads, slow soak in high-wear zones | Shoulders and base darken first | Spot treat those panels |
| Fully degraded | No beading, uniform wet-out | Whole shell darkens within five minutes | Full wash and renew cycle |
| Contaminated but intact | Beads form on clean areas only | Dirty patches soak through first | Clean before applying anything |
Water repellency of this kind is measured by standardised methods worth knowing before setting expectations. The spray test published by AATCC grades a fabric from zero to one hundred based on how much of its surface wets, and any claim about renewed performance should be stated against that kind of method rather than as an impression.
Layer Three: Sealing the Seam Network
Sealing is the fix most people attempt first and should attempt third, because it is messy, irreversible, and only contributes meaningfully once water has stopped arriving in bulk elsewhere. A sewn seam carries two rows of needle holes per join, and each hole is a capillary; with the face fabric wetted out and the bag pressed against a wet back or boat gunwale, those capillaries fill. Sealant applied only on the outside addresses half the problem.
Applied properly, seam sealer used at about eight to twelve grams per linear metre, in two thin passes rather than one thick one, with twenty-four hours of cure before loading, adds real resistance along the treated line. Applied to the inside of a pocket and the outside of a base panel it handles the two highest-load areas. It does nothing for the zipper, and it looks poor on the outside of a visible seam. The mechanics of why stitched lines leak, and what tape does about it at the build stage, are covered in the seam tapping walkthrough.
Layer Four: Managing the Zipper Line
Water runs to the zipper, sits on the zipper, and enters through the zipper. Nothing else in this list matters if this one is skipped, and the cheapest version of the fix costs one dollar. A storm flap is simply a strip of coated fabric held over the closed zipper line by hook-and-loop or by its own stiffness, overlapping the coil by twenty-five to thirty millimetres on the upper side so gravity does most of the work.
Beyond the flap, three things help and two hurt. Silicone grease at 0.3 to 0.5 grams per metre keeps the coil supple and reduces water tracking along it; repositioning the pull to the bottom of travel keeps water off the top where it enters; and adding a five-millimetre drain gap at the base of a zipper garage lets what entered leave. Petroleum jelly and cooking oil both damage polymer-coated coils and should stay out of the kit.
| Zipper measure | What it does | Cost | Limitation |
|---|---|---|---|
| Storm flap over the line | Keeps bulk water off the coil | One to four dollars | Does nothing submerged |
| Silicone grease maintenance | Reduces tracking and keeps the coil supple | Under one dollar per use | Needs reapplying every three to five trips |
| Pull parked at the base | Removes the top-entry path | Free | Slower access to contents |
| Drain gap at the lower end | Lets tracked water escape | Free | Only works with the bag upright |
| Replacing with a watertight zipper | Seals to IPX7 or better | Not economically viable to retrofit | Buy a welded bag instead |
Layer Five: An Internal Dry Liner
The most reliable answer for anything that must stay dry does not depend on the outer bag at all. A five to ten litre dry liner inside the main chamber protects a phone, licence, spare shirt, and first aid regardless of how wet the shell gets, costs eight to fifteen dollars, and weighs 60 to 120 grams. Roll the closure at least three turns with a minimum thirty millimetre fold and it holds against thirty minutes of immersion at one metre.
Liners also solve the organisation problem created by rain covers, since a covered bag cannot be opened in a downpour without soaking the contents. Keeping two zones, wet outside and dry inside, means the bag can be opened briefly in bad weather for anything that is not in the liner. That division is the same principle used in purpose-built submersion-tested fishing bags and it transfers completely.
Drainage and Transport: Letting Water Back Out
Every field fix fails eventually, so the bag should be built to fail safely. Water that enters and stays destroys contents, rusts hooks, and grows mildew in forty-eight hours; water that enters and leaves is a non-event. Adding 4 to 6 millimetre drainage holes at the lowest point of each external pocket, above the seam so they do not weaken it, costs nothing and turns a failure into an inconvenience.
Placement is specific: drill through a reinforcement patch rather than through a single layer, keeping fifteen millimetres from any seam, and melt or seal the edge rather than leaving a raw hole that will fray. Four grommets weigh about fourteen grams in total. If the base already has a moulded sump, check whether the existing drain actually sits at the lowest point when the bag is upright, which it frequently does not once the bag is loaded and sagging.
Straps, Back Panel, and the Wicking Path
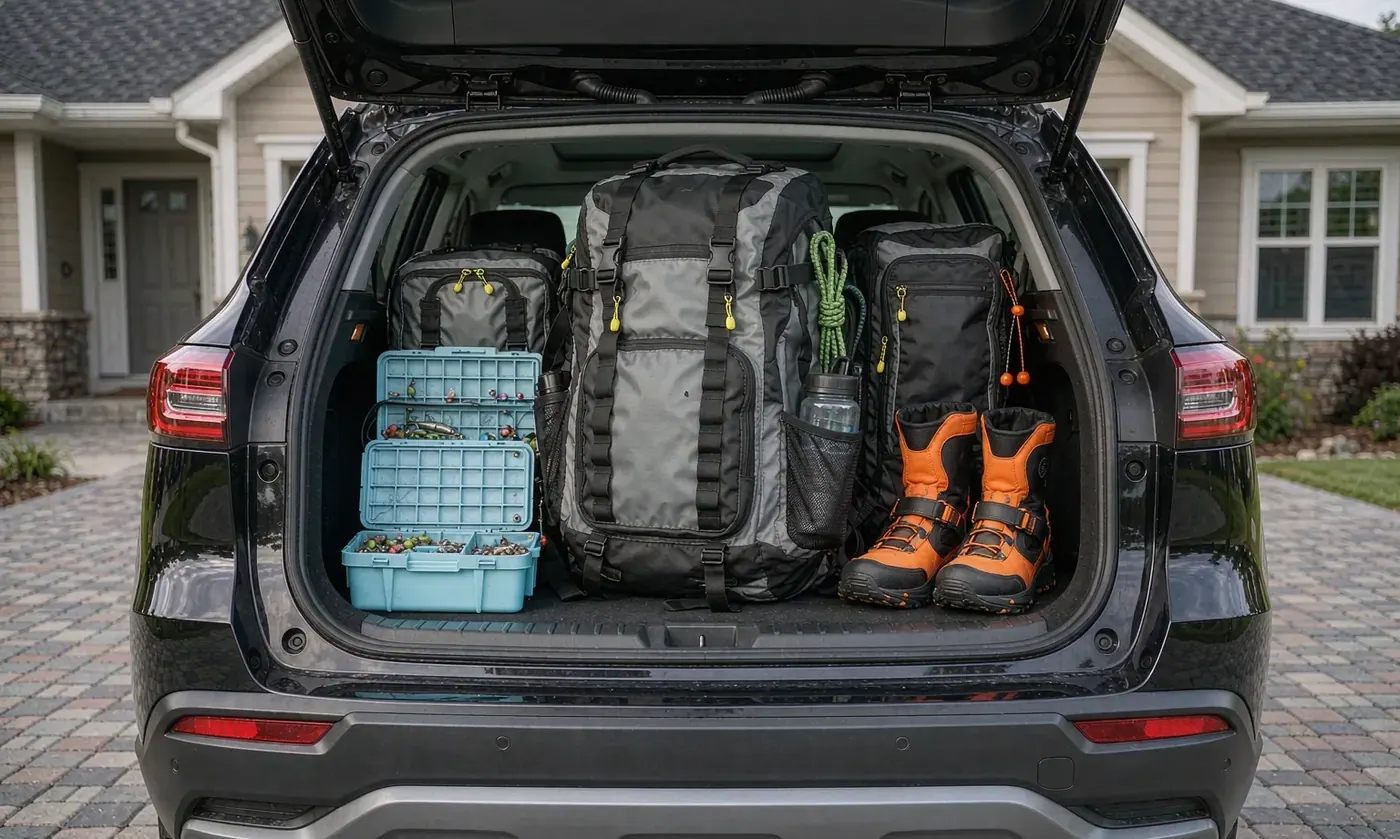
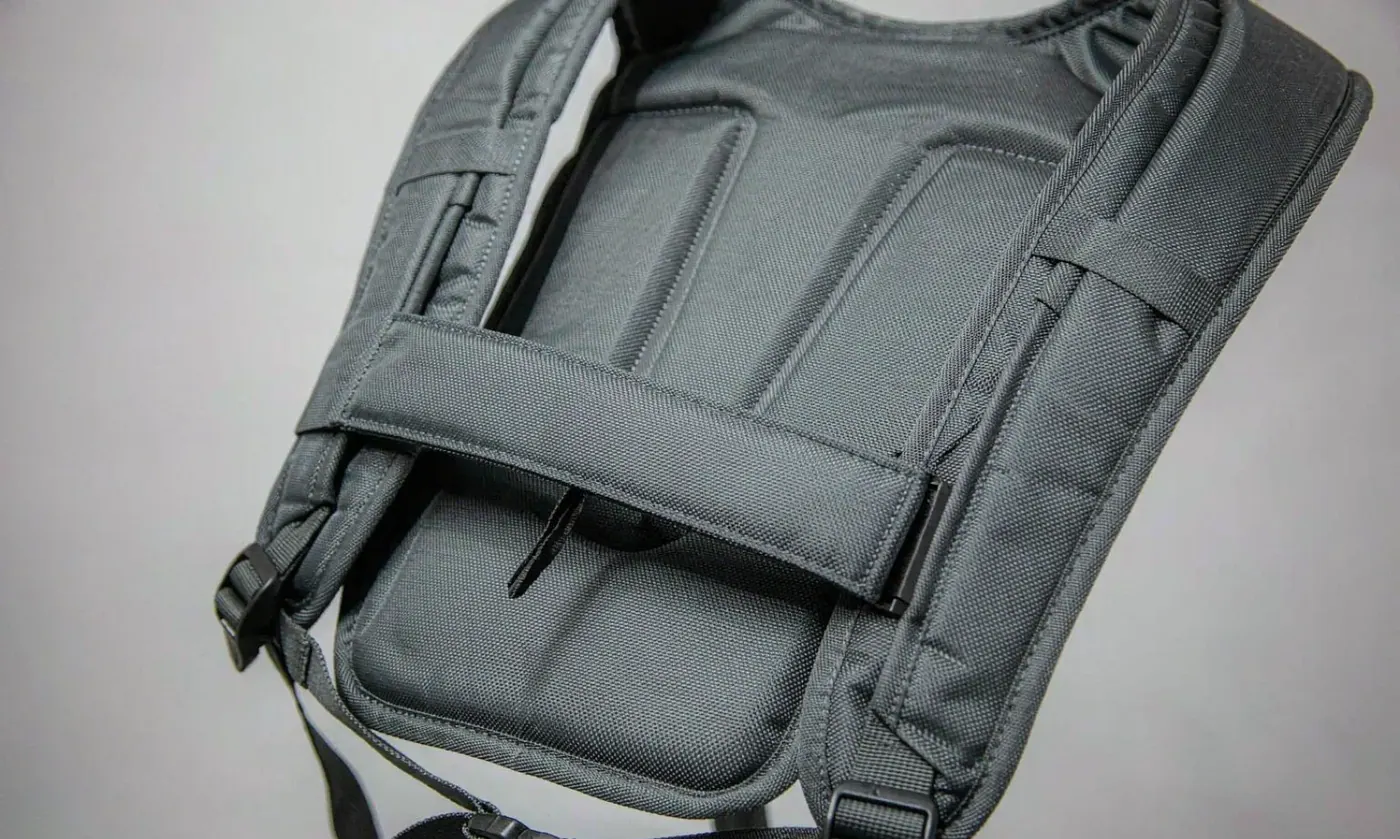
Webbing is a wick. A forty millimetre strap immersed at one end transports water along its length at a rate that surprises everyone who tests it, and both ends of that strap terminate inside the bag at the yoke. This is why bags with excellent face fabric and good zips still show a damp patch right in the middle of the back panel after an hour in rain, and why fitting and then ignoring straps undoes most active tucking treatments.
Three fixes work. Tucking the straps behind the panel instead of letting them trail keeps the lower ends out of standing water. Treating the lower four hundred millimetres of each strap with silicone-based water repellent delays wicking substantially, though it needs repeating every four to six weeks of use. Adding a ten millimetre closed-cell foam break between strap end and panel lining stops transfer entirely for around two dollars and thirty grams.
Cost, Time, and Durability Budget
Sequenced correctly, forty-five dollars and about two hours of elapsed time, most of it cure waiting, takes a typical water-resistant bag to genuine heavy-rain performance lasting one to two seasons. Sequenced wrongly, people spend the same money on seam sealer alone and see almost no change. The order by value is: cover, repellency renewal, zip management, liner, drainage, then sealer.
| Fix | Cost | Working time | Durability | Priority |
|---|---|---|---|---|
| Rain cover, 1500 millimetre head | Eighteen dollars | Five minutes | Three to five seasons | One |
| Repellency renewal, wash and spray | Ten dollars | Thirty minutes plus overnight cure | Six to ten washes | Two |
| Zip storm flap and grease | Four dollars | Twenty minutes | One to two seasons | Three |
| Internal dry liner, five to ten litres | Twelve dollars | Two minutes | Five seasons or more | Four |
| Drain holes or grommets | Two dollars | Fifteen minutes | Permanent | Five |
| Seam sealer, two passes | Fourteen dollars | Forty minutes plus twenty-four hour cure | One to two seasons | Six |
Field Fix or Replace the Bag
There is a crossover where upgrading stops being economical and it arrives earlier than most people expect. Once a bag has been owned for three seasons, has degraded face fabric rather than just a dead finish, and needs more than three of the six fixes to reach sustained-rain performance, the forty-five dollars is better spent buying a bag built to the required level in the first place.
| Situation | Best action | Reason |
|---|---|---|
| Drizzle on a short walk, good condition bag | Renew repellency only | Ten dollars solves a ten-minute exposure |
| Full day in rain, bag otherwise sound | Cover plus zip management | Thirty dollars buys two hours of rain protection |
| Kayak, canoe, or wading with immersion risk | Replace with a welded bag | No aftermarket path reaches immersion resistance |
| Saltwater boat, spray and washdowns | Cover plus liner plus drainage | Salt needs to leave, not just be excluded |
| Electronics or documents must stay dry always | Internal dry liner regardless | Independent of shell performance |
| Base fabric delaminating or coating tacky | Replace | Chemical breakdown cannot be treated externally |
The immersion row decides almost every purchase question in this category. Any activity where the bag might go into the water needs a welded body and a genuine watertight zipper, and no combination of sprays, tapes, and covers substitutes for that. Everything else is a rain problem and rain problems are cheaply solved.
Verify Before Trusting Any of It
Every treatment should be validated with the same ten-minute spray that produced the baseline numbers, because a poorly applied sealer or a cover that lifts in wind looks identical to success on a shelf and very different under a hose. Run the paper towel procedure again, compare grams gained per location, and demand a result that is meaningfully better rather than slightly less bad.
A reasonable threshold is under two grams of gain per sheet after ten minutes at ten litres per minute, which corresponds to dampness that dries without touching contents. Above ten grams at any single location, something structural is wrong and more spray will not fix it. Repeat the test after every second month of use: finishes and flaps degrade quietly, and discovering that at the start of a trip beats discovering it halfway through.
What This Means When Buying In
The practical conclusion for anyone writing a procurement brief is that the same five features that make field fixes necessary can be specified into the bag. Ask for a hydrostatic head figure with its test method attached, sealed or welded seams rather than stitched-only construction, a storm flap covering every external zipper by at least twenty-five millimetres, drainage at the base of pockets, and a specified durable water repellent finish. Those lines cost a few dollars at quotation stage and remove the entire aftermarket conversation.
QUANZHOU JUNYUAN BAGS has been developing waterproof bag programmes since 2014, with its founding team working in this field since 2004. SGS audits confirm monthly capacity at 200,000 units, and the workflow operates under BSCI and ISO 9001. Every input is reviewed against REACH and California Prop 65, and finished lots pass AQL 2.5 inspection before release. Fabric water resistance and hydrostatic head requirements should be written against recognised methods published by ASTM International.
Specify target litres, seam method, zipper type, head figure, drainage count, colours, and quantity, then treat anything unstated as unspecified. The starting quantity is 500 pieces per design and colour, while sampling occupies six to ten working days and full production thirty-five to fifty days once the sample and deposit are settled. Both FOB Xiamen and DDP service to over one hundred markets can be arranged. Send briefs to service@junyuanbags.com.
People Also Ask
Can you make a fishing backpack fully waterproof?
Not to immersion standard. Field fixes take a splash-resistant bag to sustained rain roughly equivalent to IPX3 to IPX4; immersion resistance requires welded seams and a watertight zipper chosen at build stage.
What is the cheapest way to waterproof a tackle backpack?
A rain cover with a hydrostatic head above 1500 millimetres at about eighteen dollars, worn over a shell whose repellency has been renewed. Together they handle two hours of heavy rain.
Where does water get into a fishing backpack first?
Usually the zipper line, then the back panel and strap contact area where webbing wicks, then seams. Test with weighed paper towels: any sheet gaining over 2 grams in ten minutes is an active entry point.
How often should water repellent be reapplied?
Every six to ten washes, or when the shell darkens within five minutes of rain instead of beading. A twenty-minute tumble at sixty degrees revives most modern finishes between applications.
Does seam sealer work on fishing bags?
It helps at high-load lines such as pocket tops and base panels, at eight to twelve grams per linear metre in two thin passes with twenty-four hours of cure. It does nothing for zippers and nothing once submerged.
Should I use petroleum jelly on a waterproof zipper?
No. Petroleum products swell the polyurethane coating on watertight coils and the damage cannot be reversed. Use silicone grease at 0.3 to 0.5 grams per metre.
Frequently Asked Questions
Q1. How do I waterproof a fishing backpack myself?
Work in value order: renew the surface repellency, add a rain cover above 1500 millimetres head, manage the zipper with a twenty-five millimetre storm flap, put anything critical in a dry liner, then add drainage. Roughly forty-five dollars and two hours.
Q2. Can field fixes reach IPX7 or IPX8?
No. Those ratings describe immersion resistance and depend on welded seams and a watertight zipper. Aftermarket treatments realistically move a bag to IPX3 or IPX4 behaviour against rain.
Q3. How can I test whether the fixes worked?
Line the bag with weighed paper towels, spray ten litres per minute for ten minutes, and reweigh. Under two grams gained per sheet is acceptable; over ten grams at one location means a structural problem.
Q4. Is a rain cover better than a waterproof spray?
Yes, decisively. A cover transfers the whole job to fabric designed for it and can be dried separately, while spray only affects the surface it is applied to.
Q5. What hydrostatic head is needed for a rain cover?
At least 1500 millimetres, ideally 3000 for prolonged exposure. Anything below 1000 millimetres wets out under strap pressure within about thirty minutes.
Q6. How do I stop my back panel getting wet?
Isolate the strap ends. Webbing wicks along its length into the yoke; tuck straps, treat the lower four hundred millimetres, or fit a ten millimetre closed-cell foam break.
Q7. Should I drill drain holes in my tackle bag?
Yes, for external pockets. Use four to six millimetre holes through reinforcement, fifteen millimetres clear of any seam, sealed at the edge, so water leaves rather than pooling.
Q8. How long does seam sealer take to cure?
About twenty-four hours before the bag carries load, applied in two thin passes at eight to twelve grams per linear metre. Thicker single coats cure unevenly and crack.
Q9. What is the best internal protection for electronics?
A five to ten litre dry liner rolled three turns with a thirty millimetre fold. It survives thirty minutes at one metre and works regardless of what the outer bag is doing.
Q10. Do covers work in strong wind?
Only if retained properly. A cover lifting at thirty kilometres per hour delivers its whole rain load onto the zipper, so check the lower tension and the strap coverage.
Q11. When should I stop fixing and replace the bag?
When the bag needs more than three of the six fixes, is over about three seasons old, or shows delamination or a tacky coating, which is chemical breakdown and cannot be treated.
Q12. What should I specify to avoid needing these fixes?
A stated hydrostatic head with its test method, welded rather than stitched-only seams, storm flaps covering every zipper by twenty-five millimetres, drain points, and a specified durable water repellent finish.