MOLLE webbing adds real modularity to a fishing pack when it is built properly, and mostly decoration when it is not. A true grid uses 25 millimetre webbing sewn in horizontal rows with roughly 25 millimetres of gap, bar-tacked at about 38 millimetre centres, and a single bar tacked channel on a 500-denier shell pulls out somewhere between 250 and 350 newtons, so each channel carries a sensible working load near five kilograms and no more. A field measuring 15 by 20 centimetres adds 45 to 90 grams dry and can hold another 20 to 40 grams of water after a dunking, and that is the honest price of the feature.
The Grid Is a Specification, Not a Look
MOLLE describes a system, and PALS describes the grid of webbing it attaches to. Rows of 25 millimetre webbing run horizontally, rows sit about 25 millimetres apart vertically, and bar tacks every 38 millimetres or so create the slots that a strap weaves through. Those three numbers are what make an attachment sit tight instead of sliding, which is why a pack advertised as MOLLE compatible but sewn with 20 millimetre tape and irregular stitch spacing usually disappoints the moment something heavy is clipped to it.
The load path matters as much as the tape width. A pouch slides onto the grid by threading a strap down through alternating slots, then through the pouch backing, so the weight transfers into several bar tacks on several rows rather than into the single loop most people assume does the work. Anything that bypasses that weaving motion, such as a clip hooked over one row only, turns a distributed load into a point load and defeats the design entirely.
Five Things It Genuinely Adds
The gains are practical rather than cosmetic, and knowing them helps decide where a grid belongs on any given pack. Flexibility comes first, since tools move between bags without buying new pockets. Second is access: a pliers sheath mounted at chest or hip height is reachable while a rod stays in the other hand. Third is upgrade life, because a pack that accepts new accessories remains current for years. Fourth is distributed load, which is gentler on both tool and fabric. Fifth is resale value, which is not a technical point but is real for anyone who rotates gear.
| Gain | How it is delivered | Measurable result |
|---|---|---|
| Modularity | Any pouch with a standard strap fits any row | Tools move between bags in under two minutes |
| One-handed access | Sheath mounted above hip level | Pliers drawn in about three seconds |
| Distributed load | Weight spread over several bar tacks | About three times the load of a single loop |
| Longer useful life | Accessories replaceable without retiring the bag | Bags stay in service several seasons longer |
| Cleaner failure mode | Attachment tears away rather than the shell | Repair costs centimetres of thread, not a panel |
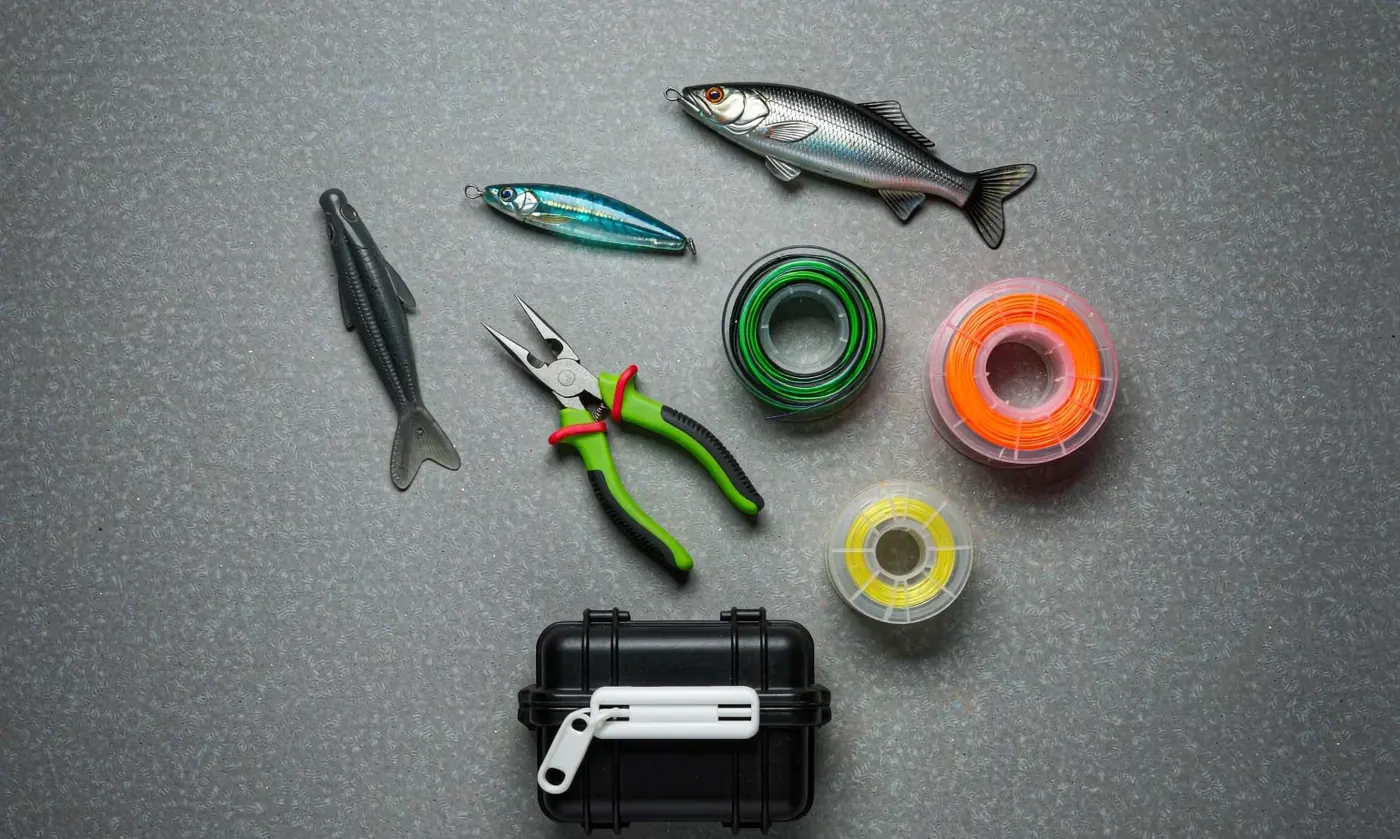
Ordering also improves. Anglers who mount tools consistently in fixed positions build muscle memory, and over a season that is worth more than any specification, since items get returned to their slot rather than dropped into a pocket where they will later be found by touch.
What It Costs: Weight, Water, and Snag
Every grid is a net weight cost first. Webbing around 25 millimetres wide runs roughly 25 to 40 grams per metre before hardware, and a usable field needs half a metre or more plus the backing panel. Add stitching and you land at 45 to 90 grams for a 15 by 20 centimetre panel, which on a bag that already works hard to stay light is not trivial. Some of that comes back if the panel replaces another attachment system, but stacking both is common and should be avoided.
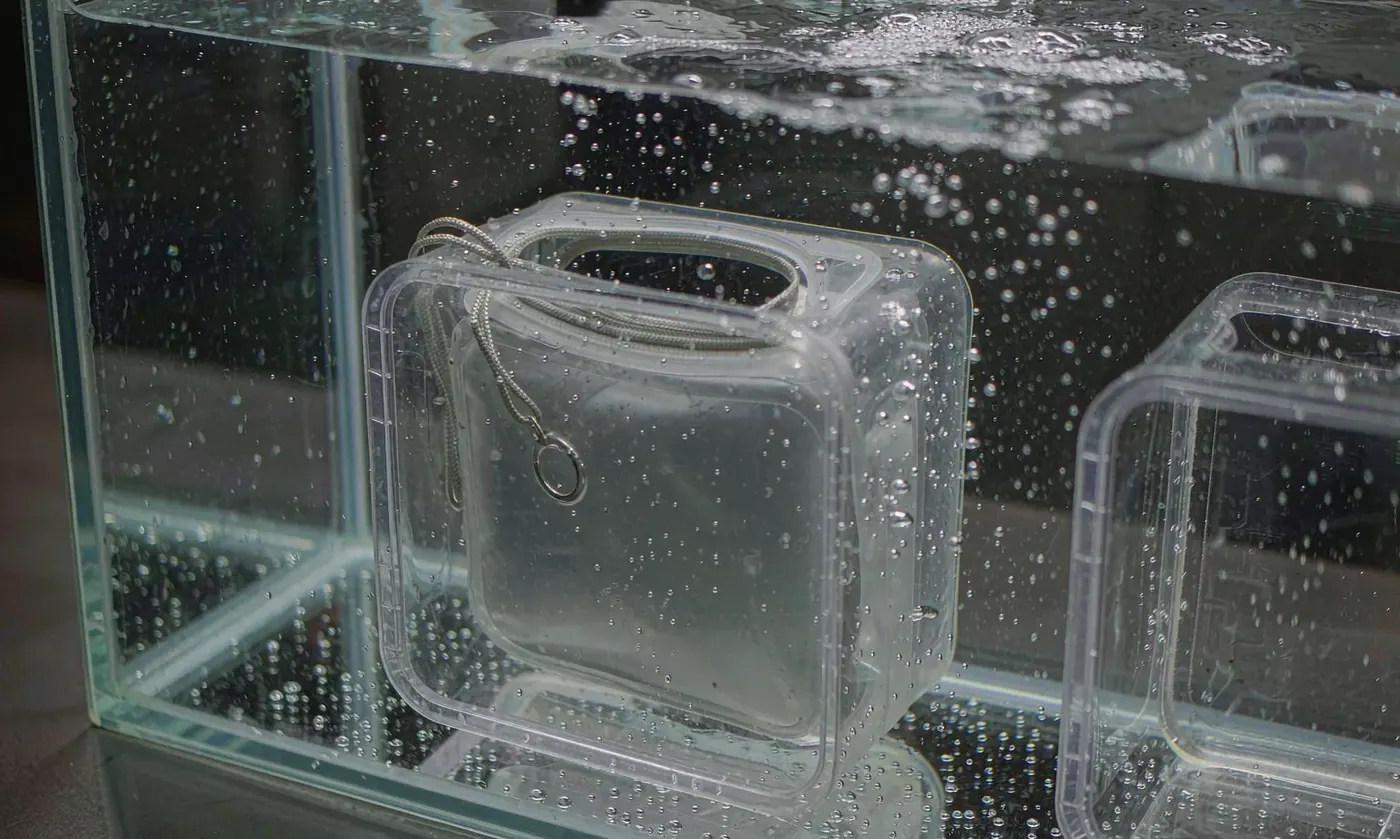
Water retention is the cost nobody quotes until it matters. Woven polyester tape holds water in the interstices and against the shell, so a soaked panel adds 20 to 40 grams on top of its dry weight and takes noticeably longer to dry than the coated fabric beside it. Salt behaves worse: crystals form inside the weave as it dries, then grind against threads every time the panel flexes, which is exactly how stitch rows abrade through a season of coastal use.
- Dry weight of a 15 x 20 centimetre panel is typically 45 to 90 grams depending on tape density.
- Wet weight rises by around 20 to 40 grams, and drying takes several hours longer than the shell around it.
- Exposed loops catch line, branch tips, and boat hardware, which is why most cast and retrieve anglers prefer them on the sides rather than across the chest.
- Abrasion against a wet sand or a non-skid deck fuzzes the tape edges within one season.
- Snagged line under tension can deform rows permanently, so mount grids away from any path line follows.
How Much Load a Channel Really Carries
The tape itself is rarely the weak link. One inch polyester webbing commonly breaks somewhere between 5 and 9 kilonewtons, which far exceeds anything a fishing tool applies. What fails first is the stitching into the shell, and its strength depends on denier, backing, and stitch length. Expect roughly 180 to 300 newtons for a single bar tack into a 500-denier panel without reinforcement, 350 to 500 newtons with a backing patch or where it lands on a seam, and treat those as ultimate rather than working figures.
| Anchor detail | Typical pull-out strength | Suggested working load | Note |
|---|---|---|---|
| Bar tack into bare 500-denier shell | 180 to 300 newtons | About 2 kilograms | Adequate for light pouches only |
| Bar tack onto a seam or hem junction | 350 to 500 newtons | About 4 kilograms | Always preferable where layout allows |
| Bar tack through an added backing patch | 400 to 600 newtons | About 5 kilograms | Cheapest way to raise capacity |
| Two channels loaded together by one strap | Roughly double a single row | 8 to 10 kilograms | How heavier tools should always mount |
| 25 millimetre tape itself | 5 to 9 kilonewtons | Never the limit in practice | The tape is effectively never the failure point |
Divide ultimate figures by something like four for anything dynamic. A pair of pliers bouncing against a pack while walking across riprap applies short spikes well above its static weight of perhaps 300 grams, and it does that a few thousand times per session; it is cycling, not dead weight, that eventually unpicks the bartack.
MOLLE Versus Daisy Chain Versus Laser Cut
Three attachment languages exist on modern bags and they are not interchangeable, even though they look similar in a photograph. A PALS grid takes standard straps and distributes load across rows. A daisy chain is a ladder of short loops, faster to use and typically stronger per loop, but with fewer compatible accessories. Laser-cut laminate removes webbing entirely in favour of slots cut through face fabric, saving real weight, though it is limited by the strength of the cut panel and offers less tolerance for poor alignment.
| System | Typical added weight per panel | Accessory compatibility | Best suited to |
|---|---|---|---|
| PALS webbing grid | 45 to 90 grams | Widest range of pouches and sheaths | Users who change their rig often |
| Daisy chain loops | 20 to 45 grams | Carabiners and clips rather than threaded straps | Surf, rock, and rough bank work |
| Laser-cut laminate field | 12 to 30 grams | Threaded straps only, and set spacing | Lightweight packs where grams matter most |
| Fixed stitched pocket | 60 to 150 grams | None | Dedicated tools that never move |
The honest recommendation for a fishing pack is a hybrid: one modest PALS field where tools change seasonally, and daisy chain above it for anything clipped on and off several times a day. Very few anglers need webbing distributed across the whole pack, and the weight of a full sleeve is better spent elsewhere.
The Compatibility Trap
Most disappointment with webbing panels traces back to one of three mismatches, and all three are avoidable at specification stage. Tape width: plenty of grids use 20 millimetre tape because it is cheaper, and standard accessory straps will not thread through comfortably. Row spacing: if rows are closer than about 25 millimetres, a strap cannot pass through alternate slots and the whole system reduces to a single loop. Stitch interval: bar tacks beyond roughly 40 millimetres let a loaded pouch rock and creep along the row.
- Specify 25 millimetre tape to a stated tolerance, not approximately one inch, since imported tape varies.
- Hold row gap at 25 millimetres plus or minus 2, which keeps threading easy without leaving slack.
- Keep bar tacks at about 38 millimetre centres, since anything wider lets heavier pouches migrate.
- Require one test with a filled pouch rather than judging the panel empty, which hides every tolerance problem.
- Confirm the backing the rows are sewn into; rows into a single skin is the common cost-saving failure.
Where It Belongs on the Pack
Placement decides whether the feature gets used. Panels low and forward on either side suit water bottles and Gloves; mid-height panels suit pliers and line cutters; anything above shoulder height should stay free because it interferes with casting. On the back panel, webbing presses into the spine with every step, so it is generally the wrong place unless the pack has a padded gap to protect it.
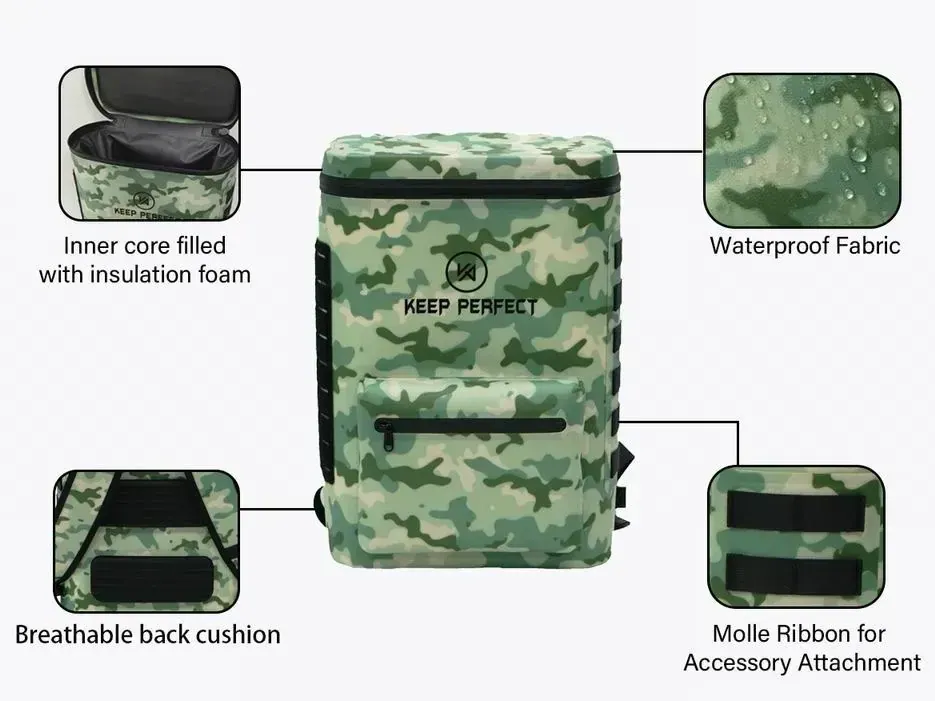
Two areas should be left clean. The base and lower third, where contact with wet sand and non-skid decks fuzzes tape within weeks, and the front face near any sharp hook points, since a driven hook through a loop is difficult to remove without cutting something.
What to Attach, Ranked
Three quarters of what gets clipped to a fishing pack does not benefit from being clipped. The tools that do share one property: they are needed often, quickly, and one-handed. Everything else is better off inside a compartment, where it stays dry and protected.
| Item | Typical weight | Channels to use | Verdict |
|---|---|---|---|
| Pliers or cutters sheath | 250 to 400 grams | Two rows, hips level | Best use of the system |
| Hook file or retractor | 80 to 150 grams | One row is enough | Good, keeps hands free |
| Landing net tether | 300 to 900 grams | Two rows plus a leash | Good if net carries its own sling |
| Small insulated pouch | 150 to 350 grams | Two rows, low and central | Thread rather than clip |
| First aid pouch | 150 to 300 grams | Two rows, but inside if sealed matters | Usually better inside |
| Spare reel | 300 to 600 grams | None | Belongs inside the bag, always |
A rule of thumb that survives contact with reality: if the item must stay dry, put it inside; if it must be reached in under five seconds, clip it outside. Everything ambiguous goes inside, because weighing webbing against water protection is rarely a close decision on a coastal pack.
Care: Sand, Salt, and Thread Life
Webbing fails politely, giving months of warning, which is why a weekly glance is enough. What kills it is grit held against thread under load: wet sand in the weave acts like a lapping compound and slowly saws through stitches at the bar tacks. Rinsing is the whole answer, and it takes less time than most anglers spend choosing a lure.
- Hose panels with fresh water while flexing them, which flushes grit out of the weave rather than driving it deeper.
- Brush lightly along the rows with a soft brush, never across them, so thread loops are not lifted.
- Dry with the pack hanging rather than lying on a webbed face, so rows dry from both sides at once.
- Check bar tacks monthly for lifted or fuzzy thread, which precedes stitch failure by weeks.
- Trim any loose thread flush rather than pulling it, since pulling can start a run through the whole seam.
- Store out of direct sun; ultraviolet exposure weakens polyester tape measurably over several seasons.
Two published methods make any of this verifiable rather than a matter of opinion. Breaking strength of webbing, tape, and braided material is covered by a test method from ASTM International, and resistance of dyed tape to light and laundering sits with AATCC. Quoting both with a number gives a specification that can be checked on delivery rather than argued about afterwards.
Specifying It for Production
A webbing clause is short but decisive. Name the tape: 25 millimetre polyester, stated breaking strength, and a tolerance no looser than plus or minus one millimetre on width. Name the stitch: bonded nylon thread, a bar tack of specific length and width, and a minimum number of stitches per tack. Name the backing: every field sewn onto sheeting rather than a single skin. Then require one pull test per thousand units on sacrificial panels rather than per lot, which catches drift early without destroying finished bags.
| Clause element | Recommended figure | Reason |
|---|---|---|
| Tape width and tolerance | 25 millimetres, plus or minus 1 | Keeps standard straps threading freely |
| Tape breaking strength | At least 4 kilonewtons | Removes any chance of tape failure |
| Bar tack interval | About 38 millimetres | Prevents loaded pouches migrating along a row |
| Thread | Bonded nylon, size 69 or 92 | Resists abrasion and ultraviolet better than polyester thread |
| Backing behind the field | Full sheeting, not a single skin | Doubles practical pull-out strength |
| Verification | Pull test per 1,000 units | Catches drift without wasting finished stock |
Mistakes That Turn Webbing Into Decoration
Four errors account for most of the disappointment heard about modular panels, and each one happens before a bag is ever sewn. The first is specifying rows without saying what the rows must carry, so the grid is sized for looks rather than load. The second is cutting cost by sewing into the outer skin alone. The third is scattering small panels across the bag instead of concentrating one usable field. The fourth is ignoring how the rows interact with the rest of the layout, so the field ends up half hidden behind a strap.
| Mistake | What it looks like | Better approach | Cost of getting it right |
|---|---|---|---|
| Rows sewn into shell only | Clean outside, nothing behind it | Add full sheeting behind the field | About 0.20 dollars per panel |
| Field too small to be useful | Three rows holding nothing | Minimum twelve rows by five usable slots | None, just layout discipline |
| Rows crossing a strap path | Pouch sits over load-bearing webbing | Move the field below or beside it | None at sampling stage |
| No stated strength requirement | Six quotes, six different grids | Require a pull-out figure per row | Testing only |
| Thread too light for the duty | Fuzzy bar tacks after one season | Bonded nylon size 69 or 92 | Pennies per unit |
Fixing any of these costs almost nothing at drawing stage and a great deal afterwards, which is the whole argument for settling the detail early rather than accepting whatever layout appears on a first sample.
Cost and Programme Notes
Adding webbing fields costs less than most structural features, roughly 0.40 to 1.80 dollars per panel in materials and labour, and it contributes nothing to tooling. That makes it one of the easiest features to add late in development, with the caveat that it must be designed in rather than sewn onto a finished shell, since rows added after assembly usually lack the backing they need. QUANZHOU JUNYUAN BAGS has run waterproof bag work since 2014 behind a team in this trade since 2004, producing 200,000 units monthly under SGS verification, BSCI and ISO 9001 control, with materials screened for REACH and California Prop 65 and inspection at AQL 2.5 before release.
Panel layout belongs in the first sample rather than the second, because it interacts with strap anchors, zip paths, and any insert that shares the same wall. Send panel size, position, tape specification, stitch detail, backing requirement, colours, and quantity. Development starts at 500 pieces per design and colour; allow six to ten working days for sampling and thirty-five to fifty days for production after approval and deposit, shipped FOB Xiamen or DDP to more than one hundred countries. Send the drawing to service@junyuanbags.com. More anchoring detail appears in the rod carrier fitting guide, current builds with tool mounts are reviewed in the rod holder pack roundup, and the main range sits on the fishing tackle backpack page.
People Also Ask
What does MOLLE stand for on a fishing backpack?
Modular Lightweight Load-carrying Equipment, describing the attachment system rather than the webbing itself. The webbing grid it uses is the PALS pattern of rows and bar tacks.
How much weight can one MOLLE row hold?
Treat a single channel as carrying about two to five kilograms depending on backing. Ultimate pull-out is 180 to 600 newtons, but cycling and shock mean working loads should stay far lower.
Does adding webbing panels make a pack much heavier?
A 15 by 20 centimetre field adds 45 to 90 grams dry and up to another 40 wet. Laser-cut alternatives reduce that to 12 to 30 grams but accept fewer accessories.
Will pliers rust against webbing panels?
Pliers do, mostly when wet tape holds a salt film against them. Rinse both after every salt session and let the metal dry in open air rather than against damp fabric.
Can I use any MOLLE pouch on any grid?
Only if the grid uses true 25 millimetre tape with rows spaced about 25 millimetres apart. Packs using 20 millimetre tape or irregular stitch spacing take straps poorly.
Is daisy chain better than webbing for fishing?
For clipping tools on and off frequently, yes; it is lighter and faster. For heavier pouches that should not move, a threaded webbing grid distributes load better.
Frequently Asked Questions
Q1. What size webbing does true MOLLE use?
25 millimetre tape sewn in horizontal rows with roughly 25 millimetres between rows and bar tacks near 38 millimetre centres. Anything narrower or irregularly spaced is decorative rather than functional.
Q2. How do I know if a pack is genuinely MOLLE compatible?
Thread a standard strap through alternating rows with a loaded pouch attached. If it weaves without forcing and the pouch does not rock, the grid is built to size.
Q3. How heavy should a tool be before using two rows?
Around 250 grams. Anything heavier benefits from spreading across two rows, since single bartacks into shell fabric sit near 180 to 300 newtons before pulling out.
Q4. Does webbing hold water and slow drying?
Yes. A soaked panel retains 20 to 40 grams and stays damp hours longer than coated fabric, which is why salt sessions need a fresh water rinse before storage.
Q5. Where should webbing never be placed?
Across the back panel where it presses into the spine, along the lower third where wet sand abrades it, and anywhere it crosses a casting line path.
Q6. What thread should hold the rows on?
Bonded nylon in size 69 or 92. It resists abrasion from grit better than polyester thread and holds tension longer under repeated flexing.
Q7. How much does adding panels cost per bag?
Usually 0.40 to 1.80 dollars per panel in materials and labour, with no tooling involved, which makes it one of the cheapest meaningful upgrades available.
Q8. Can webbing be added after a bag is finished?
It can, but rows sewn onto a complete shell generally lack internal backing and will pull out early. Plan the field during pattern design instead.
Q9. How often should I inspect webbing rows?
Monthly during the season. Look for lifted thread at bar tacks, fuzzy edges from grit, and any row that has started to rock under load.
Q10. Is laser-cut laminate stronger or weaker than sewn webbing?
Lighter and lower profile, but limited by the strength of the cut face fabric and less tolerant of misalignment. Choose it for weight savings, not for heavy tools.