A built-in flap usually beats a separate rain cover for daily wet use because it is always attached, opens in about 5–15 seconds, and cannot blow away, but it must overlap the closure by 60–100 mm and drain without directing water into a zipper end. A separate cover offers broader shell and harness protection at roughly 90–180 g, yet wind can lift it and the wearer-facing panel remains partly exposed. Choose the flap for commuting and frequent access, the cover for occasional broad surface protection, and a sealed roll-top when the main chamber itself must resist stronger jet or immersion conditions.
The Verdict Depends on What Must Stay Dry
A built-in flap is a shaped extension or panel attached above an opening to shed rain away from the closure. A separate rain cover is an elastic or tensioned shell placed over most of the backpack. The flap protects one vulnerable opening with little handling; the cover reduces wetting over a broad surface. Neither automatically seals needle holes, lower harness gaps, or an open zipper. The primary wet boundary still has to be defined.
For a city pack opened 10–20 times a day, the integrated flap wins because there is no separate item to find, unfold, orient, and dry. For a 3-hour hike in intermittent rain, a cover can keep mud and vegetation off the complete shell. If a river drop or deck wave is plausible, use a welded body and a purpose-matched closure; adding a cover over an ordinary stitched chamber does not create immersion protection.
| Decision point | Built-in flap | Separate cover | Sealed body |
|---|---|---|---|
| Deployment | 5–15 seconds | 30–90 seconds | Always active when closed |
| Added mass | 30–70 g | 90–180 g | Depends on closure and seams |
| Wind security | Permanently attached | Needs retention at 30–50 km/h | Not affected by a loose cover |
| Surface coverage | One opening zone | Most exterior faces | Protected chamber boundary |
| Immersion role | None by itself | None | Possible only with defined design |
The detailed comparison between covers and sealed construction appears in the waterproof backpack versus rain-cover guide. The practical hierarchy is clear: use a flap to manage water at one access point, a cover to reduce overall surface wetting, and sealed construction for the contents that cannot tolerate ingress.
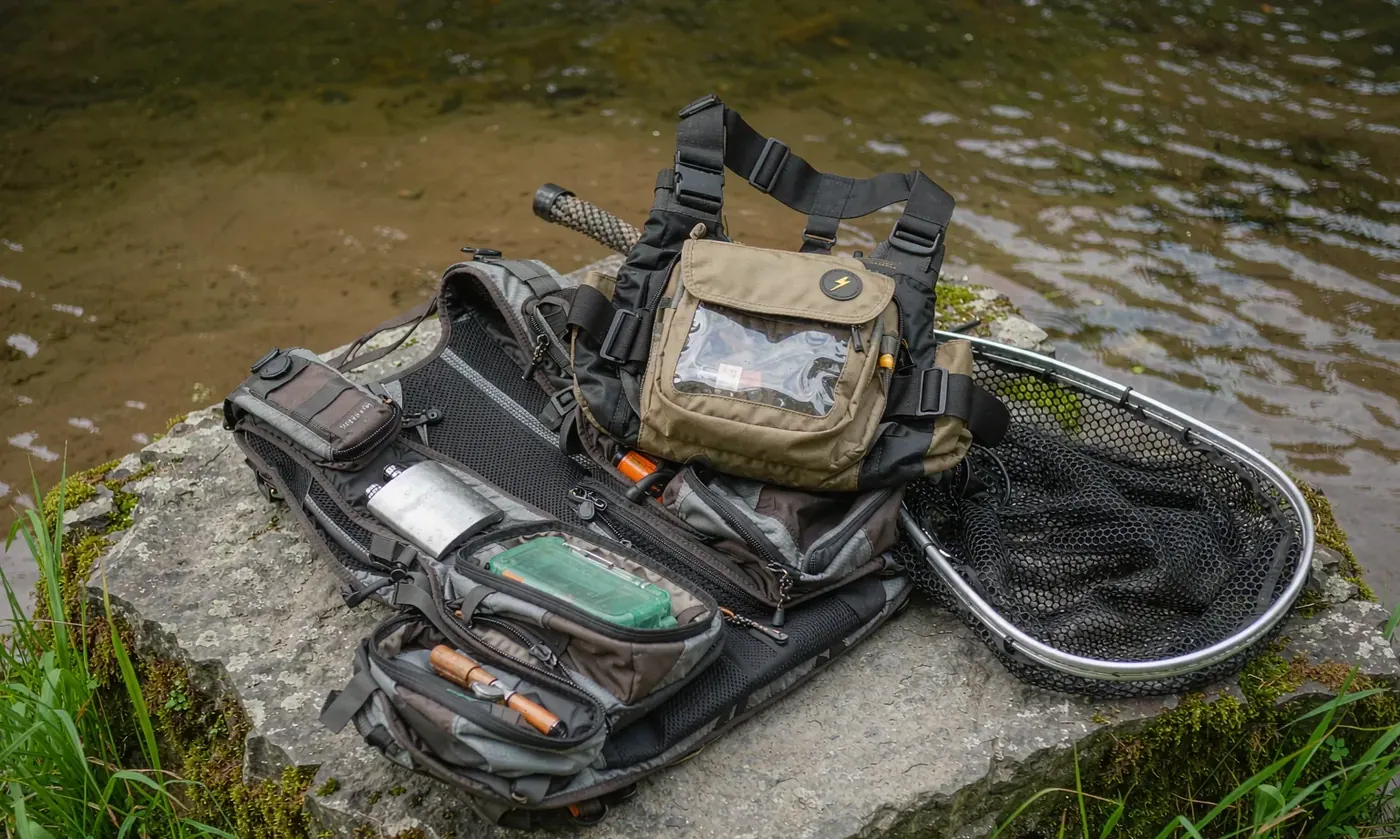
Flap Geometry: Overlap, Slope, Stiffness, and Drainage
A useful flap projects beyond the closure on every exposed side. Allow 60–100 mm of vertical overlap and 20–40 mm beyond each zipper end. The panel should slope outward rather than forming a trough; a 10–20° fall is enough when the pack is upright. A thin internal stiffener 0.5–1.0 mm thick can preserve the water-shedding shape, but it must flex through repeated opening without cracking.
Closure position matters. Put the upper seam above and behind the protected zipper, then route flap edges so water exits beside the body rather than onto a pocket below. Provide drainage at low corners with 8–12 mm clear paths. A flap that holds 100 ml of water can dump it into the chamber when lifted, so approval must include opening immediately after a 10-minute spray, not merely inspecting the closed pack.
| Flap feature | Working target | Test | Failure to watch |
|---|---|---|---|
| Vertical overlap | 60–100 mm | Measure loaded and empty | Coverage shrinks on a full pack |
| Side extension | 20–40 mm beyond closure ends | Angled spray | End ingress |
| Panel slope | 10–20° outward | Pour 100 ml above seam | Pooling or backflow |
| Drain path | Two clear exits, 8–12 mm | Open after spray | Water dumped into opening |
| Stiffener | 0.5–1.0 mm flexible sheet | 5,000 open-close cycles | Crack or permanent curl |
Measure overlap with the normal 6 kg load because a bulging body can pull the flap upward by 20–30 mm. If only 60 mm remains when empty, the loaded pack may expose the zipper. Put a contrasting witness line on the prototype at the minimum coverage point so testers can record changes after packing rather than judging from photographs.
Why Built-In Flaps Work Better in Wind
A separate cover behaves like a small sail. At 30–50 km/h, air can enter around shoulder straps, inflate the panel, and pull an elastic edge over a corner. Retention straps help but add setup time and potential snag points. An integrated flap presents much less free area and transfers wind force through its seam across the body. It can flutter, but it cannot be lost unless its attachment fails.
Wind testing should include 4 directions and the loaded shape. Expose the pack at 30 km/h for 10 minutes from front, rear, and both sides while adding water spray for the intended wet use. The flap must not invert or expose more than 10 mm of the protected track. A cover must remain seated over all 4 corners and keep retention hardware away from straps and the wearer's neck.
- Use at least 2 restraint points on a cover beyond its elastic perimeter for exposed routes.
- Keep flap free edges below 180 mm in unsupported length or add shaped reinforcement.
- Test with external bottles and jackets attached because they can lift a cover edge.
- Verify reflective panels after deployment; a cover can hide 100 percent of the pack's original trim.
- Provide a drainable storage pocket so a wet cover does not soak the main chamber after removal.
A cover can still be correct for foliage, dust, and mud because it is sacrificial and removable. Select it for broad surface cleanliness, not because it supposedly upgrades every seam. A flap wins the daily rain comparison on retention and access; a cover wins when protecting a large textured exterior from dirt matters more than opening speed.

Access Speed and One-Handed Use
Frequent access is where integrated construction earns its 30–70 g. The user lifts one panel, pulls the closure, and lets the flap fall back into place. Set a target of 15 seconds to reach a phone or ticket and 30 seconds to retrieve a 15-inch computer. A separate cover may require 30–90 seconds to release, gather, and store before the main opening is even visible.
One-handed use needs a shaped pull point. Add a 40–60 mm tab in a contrasting texture, keep magnetic or mechanical retention force under about 20 N, and prevent the flap from falling across the opening when raised. A hidden flexible stay can hold it at 70–100° during access. Test with wet gloves for 20 cycles; dry bare-hand operation conceals both slippery pulls and excessive force.
| Access task | Flap target | Cover target | Acceptance method |
|---|---|---|---|
| Phone or ticket | Under 15 seconds | Under 45 seconds | Ten wet-glove retrievals |
| Laptop | Under 30 seconds | Under 75 seconds | Real device, loaded pack |
| Restore rain protection | Under 10 seconds | Under 60 seconds | No coaching |
| Open after spray | No dump into chamber | Wet cover held clear | 100 ml pooling challenge |
| Emergency access | One hand under 20 N | Two-step release | Twenty-cycle force check |
The roll-top versus flap closure guide addresses a different comparison: a flap can shield a zipper or become the outer member of a closure, while a roll-top creates its seal through repeated folds. Many effective commuter designs use both—a roll-top for the protected chamber and a small flap for a quick pocket.
Water Tests That Reveal Flap Weaknesses
A straight overhead spray is too easy because most flap failures occur at side corners, after loading, or during opening. Use 5 positions: overhead, front at 45°, left side, right side, and rear. Run each for the agreed duration with the pack carrying 6 kg, then open it within 10 seconds while dry tissue lines the closure. Record both closed-state ingress and water dumped during access.
IP terms should remain accurate. The IEC IP rating information distinguishes splash, jets, and immersion, while a flap is only one feature in the assembled result. Do not label an exposed organiser IPX6 because the main roll-top chamber passed a jet test. Each protected zone needs a clear scope.
Surface wetting methods maintained by AATCC can inform textile evaluation, but surface behaviour and whole-item ingress answer different questions. A face material can shed droplets beautifully while water travels beneath its flap into an unprotected zipper end. Keep material and product results in separate report sections.
After water exposure, flex the flap 50 times and repeat the side spray. A wet stiffener may curl, a bonded edge may soften, or hook-and-loop retention may hold debris. The second test is often more useful than the first because it combines conditioning and use. Require the same no-ingress line rather than accepting degradation as normal.
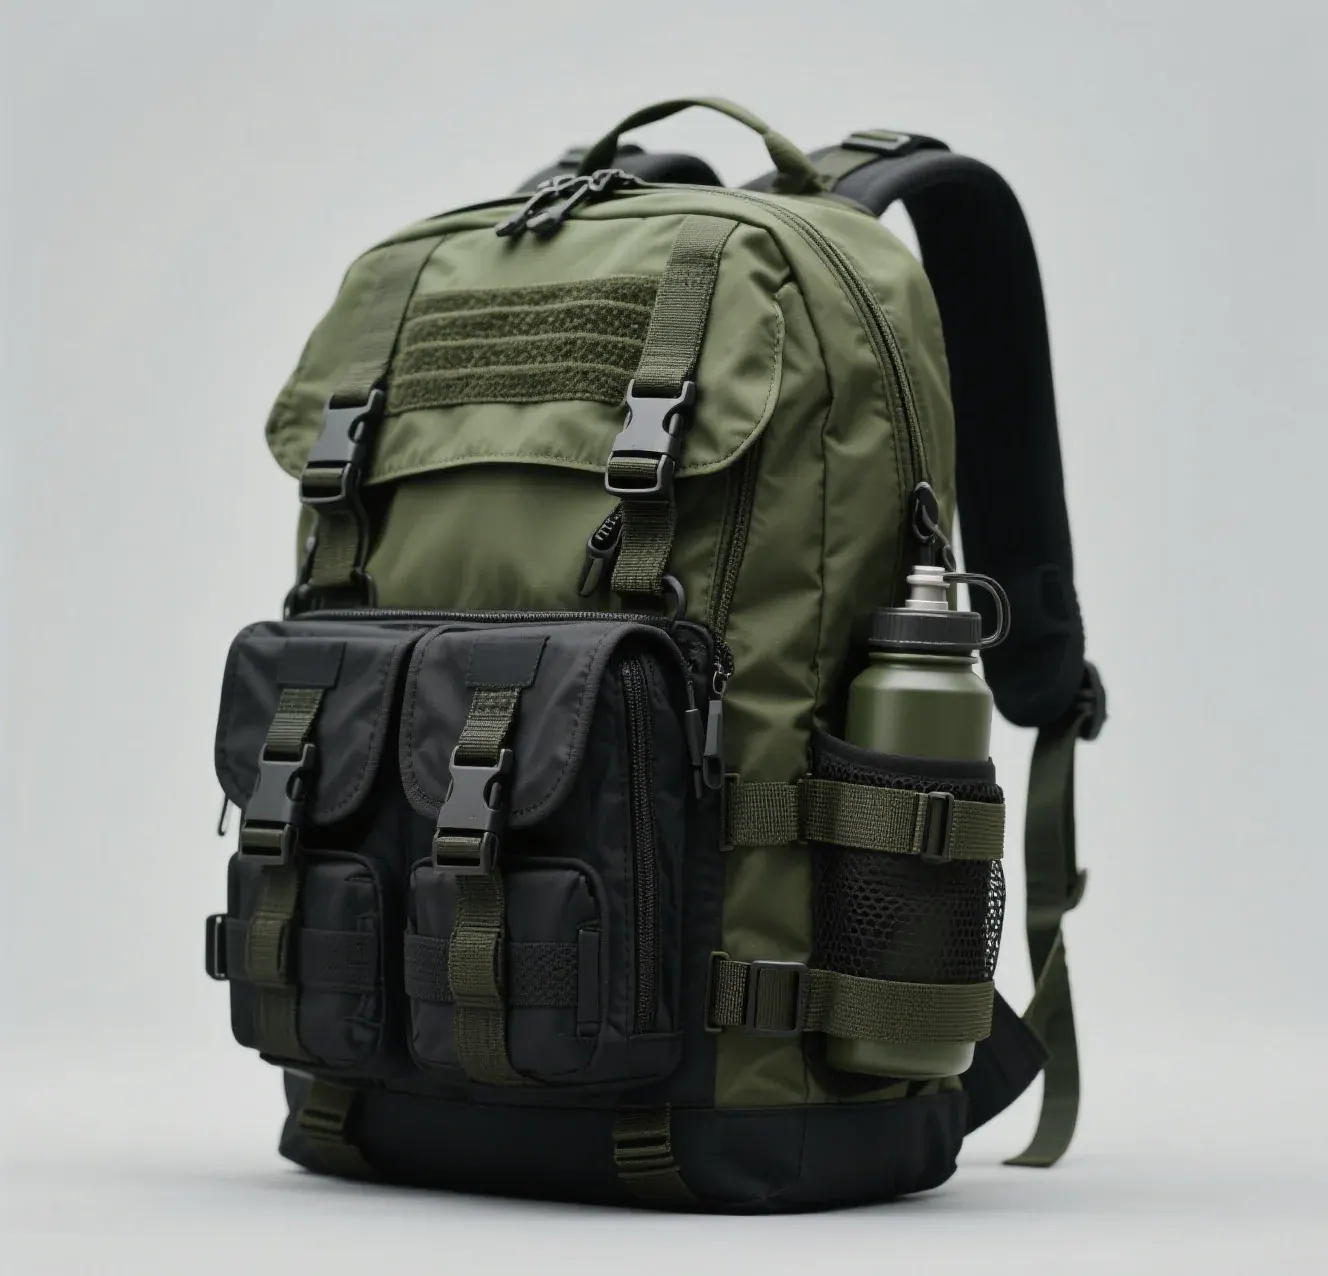
Durability and Repair
The flap bends at the same hinge on every opening, so its root is a fatigue zone. Run 5,000 open-close cycles, then inspect the first 30 mm beside each edge. Reject coating cracks, permanent curl above 10 mm, delamination, or attachment growth above 2 mm. A softer hinge strip can distribute bending while a firmer outer panel preserves slope. Do not carry one stiff material through both functions without testing.
A separate cover experiences fewer hinge cycles but more stretching around corners. Test 1,000 deployments on the largest and smallest approved pack fill. Elastic should retain at least 85–90 percent of its original length, and corner patches should show no yarn break. If a retention strap is removable, include it in accessory count and provide a storage position that cannot be forgotten.
Relevant flex, tear, abrasion, and joint methods can be selected from ASTM International. Name specimen width, temperature, cycle count, and conditioning. Durable is not a test line; 5,000 flap cycles followed by side spray and a 2 mm maximum attachment change can be repeated on 3 samples.
Repair favours simple attachments. A flap with a replaceable flexible stay and accessible non-wet-boundary edge can be serviced. A cover with replaceable cord and elastic can continue after its tension part wears. However, if a flap root is itself a structural sealed seam and delamination spreads beyond 80–100 mm, a surface patch may stop rain temporarily without restoring fatigue strength.
Weight, Cost, and Sustainability Trade-Off
An integrated flap typically adds 30–70 g: panel, small stiffener, pull, and retention. A separate 20–35 L cover adds about 90–180 g plus its storage pocket. The cover protects more surface and can be replaced independently, while the flap uses less material and is difficult to lose. Over 3 years, replacing one worn cover may be efficient; over daily rain, avoiding 500 repeated deployments may make the flap the longer-lived system.
Cost comparisons need total system parts. A cover adds pattern, elastic or cord, retainers, label, pocket, and packing step. A flap adds panel cutting, root attachment, shaped edge, and perhaps a stay. Ask for cycle life and service part cost beside unit price. A cheaper cover lost in the first month has a worse life-cycle result than a slightly higher-cost attached flap.
For commuters, the waterproof commuter backpack range shows why a compact integrated shield often fits the route. The wearer moves through doors, buses, and crowds where a loose cover edge is inconvenient. On brushy multi-day travel, a removable sacrificial layer can still protect the main body from mud and abrasion.
Three Layout Patterns and Where Each One Works
Pattern 1 is a shallow top eyebrow over a horizontal quick-access zipper. It uses roughly 60 mm overlap, opens fastest, and suits tickets, gloves, or keys. Because the zipper ends remain exposed to angled rain, extend each side by at least 30 mm and give both corners independent drain paths. This pattern should sit high on a commuter pack rather than within the lower splash zone.
Pattern 2 is a full-width hinged lid covering a large U-shaped opening. It offers 80–100 mm overlap and creates a stable awning during access, but its larger panel catches more wind. Use a flexible 0.7–1.0 mm stay, test 4 directions at 30 km/h, and verify that the open lid cannot pour stored water across a computer sleeve. It suits work travel where broad access matters.
Pattern 3 is a downward shingle over a short vertical zipper. Multiple narrow overlaps shed water while allowing access from one side. It weighs only 30–50 g and bends easily, but the lower edge can curl after repeated flexing. Run 5,000 cycles and reject curl above 10 mm. This approach suits slim side pockets rather than the primary chamber.
| Flap pattern | Overlap | Best use | Main validation |
|---|---|---|---|
| Top eyebrow | About 60 mm | Small quick pocket | Angled spray at both ends |
| Full hinged lid | 80–100 mm | Large work opening | Wind plus water-dump check |
| Vertical shingle | 40–70 mm per overlap | Slim side access | 5,000-cycle curl check |
| Roll-top companion flap | 60–80 mm | Protected outer organiser | Boundary scope clearly labelled |
| Removable broad cover | Whole-body wrap | Mud and foliage | Four-corner retention |
Choose the pattern only after mapping water. Draw arrows from the top seam, both side faces, and a raised zipper pull, then place drains where those arrows meet. If a drawn path ends at the opening, more overlap alone may not solve it; change slope or move the zipper. A simple water-path sketch often prevents a complete second sample round.
Turn the Choice into a Testable Brief
For a built-in flap, specify 60–100 mm loaded overlap, 20–40 mm side extension, 10–20° slope, two 8–12 mm drain paths, under-20 N retention, 5,000 cycles, and side-wind spray. For a cover, specify pack-volume range, 4-corner retention, 1,000 deployments, elastic recovery, wet storage, reflector placement, and performance at 30–50 km/h. Test 3 samples with the same 6 kg load.
QUANZHOU JUNYUAN BAGS works with MOQ 500 pcs per design and colour, sample timing of 6–10 working days, and bulk timing of 35–50 days. AQL 2.5 inspection can include flap overlap, drainage, closure access, retention parts, cycle-condition appearance, and agreed water checks. Programmes follow BSCI and ISO 9001 systems, with REACH and California Prop 65 material screening.
A closure-zone drawing can be reviewed. Send loaded dimensions, opening frequency, wind exposure, closure type, reflector position, and use route to service@junyuanbags.com. FOB Xiamen and DDP shipping to more than 100 countries can be planned after the test record and approved sample are fixed.
Keep the approved water-path sketch with the physical reference sample. During inspection, measure overlap at 3 positions and test drain openings with a simple 8 mm gauge before visual review. A panel may match colour and stitching perfectly yet sit 15 mm too high because the loaded body shape changed. Functional dimensions should therefore be checked before cosmetic details.
The final verdict is specific: the built-in flap is better for frequent rain and daily access, the separate cover is better for occasional whole-shell cleanliness, and neither replaces a sealed chamber when exposure is severe. Choose the feature by boundary and routine, then prove overlap, drainage, wind retention, and wet-glove access with numbers.
People Also Ask
How much should a backpack rain flap overlap a zipper?
Use roughly 60–100 mm of vertical overlap and extend 20–40 mm beyond each closure end. Measure with the normal load because a full body can pull coverage upward by 20–30 mm.
Can wind blow off a backpack rain cover?
Yes. Air can enter around shoulder straps and lift elastic edges, especially around 30–50 km/h. Use at least 2 additional restraint points and test all 4 directions with the pack loaded and attachments fitted.
Does a storm flap make a zipper submersible?
No. A flap redirects rain but does not turn a water-resistant zipper into an airtight closure. Immersion protection requires evidence for the complete closure, seams, body, attachments, and stated depth and time.
How fast should a built-in flap open?
Aim for 5–15 seconds for routine access and under 20 N of one-hand retention force. Test at least 20 cycles in wet gloves and confirm the panel stays raised without falling across the opening.
Why does water enter when I lift a rain flap?
The panel may be pooling water instead of draining it. Give it a 10–20° outward slope, two 8–12 mm exit paths, and open immediately after a 100 ml pour or spray to confirm water moves away from the chamber.
Can a built-in backpack flap be repaired?
A replaceable stay or non-structural edge may be serviceable. If the root is part of a sealed structural seam and separation spreads beyond 80–100 mm, a simple surface patch may not restore fatigue strength.
Frequently Asked Questions
Q1. Is a built-in rain flap better than a backpack cover?
It is better for frequent wet access because it deploys in 5–15 seconds, weighs about 30–70 g, and cannot be lost. A 90–180 g cover protects more surface and is better for occasional mud or brush.
Q2. How wide should a storm flap be?
It should extend 20–40 mm beyond both closure ends and overlap vertically by 60–100 mm when the pack is fully loaded. Width must also preserve drainage rather than wrapping water around the corners.
Q3. Does a rain cover protect the harness side?
Only partly. Shoulder straps and the back-panel opening interrupt its edge, and wind-driven water can enter there. A cover reduces surface wetting but does not create a continuous sealed boundary around the chamber.
Q4. Can I use a flap over a roll-top?
Yes. A small flap can protect an external quick pocket while the roll-top remains the main wet boundary. Placing a large decorative panel over the roll itself adds little unless it controls a defined water path.
Q5. What angle should a backpack flap have?
A 10–20° outward fall is a useful starting target. Test by pouring 100 ml above the attachment and confirm water exits through two 8–12 mm paths without pooling or flowing toward the opening.
Q6. How do I test flap durability?
Run about 5,000 open-close cycles, inspect 30 mm around the hinge, reject cracks or over-2 mm attachment growth, then repeat side-angle spray. Test after conditioning rather than judging only a new dry sample.
Q7. Will a rain cover hide reflective trim?
It can hide all original rear trim. Add reflectors to the cover itself and check from 50 m with the cover fitted, the pack loaded, and external items attached.
Q8. Where should a wet rain cover be stored?
Use a separate draining pocket outside the primary dry chamber. A wet cover folded beside clothing can transfer far more water than entered through the shell during the rain.
Q9. How much does a built-in flap weigh?
A practical integrated panel, flexible stay, pull, and retention usually adds around 30–70 g. The exact value depends on coverage, material mass, binding, and whether the root reinforces another seam.
Q10. What are the MOQ and lead time for a flap-closure pack?
The normal baseline is 500 pcs per design and colour, samples in 6–10 working days, and bulk in 35–50 days. Approve loaded overlap, drainage, 5,000 cycles, and side-wind spray before the run.