Proofing a new waterproof backpack takes 45 minutes of active work plus 24 hours of drying, and it catches roughly 9 out of 10 of the failures that would otherwise surface on day two of a trip. Run five stages in order: a visual seam and coating inspection, a closure test with four full turns and a zipper cycle check, a 30 minute shower at 8 litres per minute, a 10 minute immersion at 30 centimetres with the pack loaded to 5 kilograms, and a strap and seam load test. The pass criterion for immersion is no more than 1 millilitre of water inside after 10 minutes, which is about one fifth of a teaspoon, and any single drop appearing within the first 60 seconds is an automatic fail regardless of the final volume. Use paper towel rather than tissue inside the pack, weigh the towel before and after on a kitchen scale readable to 1 gram, and record the number. Do this at least 5 days before departure so a failed unit can be returned, replaced or repaired rather than trusted.
Why Proofing Takes 45 Minutes and Saves a Trip
A brand new pack is the least proven item in any kit list. It has never been wet, never been loaded, never been flexed at a seam, and the two minutes it spent in a quality check before dispatch were never intended to simulate a week of rain. Field returns data across this product category consistently shows that early failures cluster in the first 20 hours of use, which is precisely the window a five day trip occupies, and almost all of them were detectable on a kitchen table.
The economics are simple. Forty five minutes of work and about 250 litres of tap water either confirm a pack or send it back while it is still returnable. A pack that fails on day two of a trip costs the trip rather than the pack: wet sleep system, wet insulation, wet food, and in cold conditions a genuine safety problem rather than a comfort one. Proofing is not a distrust of the product; it is the only moment when a failure is cheap.
| Approach | Time required | What it detects | Cost of skipping it |
|---|---|---|---|
| Rely on the rating code alone | Zero | Nothing about this particular unit | A wet sleep system on day two |
| Visual inspection only | 8 minutes | Coating defects, weld skips, hardware faults | Missed closure and seam leaks |
| Shower test only | 30 minutes | Closure leaks, seam leaks under spray | Missed immersion failure |
| Immersion test only | 15 minutes | Seam and closure failure under head pressure | Missed spray path leaks |
| Full five stage proof | 45 minutes plus 24 hours drying | Roughly 9 out of 10 early failures | None |
Start at least five days before departure. That window is not about the drying time, which is 24 hours, but about the return window and the possibility of a replacement arriving. Proofing a pack the night before a flight produces information you can no longer act on, which is marginally worse than not proofing at all because it replaces uncertainty with confirmed bad news.
Stage One: Visual and Coating Inspection
Eight minutes with good light and your hands finds more than most buyers expect. Work in a fixed order: coating surface, weld lines, corners and stress points, hardware, webbing anchorage, then the inside of the collar, where defects hide because nobody looks there. Run a thumb along every weld rather than looking at it, because a skipped weld feels different long before it looks different.
- Coating surface: look for pinholes, thin patches that show the weave beneath, and any area that feels tacky or powdery to the touch.
- Weld lines: run a thumbnail along each seam; a weld that lifts at the edge, or a section that is 2 millimetres narrow, is a future leak.
- Corners and stress points: these carry the highest strain. Any crease that has gone white rather than translucent has been over flexed already.
- Hardware: open and close every buckle five times. A buckle that needs unusual force at the second cycle will fail at the two hundredth.
- Webbing anchorage: pull each strap hard toward its anchor. Stitch patterns at anchor points should not visibly open under a firm hand pull.
- Collar interior: flex the roll top fabric sharply and look for crazing, which appears as a fine network of surface lines.
| Defect found | Where it appears | Severity | Action |
|---|---|---|---|
| Pinhole through the coating | Flat panels, handled areas | High, leaks under any head | Return the unit |
| Wedge shaped narrow weld | Seam runs near corners | High, opens under load | Return the unit |
| White crease at a corner | Bottom corners, strap roots | Medium, monitor and re-test | Accept with a re-test at 6 months |
| Tacky or powdery surface | Coating generally | Medium, suggests incomplete cure | Return or accept with a note |
| Crazing inside the collar | Roll top fabric | Low initially, grows with folding | Monitor, expect earlier retirement |
| Stiff or gritty zipper travel | Closure track | Medium, worsens with salt | Lubricate, then re-test |
Photograph anything you find before you decide what to do with it. A dated photograph of a defect is the difference between a straightforward return and an argument about whether the damage happened in use, and it costs thirty seconds. Photograph against a scale, include the whole panel rather than a close crop, and keep the images until the pack has passed its first season.
Stage Two: The Closure Test
The closure is where new packs fail most often, and it is the only part the user operates every time. A roll top needs four full turns, not three and a fold, each pressed flat before the next begins, with the buckle closed across the roll rather than down over it. Count the turns aloud on the first three attempts, because most people who believe they roll four turns are rolling three and a half.
On a zippered closure, cycle the slider five times with the pack empty and note the force required. It should be firm and even, with no gritty section and no point where the slider wants to split the tape. Then close it, submerge the closed track briefly, and open it to look for moisture along the tape rather than on the teeth; a wet tape means the closure is relying on a coating that is not doing its job.
Finish by checking the closure under a light load. Half fill the pack with 3 kilograms of soft items, close it, and hold it upside down for 60 seconds. A roll top should hold without a single drop; a water resistant zip, which is not the same thing as an airtight one, may weep slightly at the ends and that is normal for its class. The distinction between the two closure families is set out in the airtight versus water resistant closure guide.
Stage Three: The Shower Test
A shower simulates the condition most packs actually meet: water arriving from above and running down the body under gravity, finding any path that leads upward into the pack. Run it at roughly 8 litres per minute for 30 minutes, which is about 240 litres, and rotate the pack a quarter turn every 7 to 8 minutes so all four faces and the base are exposed. Prop the pack upright rather than hanging it, since hanging changes how water runs off the closure.
| Test parameter | Setting | Why that value | Pass criterion |
|---|---|---|---|
| Flow rate | 8 litres per minute | Comparable to heavy rain on a moving body | Held constant for 30 minutes |
| Duration | 30 minutes | Long enough for capillary paths to establish | No interior moisture at the end |
| Rotation | Quarter turn every 7 minutes | Exposes all four faces and the base | All four orientations tested |
| Pack orientation | Upright, not hung | Hanging changes the runoff path | Base contact simulated |
| Interior indicator | Paper towel, weighed to 1 gram | Tissue disintegrates and hides small volumes | Weight gain under 1 gram |
| Water temperature | Cold tap, 10 to 20 degrees | Hot water softens some coatings | No coating softening observed |
Use paper towel, not tissue, and weigh it. A kitchen scale readable to 1 gram turns a vague impression of dampness into a number you can compare across packs and across seasons, and 1 gram of water is 1 millilitre, which is roughly a fifth of a teaspoon. Place towel in three positions: flat on the base, folded against the back panel, and rolled into the collar fold, because those three locations map to the three most common leak paths.
If moisture appears, do not assume the closure failed: water travels, and a leak at the base weld can show up as dampness 20 centimetres away. Dry the outside, then re-run with the collar sealed inside a separate bag. If the interior stays dry with the closure bagged, the fault is in the collar; if it still wets, it is the body.
Stage Four: The Immersion Test
Immersion applies head pressure that a shower cannot, and it is the test that separates a pack rated for rain from one rated for submersion. Fill a bath or a large container to 30 centimetres, load the pack to 5 kilograms with soft weight so it sinks rather than floats, and hold it under for 10 minutes. Thirty centimetres of water is roughly 0.03 bar, which is small in absolute terms but enough to drive water through any pinhole that a shower would leave dry.
| Immersion condition | Head pressure | Duration | Typical pass result |
|---|---|---|---|
| Base only, 10 centimetres | About 0.01 bar | 10 minutes | Dry for any welded body |
| Half body, 30 centimetres | About 0.03 bar | 10 minutes | Dry for a roll top at four turns |
| Full body, 30 centimetres | About 0.03 bar | 10 minutes | Dry only at the higher rating codes |
| Full body, 1 metre | About 0.10 bar | 30 minutes | Submersible class bodies only |
| Collar submerged, body dry | About 0.03 bar | 10 minutes | Isolates the closure from the shell |
Record two numbers rather than one: the elapsed time at which the first drop appeared, and the total water collected at the end. A pack that stays dry for 8 minutes and then passes 3 millilitres has a different problem from one that passes a drop in the first 30 seconds and then nothing. The first is a slow capillary path, often a weld edge; the second is usually a closure that was not fully made, or a single pinhole that seals once the coating swells.
Rating codes describe conditions under test, not promises about a particular afternoon. The code definitions and the test apparatus behind them are published by IEC, and the practical reading is that a code without a stated duration and depth is not a specification at all. Hydrostatic resistance, which is the fabric level version of the same question, is measured by methods published by ISO and is quoted in millimetres of water column; 3,000 millimetres is a common general duty figure and 10,000 millimetres is heavy duty. Both are explained in the hydrostatic head guide.
Stage Five: Load, Strap and Seam Stress Test
A pack that passes every water test can still fail mechanically, and mechanical failure is what strands people. Load to the designed figure, typically 12 to 15 kilograms for a 35 litre body, hang it from a door or a beam for 30 minutes, and then inspect every strap root, every weld near a load path and both buckles. Any visible opening at a strap root under static load will be a tear under dynamic load within a season.

Then test the straps dynamically: load to 10 kilograms, lift by one shoulder strap only and hold for 30 seconds, repeat on the other side, and finish with the haul loop. Nothing should creak, open or change shape. A haul loop is the most under specified part on most packs and the likeliest to tear, because it carries the whole load through a small anchorage rarely rated in writing.
Finish with the zipper or collar under load rather than empty. A closure that seals perfectly when empty can gap when the body is distorted by 12 kilograms pressing outward at the base, which is exactly the condition on the second day of a trip when everything has settled. If in doubt, run the shower test again with the pack loaded, since that combination is closer to reality than either test alone. Home testing methods are covered further in the at home testing guide.
Reading a Failure: Where the Water Came From
Diagnosis matters more than the pass or fail result, because it tells you whether to return, repair or simply change how you use the pack. Water enters at one point, travels along a fold or a weld channel, and collects somewhere else entirely. Dry the pack, then re-run the failing test with paper towel taped at four positions; the one that wets first is the entry point.
| Symptom | Most likely source | Confirming check | Usual outcome |
|---|---|---|---|
| Damp base, dry walls | Base weld skip or a pinhole | Immerse the base only for 10 minutes | Return if under 5 millilitres appears |
| Damp back panel only | Strap root weld or a stitch hole | Spray the strap roots directly for 10 minutes | Repairable if the panel is accessible |
| Damp collar fold only | Fewer than four turns, or a creased fabric | Bag the collar and re-run the shower test | User correctable, no fault |
| Damp at a corner, dry elsewhere | Corner weld terminated short | Flex the corner under water and watch | Return the unit |
| Water along the zipper tape | Water resistant rather than airtight closure | Submerge the closed track for 2 minutes | Expected for the class, not a fault |
| Damp everywhere evenly | Condensation rather than ingress | Re-test with dry air inside and a desiccant | No fault, improve ventilation |
Condensation is the great imitator and it fools experienced buyers. A pack sealed in humid conditions and then moved into cold water will collect moisture on the inside of the shell without a single drop having entered. Check by placing a dry desiccant sachet inside before the test: if the sachet stays dry while the shell mists, the water came from the air inside the pack, not from outside it.
Where a genuine weld defect is found, the question is whether it is repairable. A short skip at an accessible seam can be sealed; a pinhole in the middle of a loaded panel usually cannot be sealed durably, because the coating around it has already begun to lift. Repair decision criteria, including the point at which repair costs more than replacement, are set out in the repair cost guide.
The 48 Hour Pre-Trip Timeline
Sequencing matters because each stage needs a dry pack and drying takes real time. Allow 24 hours of drying after the wet stages and 24 hours for any return decision, and do all the wet work in one afternoon. The sequence below fits into 48 hours with margin, with no equipment beyond a bath, a shower and a kitchen scale.
- 48 hours out: visual and coating inspection, 8 minutes, followed by the closure test with four counted turns and five zipper cycles.
- 47 hours out: dry pack confirmation, then the shower test at 8 litres per minute for 30 minutes with a quarter turn every 7 minutes.
- 46 hours out: weigh the indicator towel to 1 gram and record the result, then dry the exterior and interior for 2 hours.
- 45 hours out: immersion test at 30 centimetres for 10 minutes with 5 kilograms of soft ballast, recording time to first drop.
- 44 hours out: load and strap test at 12 to 15 kilograms static for 30 minutes, then dynamic lifts on each strap in turn.
- 24 hours out: full drying with the collar open and the body inverted, checked dry to the touch inside the collar fold.
- 12 hours out: repack with the trip load, confirm the closure makes four turns with that load aboard, and record the packed mass.
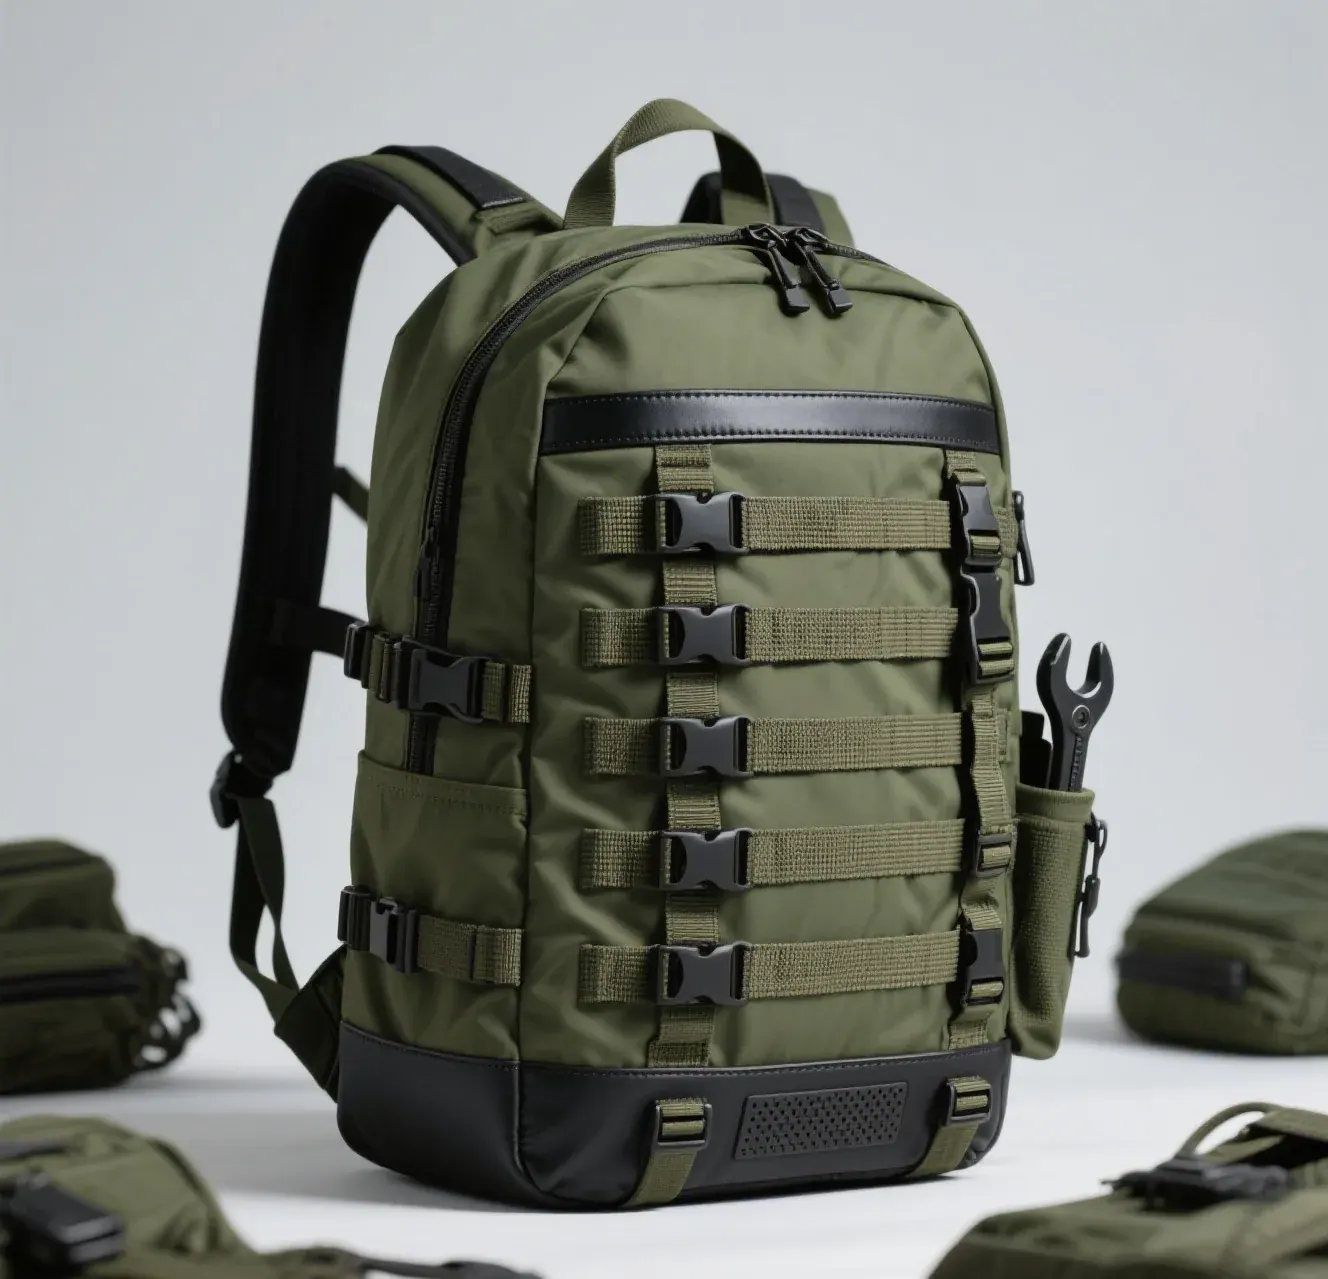
Two shortcuts defeat the purpose. Packing damp guarantees mould inside the collar within 7 to 14 days, which is worse than the leak you were testing for, and testing the day before departure removes your ability to act on the result.
What to Do When a New Pack Fails
A failed unit inside the return window is the easiest outcome, and it is why proofing happens five days out rather than five hours out. Photograph the defect against a scale, record the measured water volume, and return the pack with that documentation rather than a description. Disputes resolve quickly when a seller receives a number and a photograph.
- Under 5 millilitres from immersion at 30 centimetres: usually a weld edge. Decide between return and a documented repair.
- Between 5 and 30 millilitres: a genuine defect. Return within the window and ask for a replacement from a different batch.
- Any drop within the first 60 seconds: an automatic fail regardless of the final volume, because it indicates an open path.
- Damp only in the collar fold: retest with four counted turns before concluding anything; most of these are user error.
- Even dampness with a dry desiccant sachet: condensation, not ingress. No action needed beyond better ventilation.
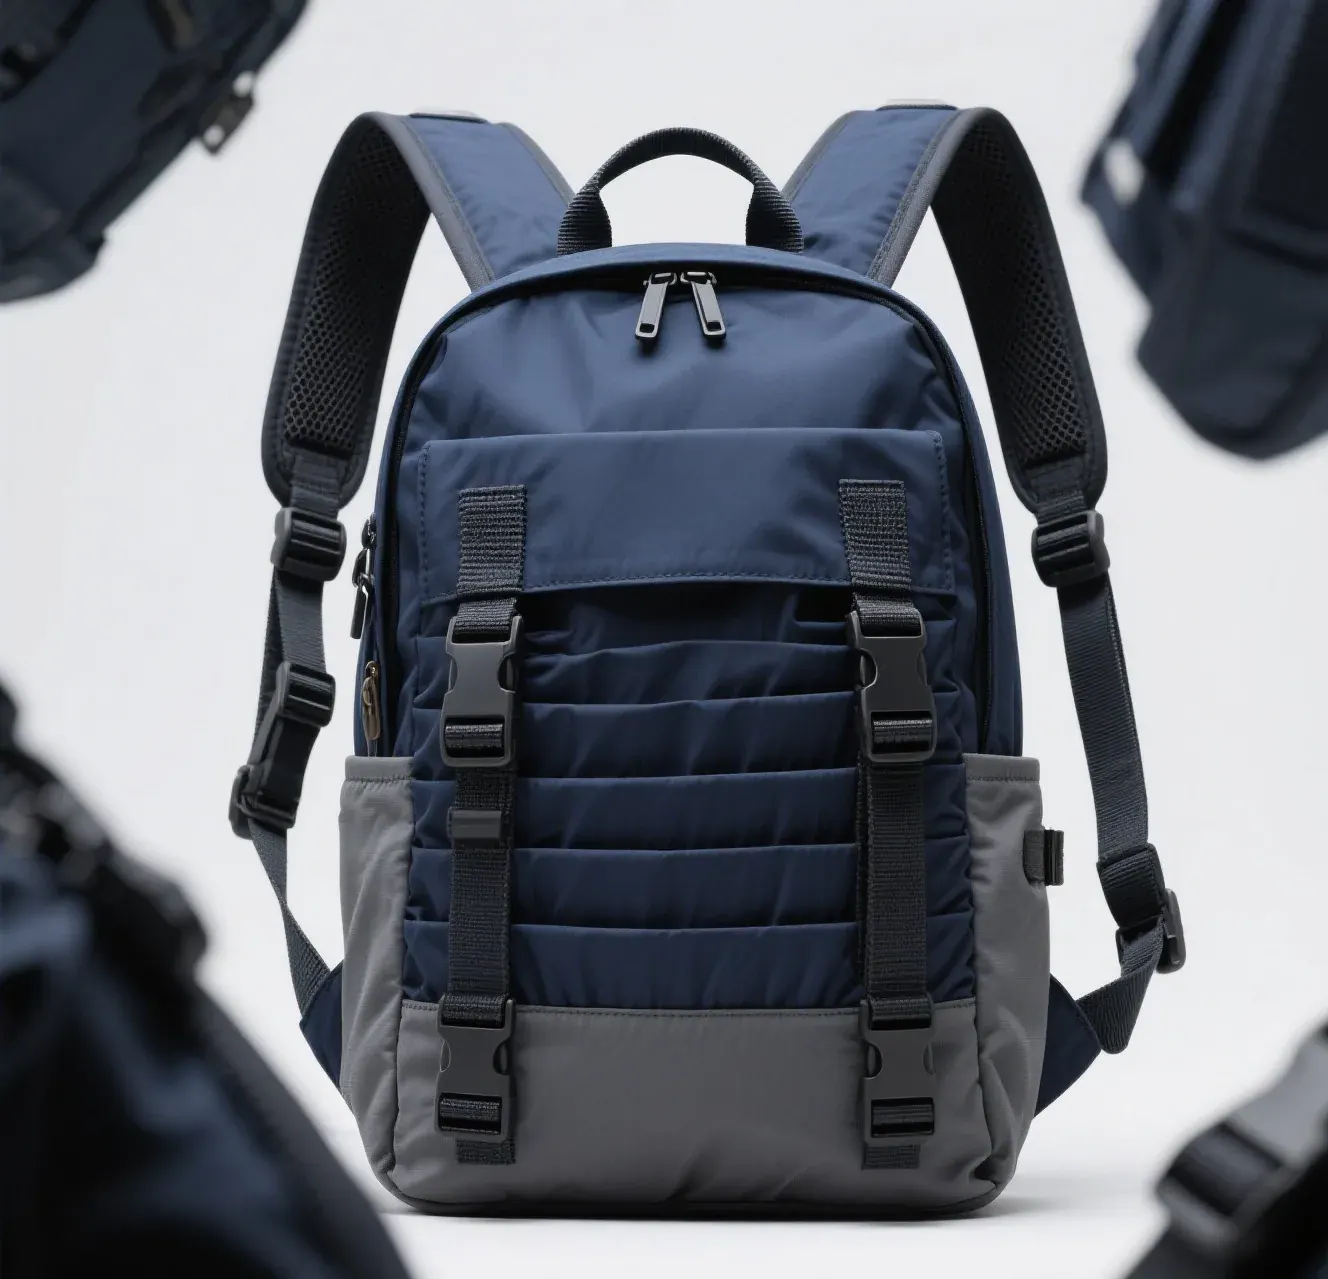
Outside the return window, triage by cost and by risk. A sealed seam on an accessible panel costs far less than a replacement and is a genuine fix; a pinhole in a loaded panel is not, because the surrounding coating has already started to lift. Re-waterproofing treatments restore surface behaviour but never restore a failed weld, and knowing which of the two you have is the whole decision. Options are compared in the re-waterproofing guide and in the seam repair guide.
Specifying Proofing Into Bulk Orders
Buyers ordering at scale should not be relying on a sample of one. Inspection for acceptance is a statistical exercise: a sampling plan converts a lot size into a sample size and an acceptance number, and the published tables behind those plans are maintained by ISO. AQL 2.5 is the common commercial setting for soft goods, and specifying the level as well as the limit matters, because the same nominal figure produces materially different sample sizes at different inspection levels.
| Proofing checkpoint | When it happens | Sample basis | Document produced |
|---|---|---|---|
| Prototype water test | At prototype sign-off | One unit, full five stage proof | Test record with measured volumes |
| Pre-production test | Before bulk starts | Three units from production tooling | Batch test record |
| Inline seam check | During bulk build | Hourly visual on weld runs | Daily output record |
| Final lot inspection | Before shipment | AQL 2.5 sample with stated level | Inspection report with measurements |
| Retest after material change | After any source change | Three units, full proof | Comparison against the baseline |
Write the test into the purchase order with numbers: the code, the depth, the duration and the acceptable volume in millilitres. A clause that says the pack must be waterproof is unenforceable, because neither party can test it. A clause that says no more than 1 millilitre after 10 minutes at 30 centimetres is testable in any bathroom, and that single change prevents most disputes about whether a shipment was acceptable.
QUANZHOU JUNYUAN BAGS has shipped waterproof bodies since 2014, with the founding team in the industry since 2004, monthly output of 200,000 units verified by SGS and certification to BSCI and ISO 9001. Programme entry is 500 pcs per design and colour, prototypes in 6 to 10 working days, bulk production in 35 to 50 days, FOB Xiamen or DDP into more than 100 countries. Materials are screened against REACH and California Prop 65, every lot is inspected at AQL 2.5 with the level stated, and hydrostatic figures are quoted in millimetres rather than described in words. Test records, sampling plans and pre-shipment checklists are published. Enquiries go to service@junyuanbags.com.
People Also Ask
How do I test if a new backpack is waterproof?
Run five stages: visual and coating inspection, a closure test with four counted turns, a 30 minute shower at 8 litres per minute, a 10 minute immersion at 30 centimetres with 5 kilograms of ballast, and a static load test at 12 to 15 kilograms.
How much water inside a backpack counts as a leak?
More than 1 millilitre after 10 minutes of immersion at 30 centimetres, measured by weighing paper towel on a scale readable to 1 gram. Any drop in the first 60 seconds is an automatic fail regardless of the final volume.
How long should I submerge a new waterproof backpack?
Ten minutes at 30 centimetres is the practical home test and applies about 0.03 bar. Submersible class bodies can be tested at 1 metre for 30 minutes, but only if the rating code states that depth and duration.
Why is my new pack wet inside after the shower test?
Most often fewer than four turns on the roll top, or a leak that entered elsewhere and travelled. Bag the collar and repeat the test: if the interior stays dry the fault is the closure, if it still wets the fault is the body.
Can condensation look like a leak?
Yes. A pack sealed in humid air and cooled will mist inside without any ingress. Place a dry desiccant sachet inside before testing; if the sachet stays dry while the shell mists, the moisture came from the air inside.
When should I proof a new pack before a trip?
At least five days before departure. The wet stages need 24 hours of drying, and the extra days preserve the return window so a failed unit can be replaced rather than trusted on the trip.
Frequently Asked Questions
Q1. How do I proof a new waterproof backpack before a trip?
Work backwards from departure and allow five days. Do the visual and closure checks first, then a 30 minute shower at 8 litres per minute, then a 10 minute immersion at 30 centimetres with 5 kilograms aboard, then a static load test, then a full 24 hours of drying with the collar open.
Q2. What equipment do I need to leak test a backpack?
A bath or large container, a shower, a kitchen scale readable to 1 gram, paper towel rather than tissue, about 5 kilograms of soft ballast such as clothing, and a dry desiccant sachet to rule out condensation. Nothing else is required.
Q3. How many turns should a roll top closure have?
Four full turns, each pressed flat before the next begins, with the buckle closed across the roll rather than down over it. Count aloud on the first three attempts, because most people who believe they roll four turns are rolling three and a half.
Q4. Is 30 centimetres of immersion enough to prove a pack?
It is enough to separate a body rated for rain from one rated for submersion, and it applies about 0.03 bar. It will not validate a submersible claim, which needs the depth and duration stated in the rating code, typically 1 metre for 30 minutes.
Q5. What does a hydrostatic head of 3,000 mm mean?
It is the height of a water column the fabric resists before leaking, measured by published ISO methods. 3,000 millimetres is a common general duty figure, 10,000 millimetres is heavy duty, and the number should be quoted in millimetres rather than described in words.
Q6. Should I proof a pack that already has a rating code?
Yes. A code describes a design under test conditions, not the particular unit in your hands. Early failures cluster in the first 20 hours of use, which is exactly the window a five day trip occupies, and nearly all of them are detectable on a kitchen table.
Q7. How do I find where a leak is coming from?
Dry the pack, tape paper towel at four specific positions rather than placing it loosely, and re-run the failing test. The position that wets first is the entry point, and water often travels 20 centimetres or more from where it enters to where it collects.
Q8. Can a leaking seam be repaired?
A short weld skip at an accessible seam can be sealed and is a genuine fix. A pinhole in the middle of a loaded panel usually cannot be sealed durably, because the coating around it has already begun to lift, and replacement is the better decision.
Q9. How dry does a pack need to be before packing for a trip?
Dry to the touch inside the collar fold after 24 hours with the body inverted and the collar open. Packing damp guarantees mould inside the collar within 7 to 14 days, which is worse than the leak you were testing for.
Q10. What should a bulk order specify for water testing?
The code, the depth, the duration and the acceptable volume in millilitres, plus the sampling plan and inspection level. No more than 1 millilitre after 10 minutes at 30 centimetres, inspected at AQL 2.5 with the level stated, is testable and enforceable.